Scripture to Live By:
Bless the Lord, O my soul, and all that is within me, bless his holy name!
2 Bless the Lord, O my soul, and forget not all his benefits, who forgives all your iniquity, who heals all your diseases, who redeems your life from the pit, who crowns you with steadfast love and mercy,
5 who satisfies you with good so that your youth is renewed like the eagle’s.
Psalm 103:1-5
Quilting Post:
I am learning to quilt. I started learning to quilt about two years ago and started with a queen size quilt which was a much to large project to start with. I am still working on it.
Our teacher taught us how to make this quilt which came from a pattern in Easy Americana Rag Quilting by Annis Clap www.leisurearts.com.
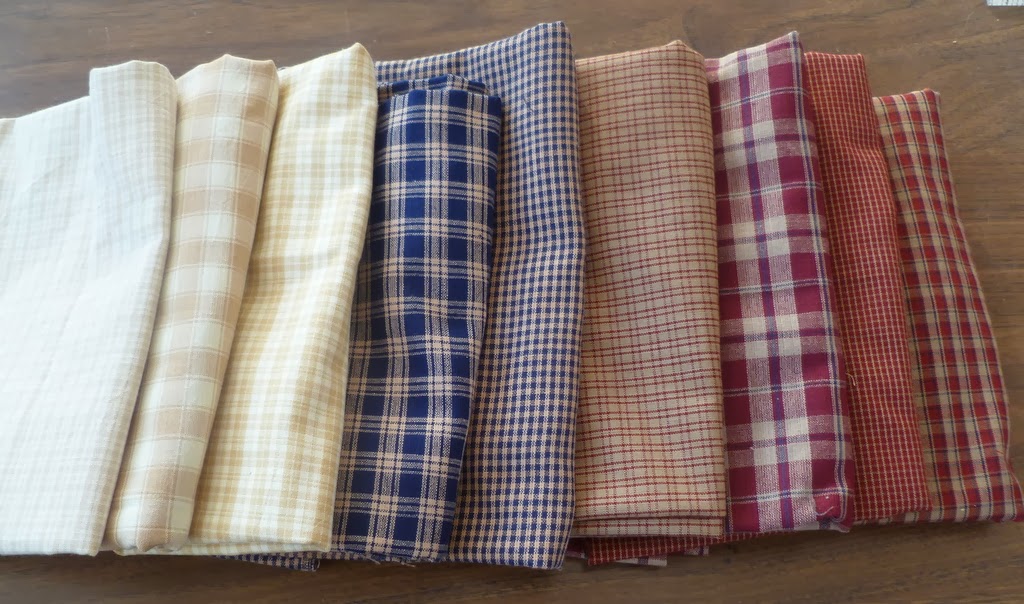
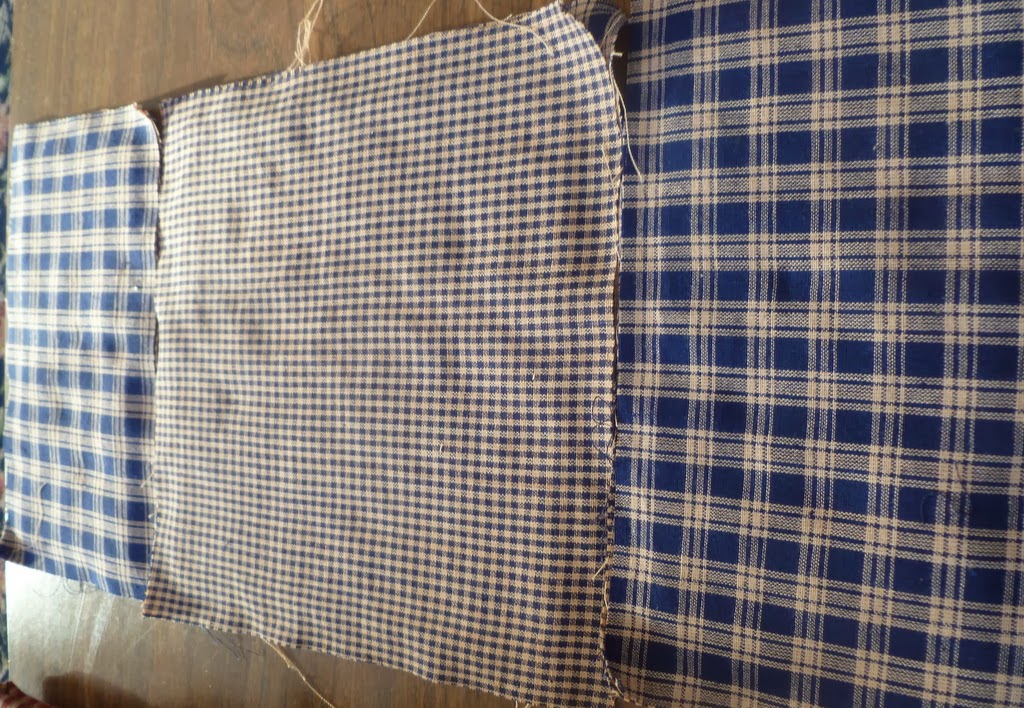
I needed 9 different colors of 100% cotton, (Homespun) material to make it. I needed
1/3 yard each of 2 different blues
1/3 yard each of 4 different red
1/3 yard each of 4 different off whites (off whites, as seen below)
8 inch x 8 inch square of white material for the star
1/4 yard of dark blue and red
1 yard of batting
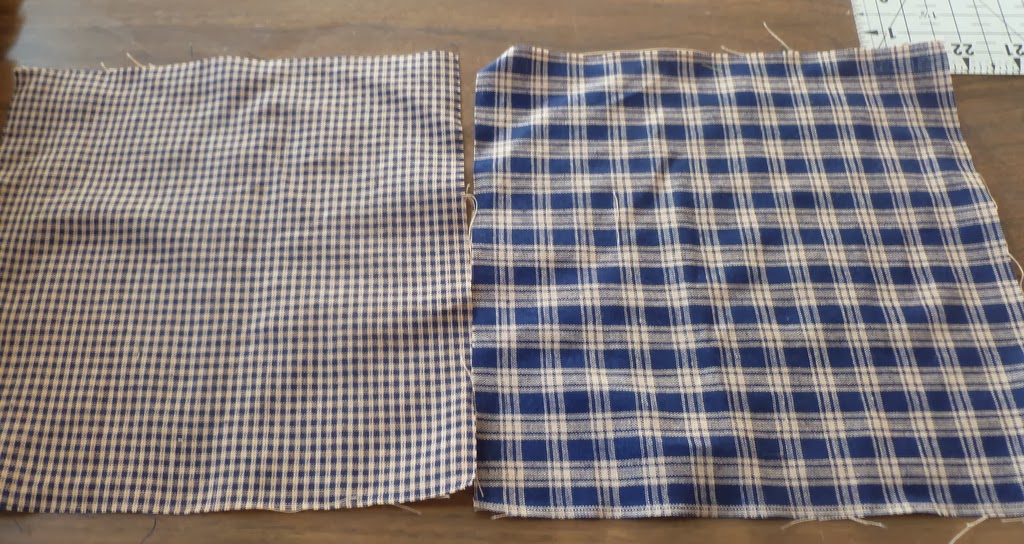
Cut two 9 x 5 inches out of each of the dark blues. One is your block and one is the backing of each color.
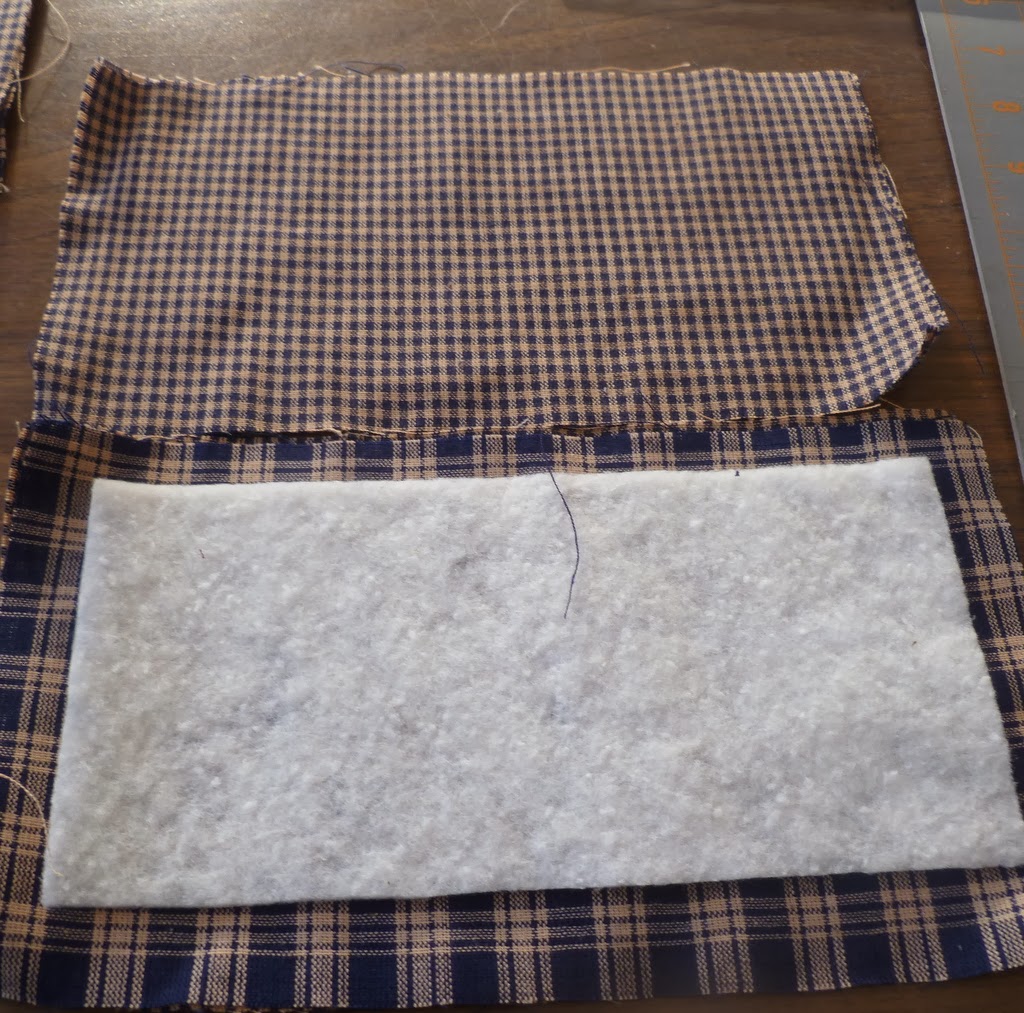
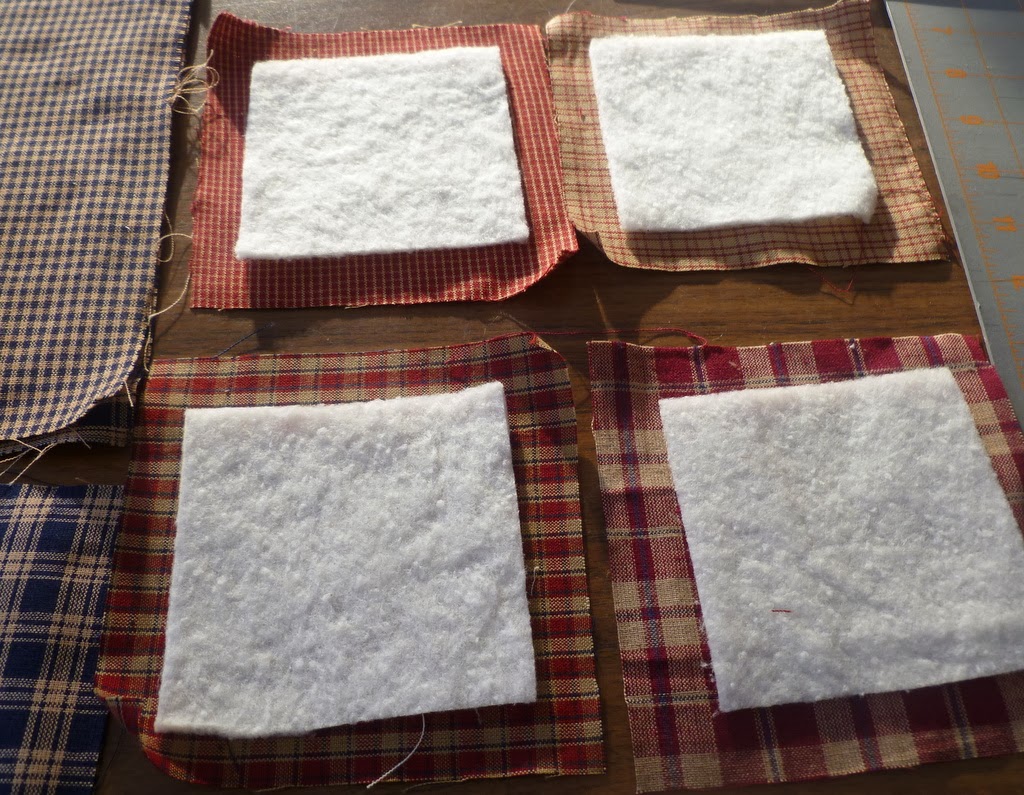
Cut 2 pieces of batting 8 inches x 4 inches and place the batting between the two materials, leaving 1/2 inch space all the way around.
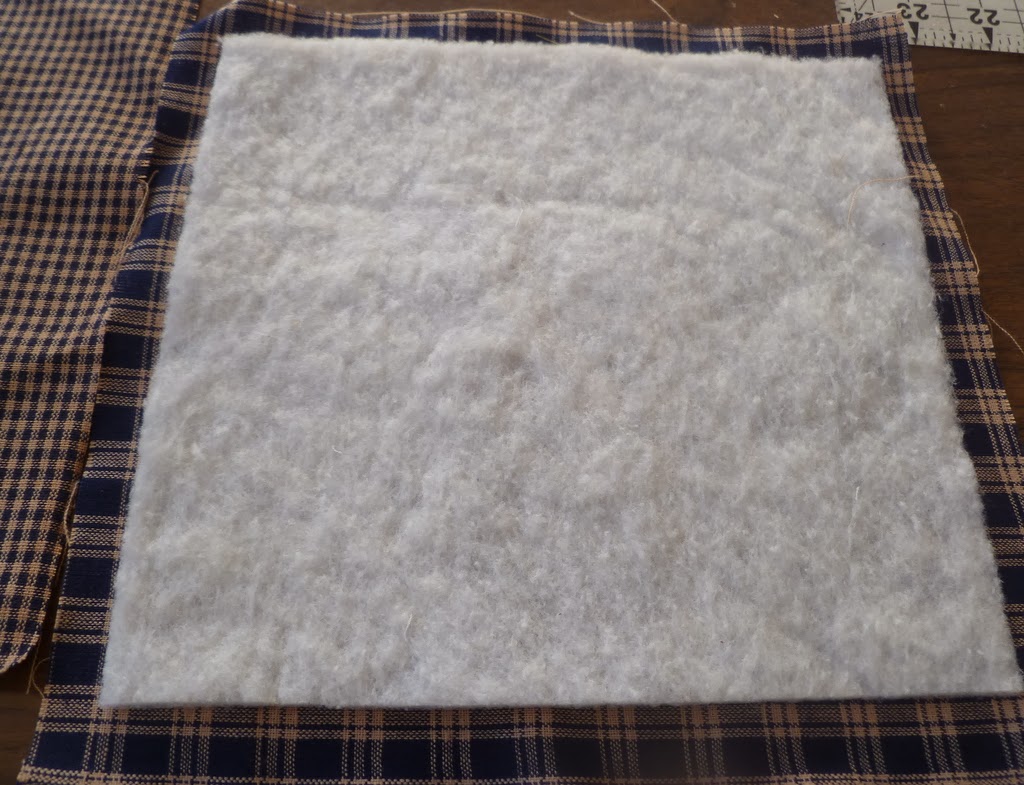
Cut 2 9 inch square (one out of each of your two blues). Cut a piece of batting 8 inch square to go between the two blues. Stitch around the blocks using 1/2 inch seam allowance.
Next cut 4 (5 inch squares) of each of your 4 red materials. (total of 16 red squares)
Next cut 4 (5 inch squares) of each of your 4 white – off white materials. (total of 16 white-off white squares)
Cut 16 (3 3/4 inch squares) of batting. Sandwich your batting between two opposite color squares.
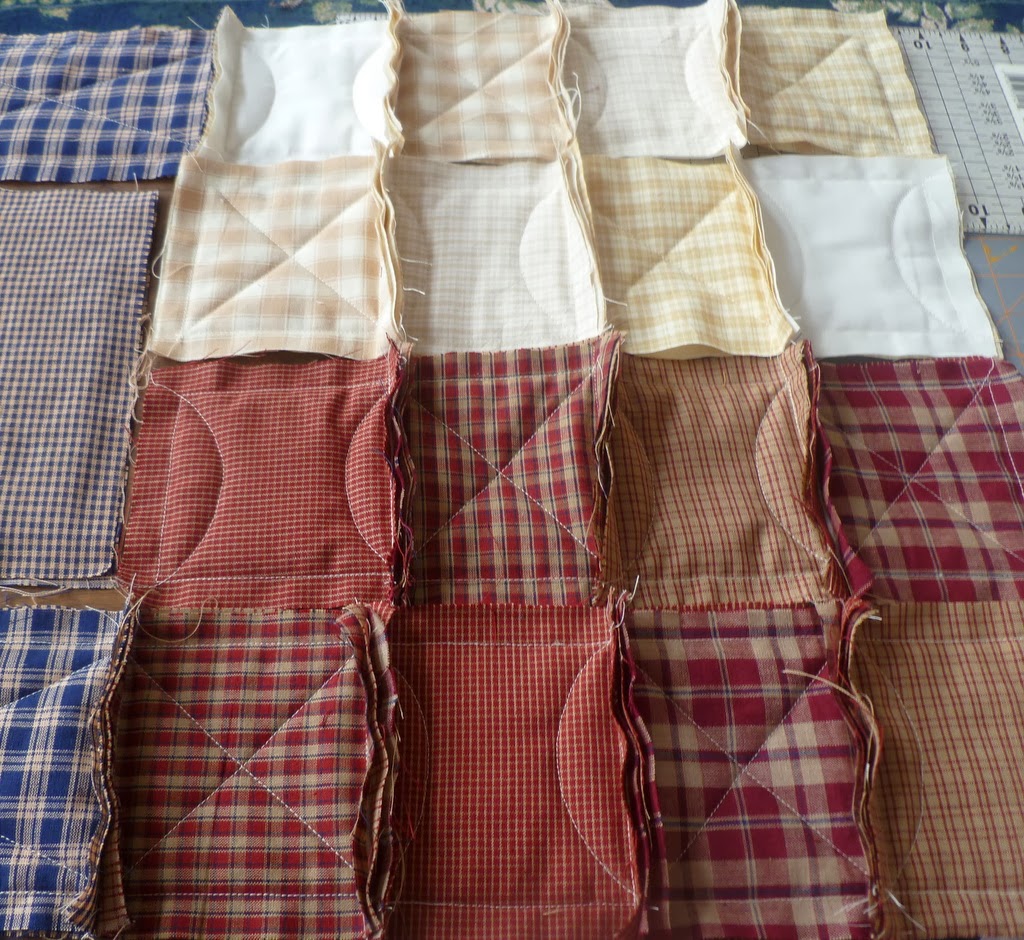
I laid out my squares in the following pattern.
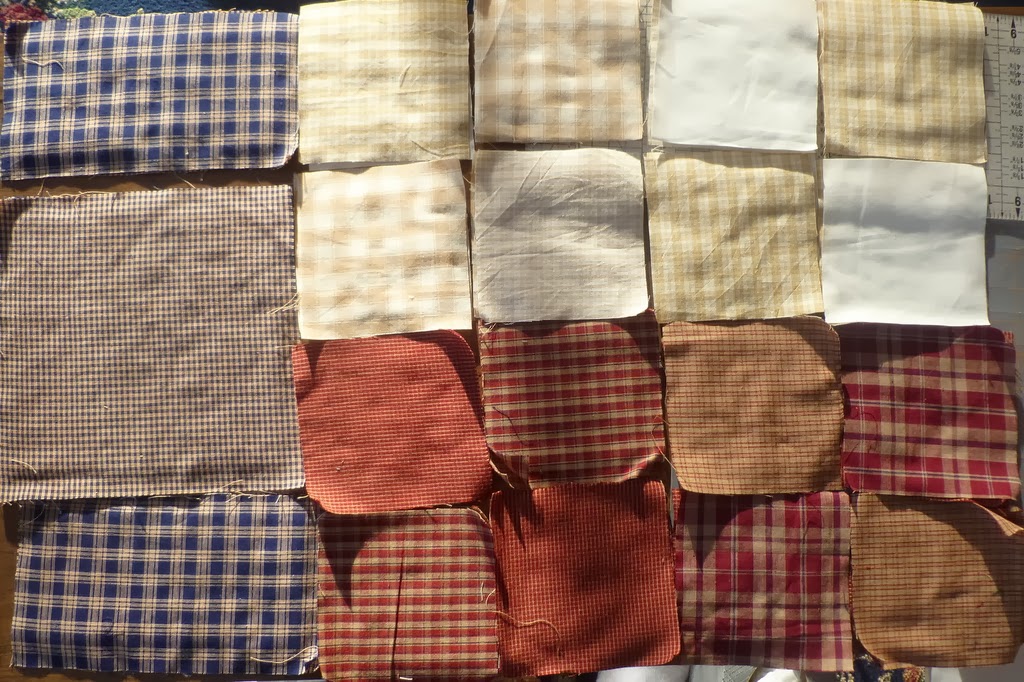
I then machine sewed around each square using 1/2 inch seam.
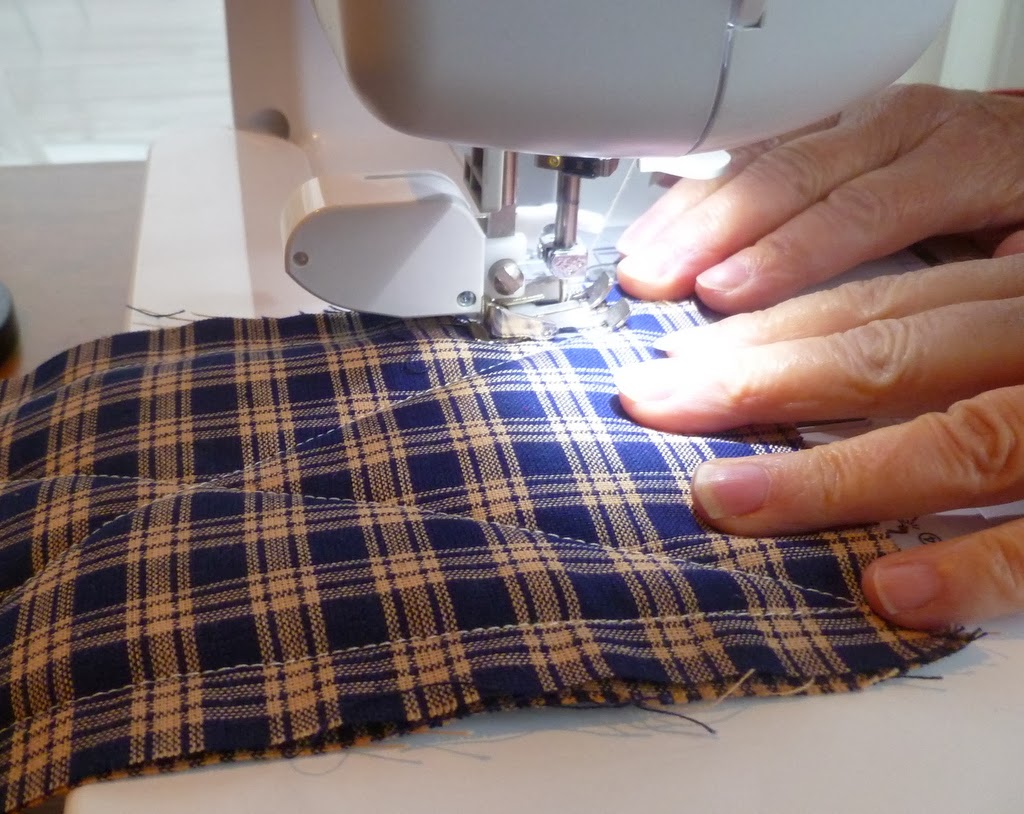
Next I sewed an X across half of the blocks and a half circle on the others, as seen below.
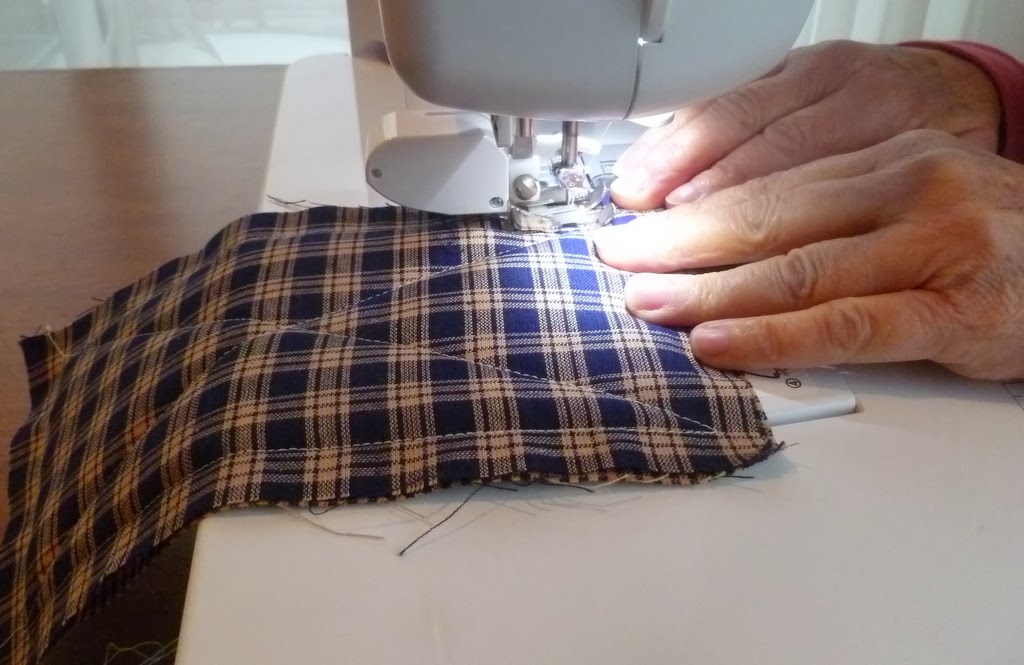
To do this I made a half circle out of heavy paper and sewed around it.
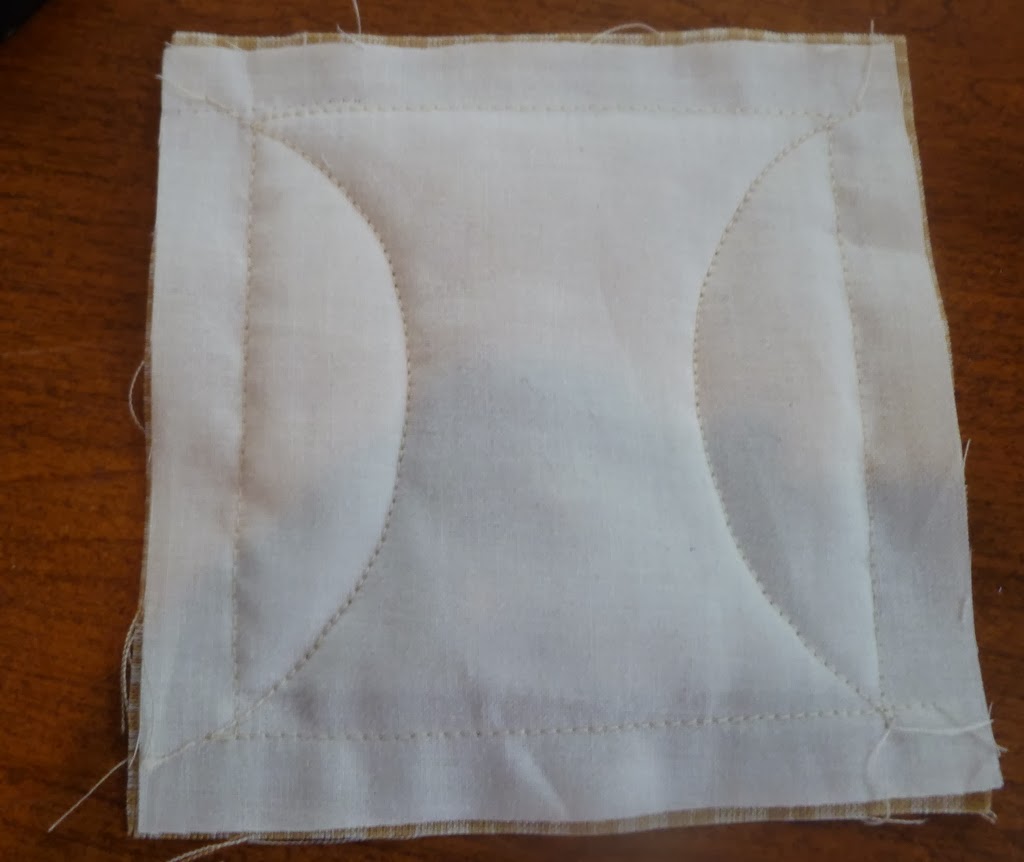
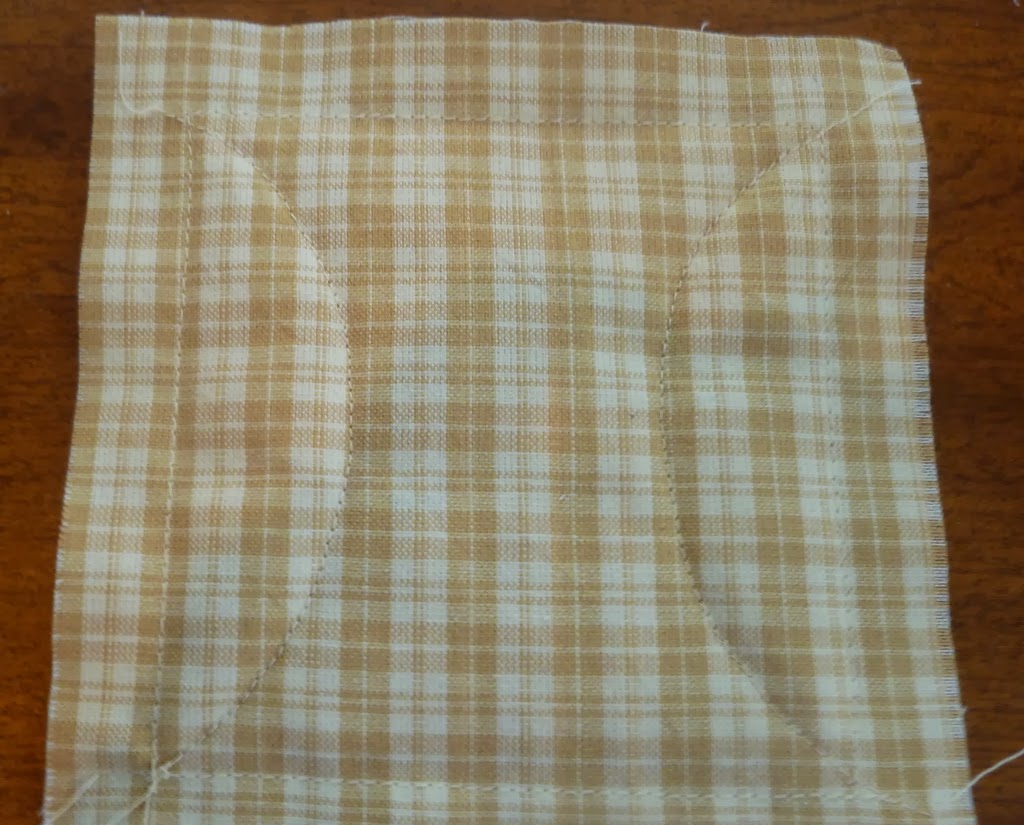
After I have gotten all of the squares and rectangles sewed around and laid out the way I wanted them to be on the quilt, I began to sew them together.
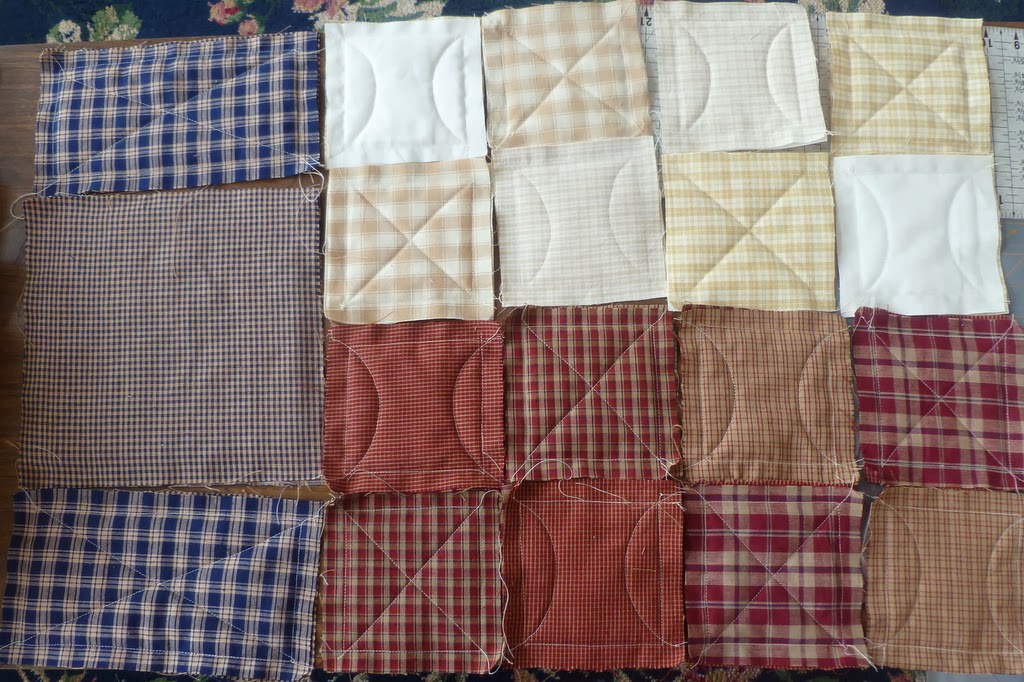
Putting two WRONG (or backs) sides of quilt blocks together, I sewed them together, then add another block sewing so the seam allowance is coming to the front of quilt. By doing this your seam allowances will be on the front of your quilt. The seam allowance becomes the fringe of the quilt. The back of your quilt will be smooth.
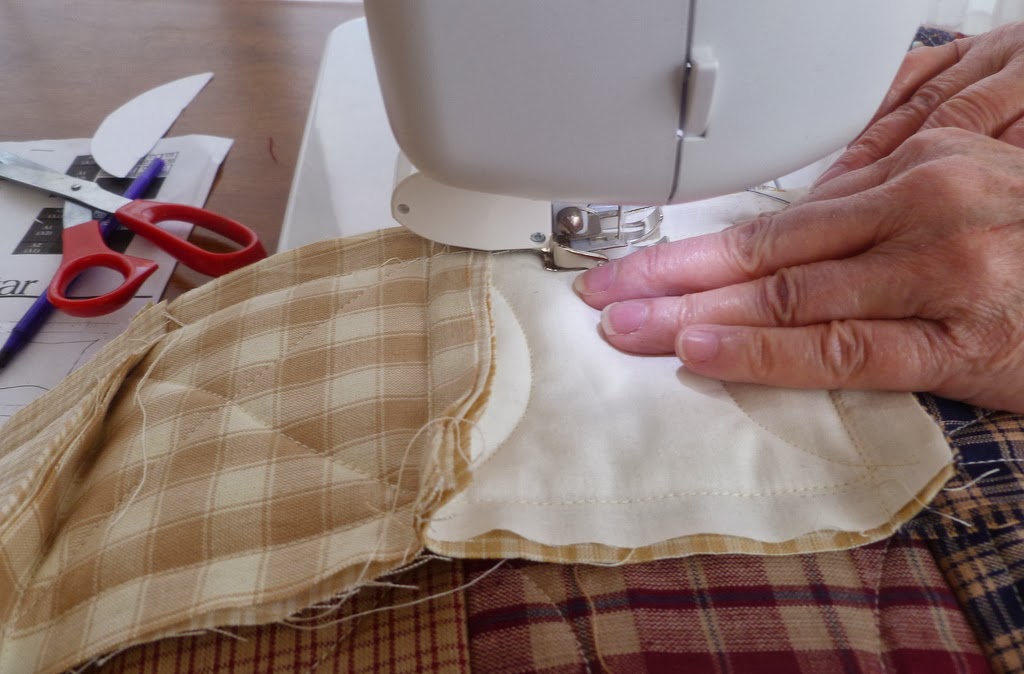
I sewed each of the rows of smaller blocks together horizontally in rows, as seen above
(The top and bottom rows – sew the blue rectangles and the 4 white or off white blocks – those rows will have 5 blocks sown together.The second and third rows sew only the smaller 4 blocks are sewn together . I did not sew the blue larger square block on yet.)
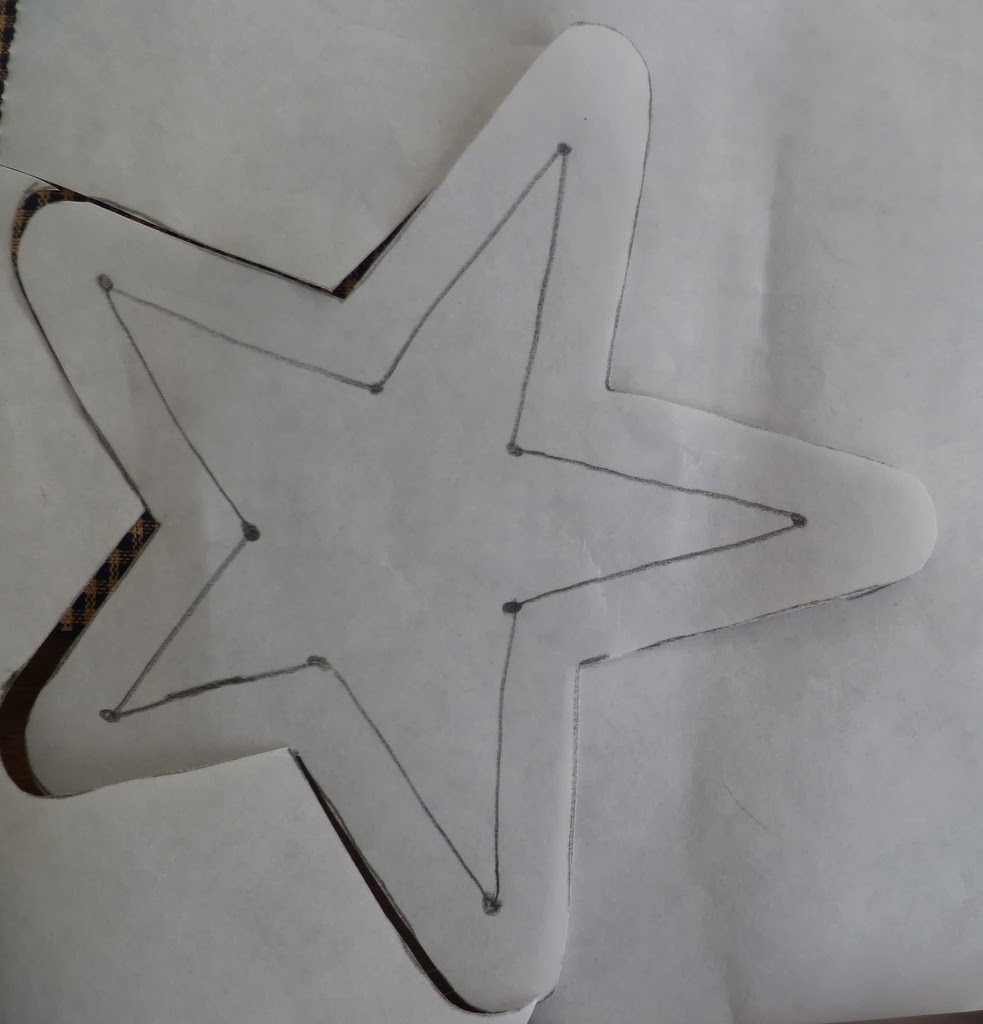
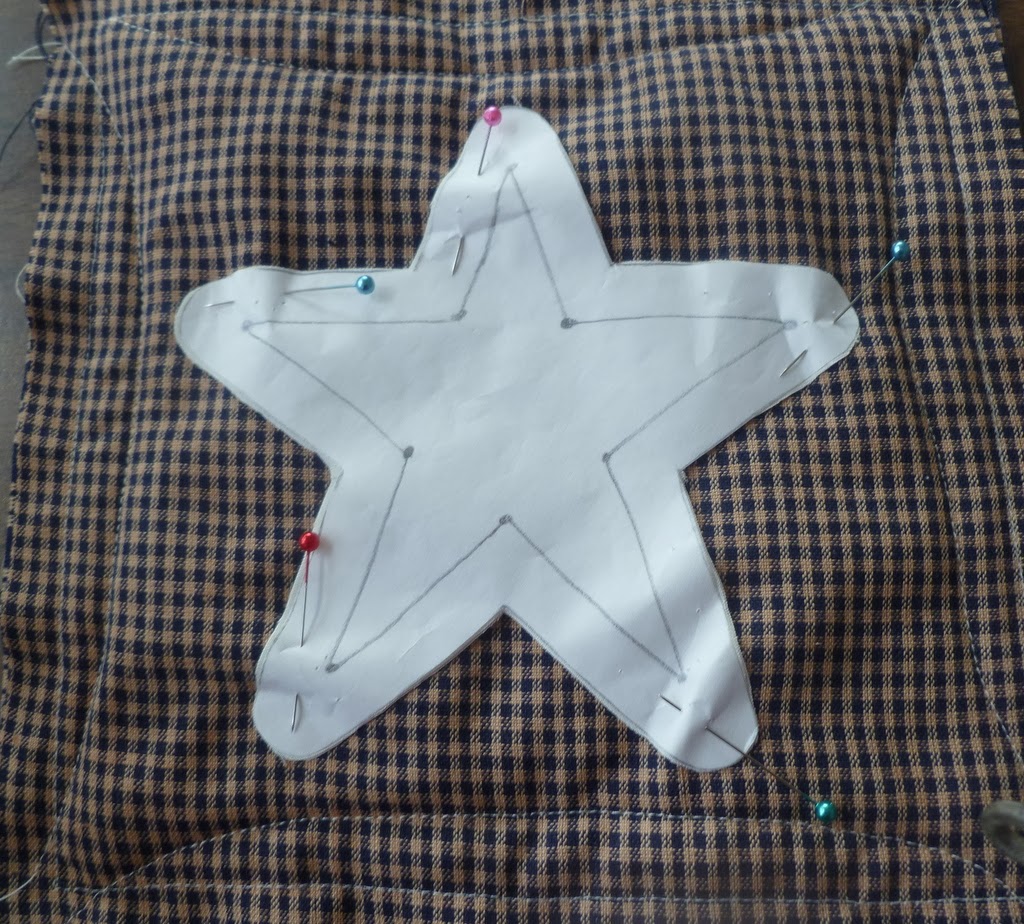
Next I made a Star temp-let of freezer paper
(The star temp-let is 6 inches by 6 inches.)
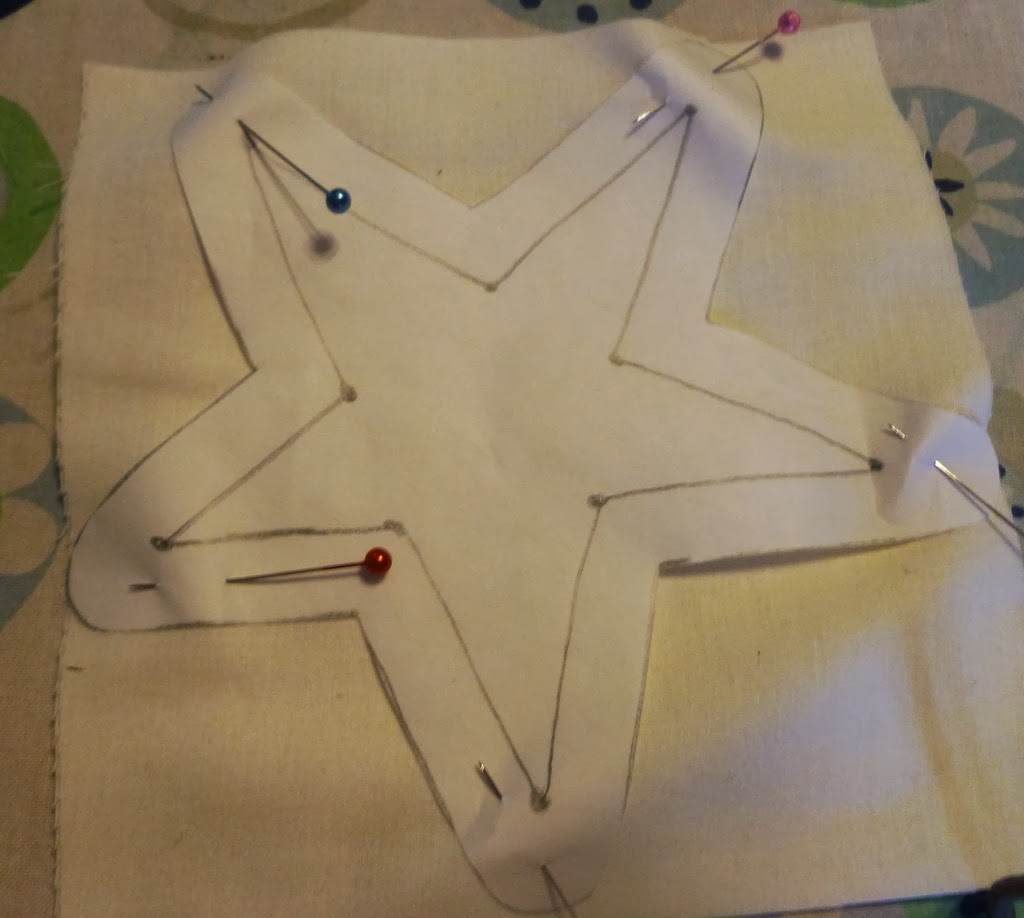
Pin the temp-let on the solid white fabric and cut around it. (I actually double the material and cut out two stars so that my fringe around the star would be thicker and sewed them both together on my blue fabric.)
Center and pin fabric and temp-let on blue large block. Stitch around sew lines to attach star to block.
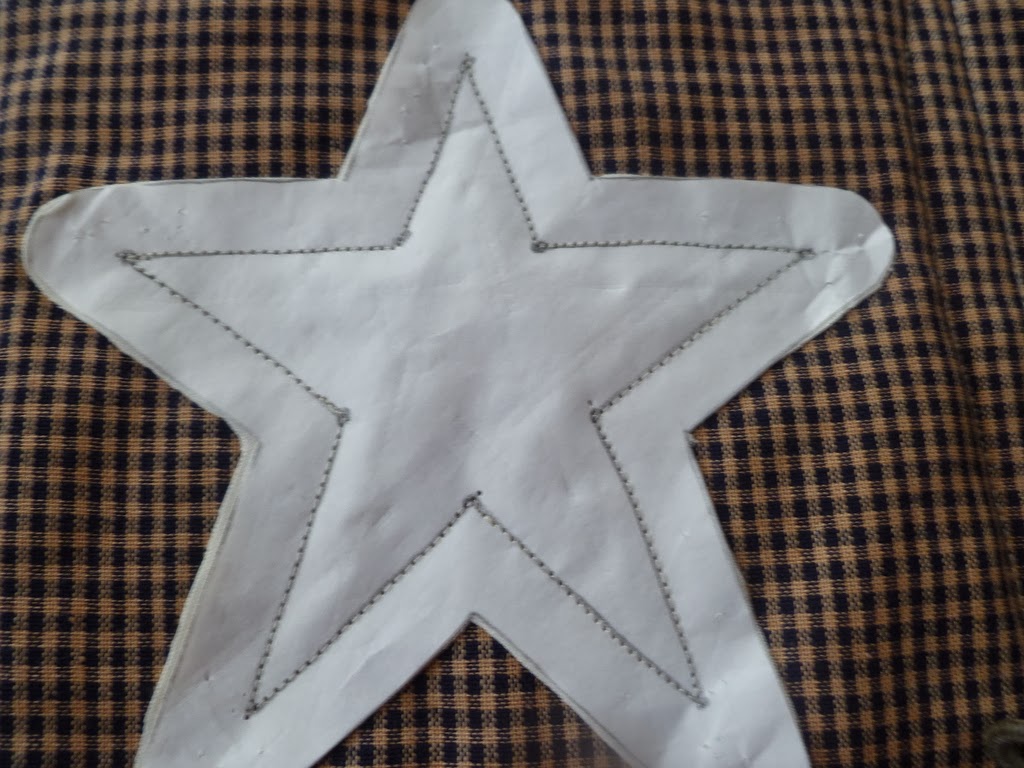
I tore the temp-let off the fabric, as seen below.
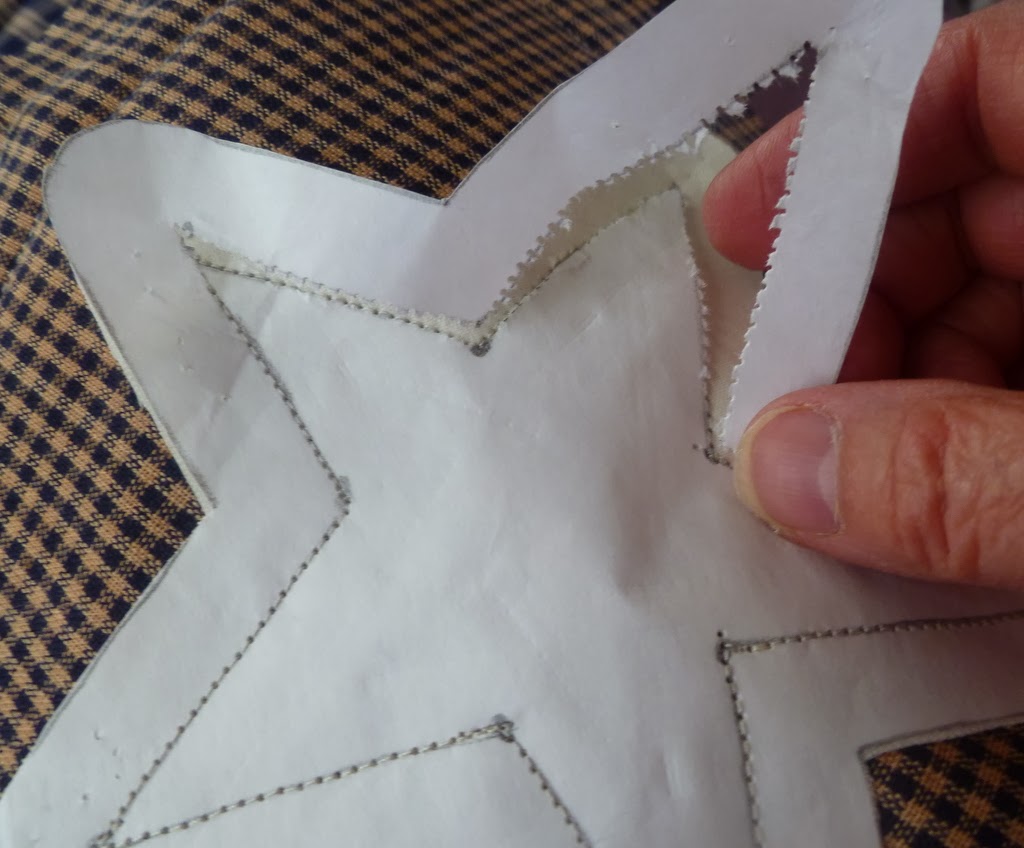
You only have the star left.
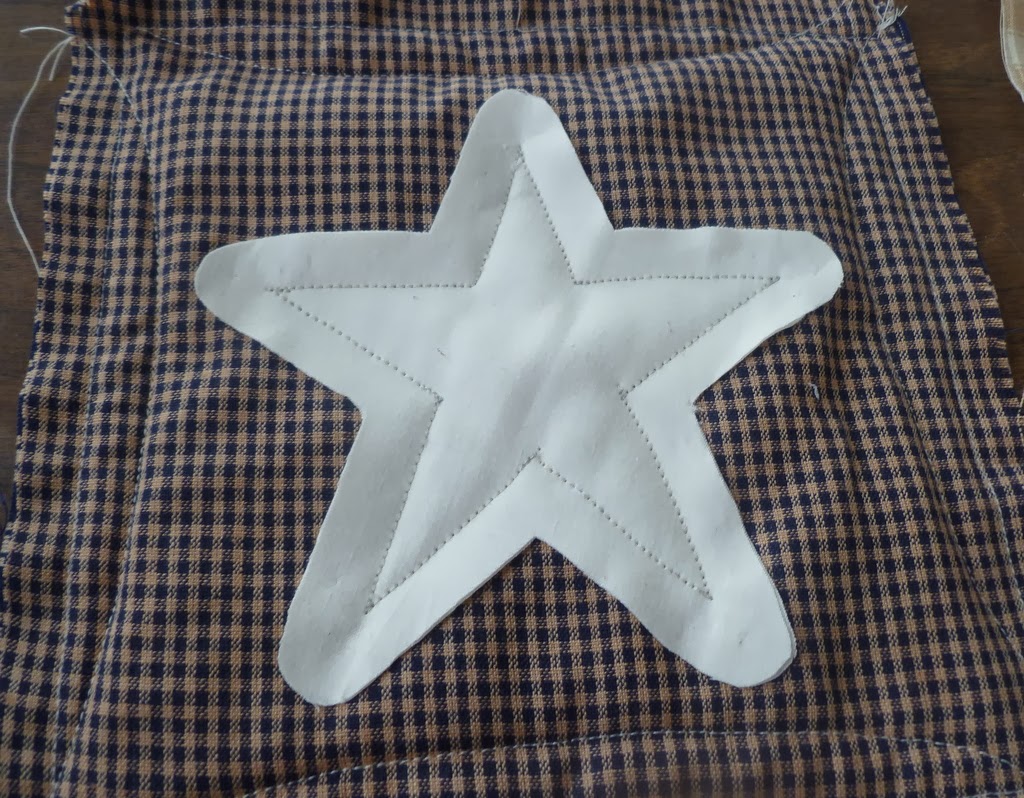
Next I attached this block to rows two and three, then to 1 and 4.
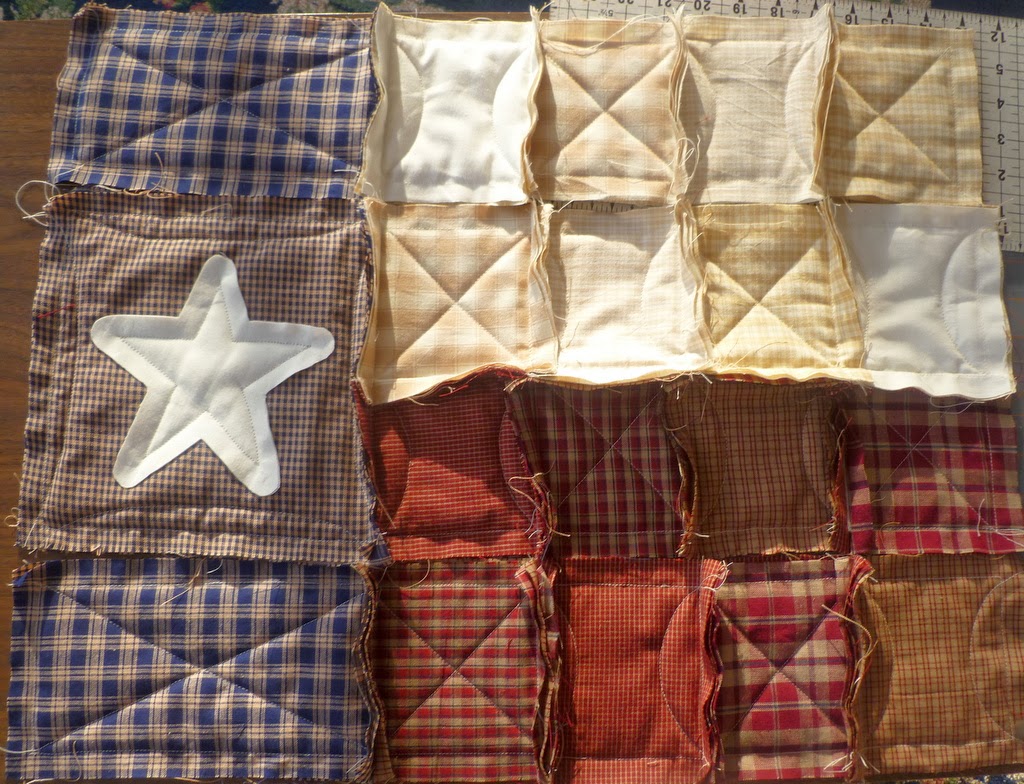
Your quilt is all sown together. Now it is time to make the top and bottom trim. Cut 2 blue and 2 red strips 25 inches long by 1 1/2 inches wide. Also, cut 2 blue and red strips 17 inches long by 1 1/2 inches long for the side trim.
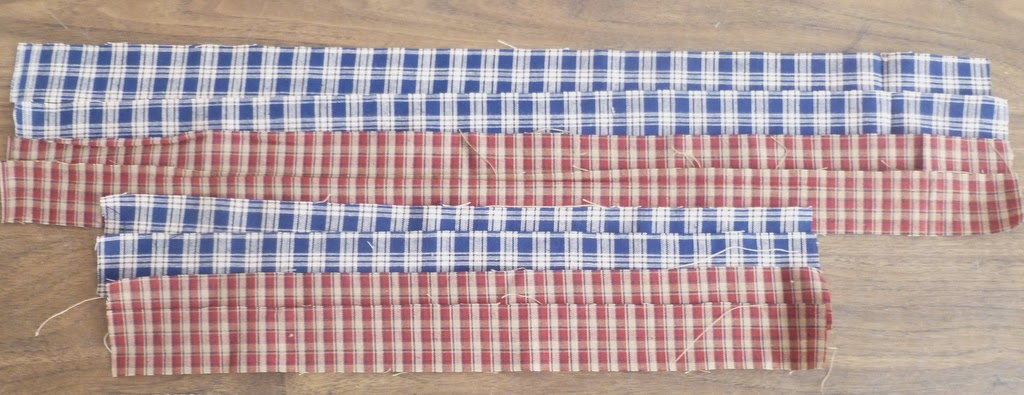
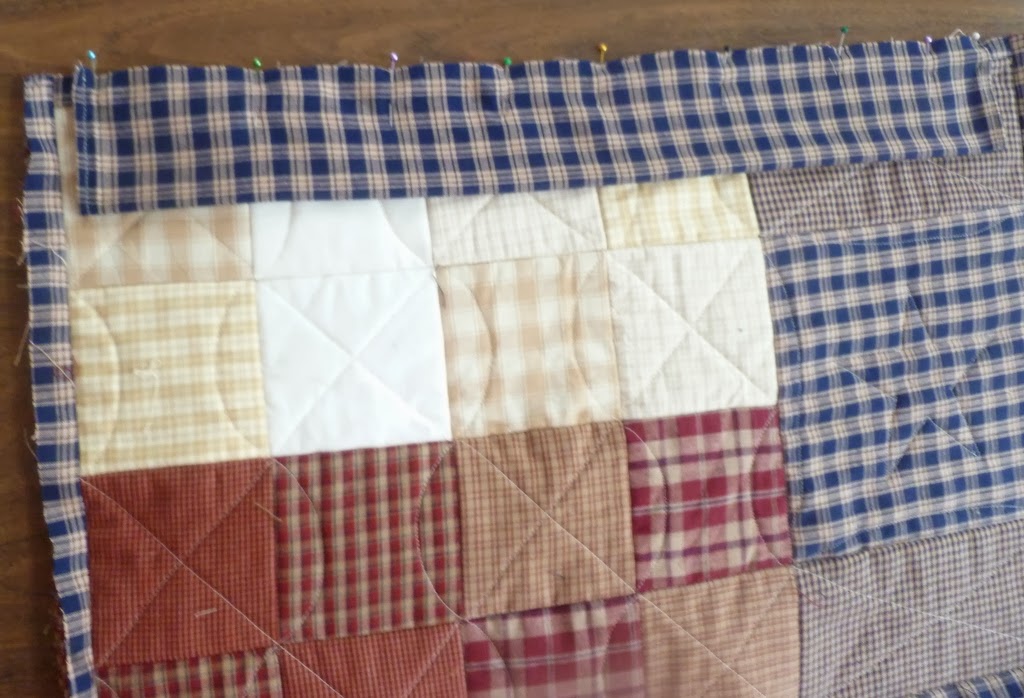
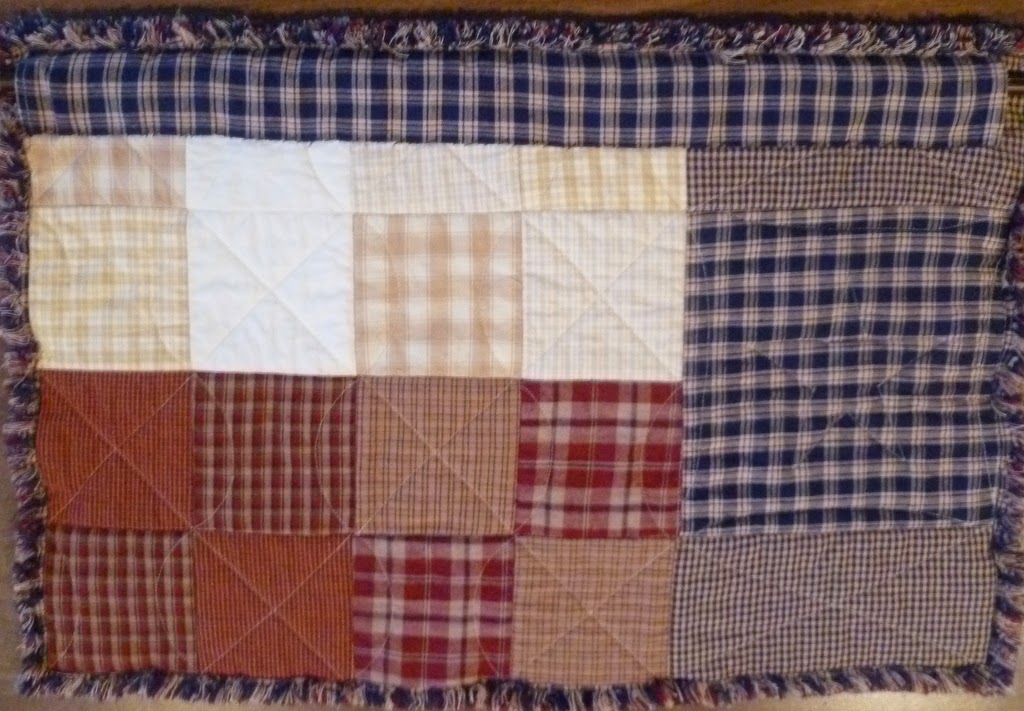
I put one red strip on top of the blue stripe for top trim and pin this to the top.Sew it on using the 1/2 in seam allowance. (this will be stitching the center of the material as seen below)
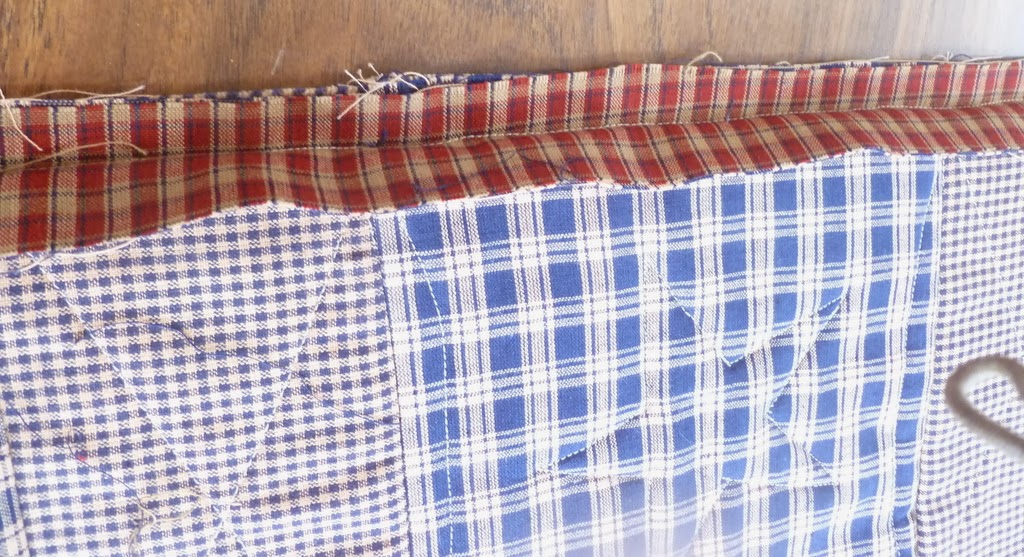
Repeat the same process for the bottom seam allowance, as well as the side allowances.
Press the material upward and away from the quilt. As you look at the quilt below you will see only the blue trim on the back side. of quilt.
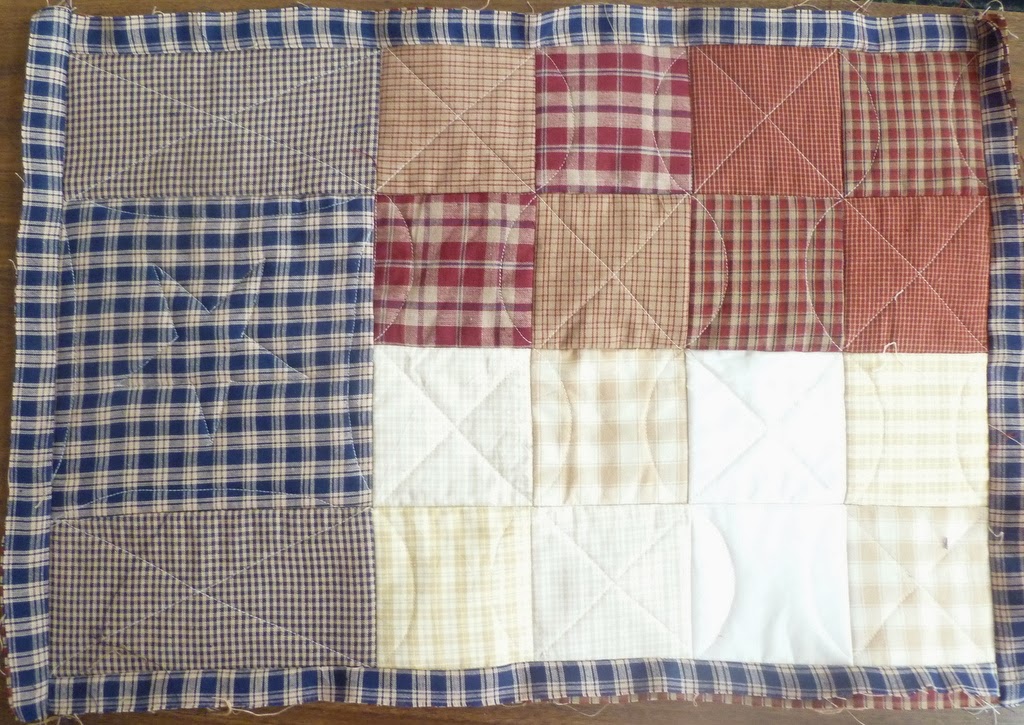
Trim quilt to be 25 inches wide top and bottom by 17″ on each side, if need.
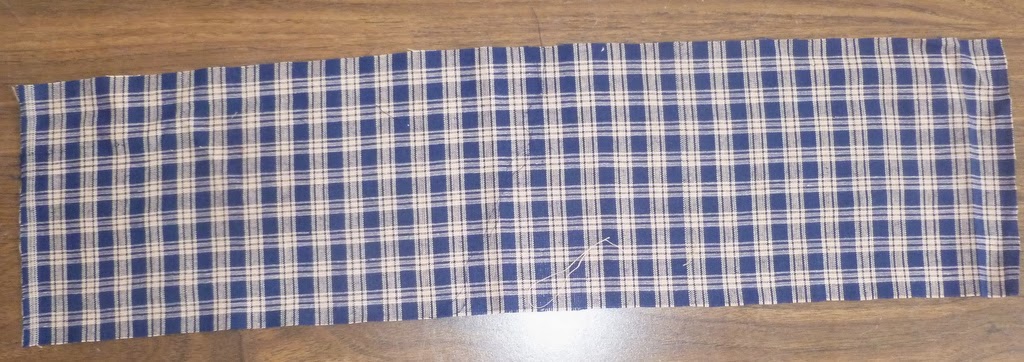
Now you are ready to make your hanging sleeve. Cut a piece of material 23 inches wide by 6 inches long. Press under 1/4 inch on each end and sew a seam down each in so the ends will not ravel.
Fold the material right sides together and make a quarter inch seam down the length of the material. Turn material right side out so the seam is on the inside of material.
Pin the sleeve to the top of the back side of your quilt, 1/2 inch down. Sewn a seam width wise the quilt.
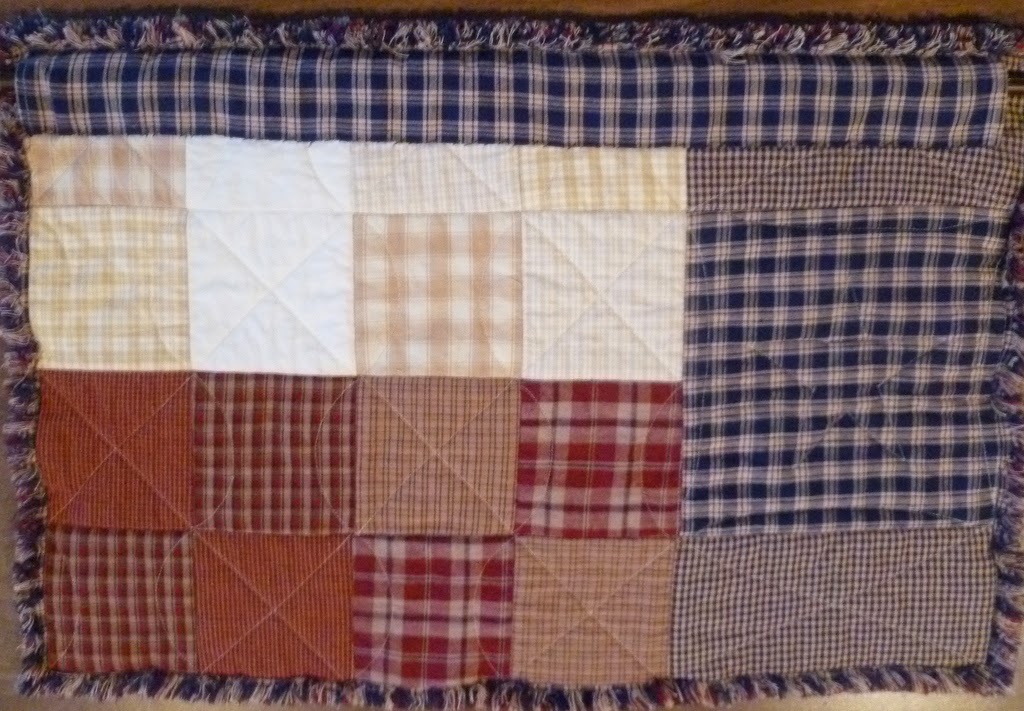
Take a pair of scissors and make a 1/4 inch snip all the way around the quilt and then do the same around each inside block. Do not snip into the seams. (Do a little of the cutting at a time so as to keep your hand from getting tired or sore.)
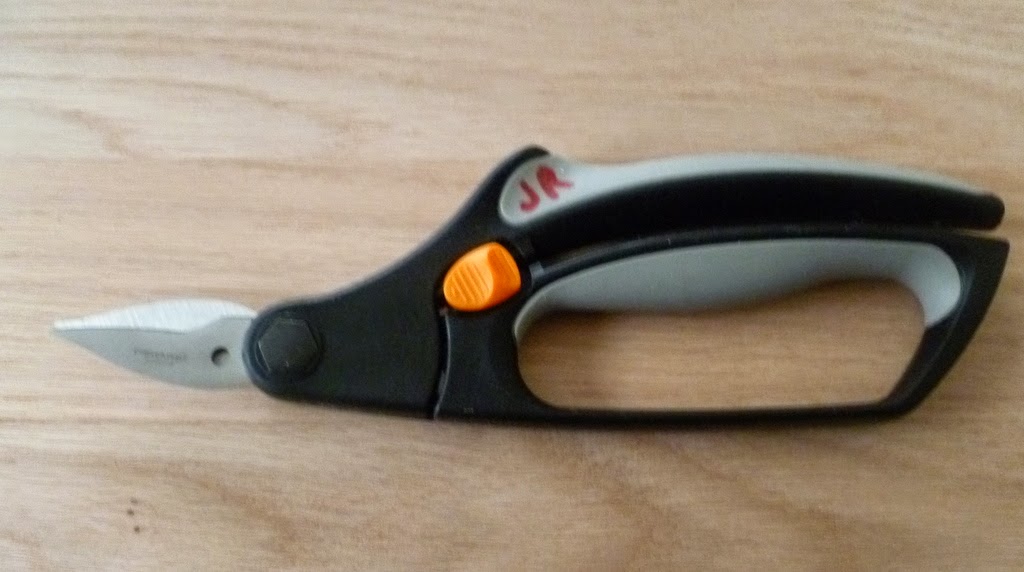
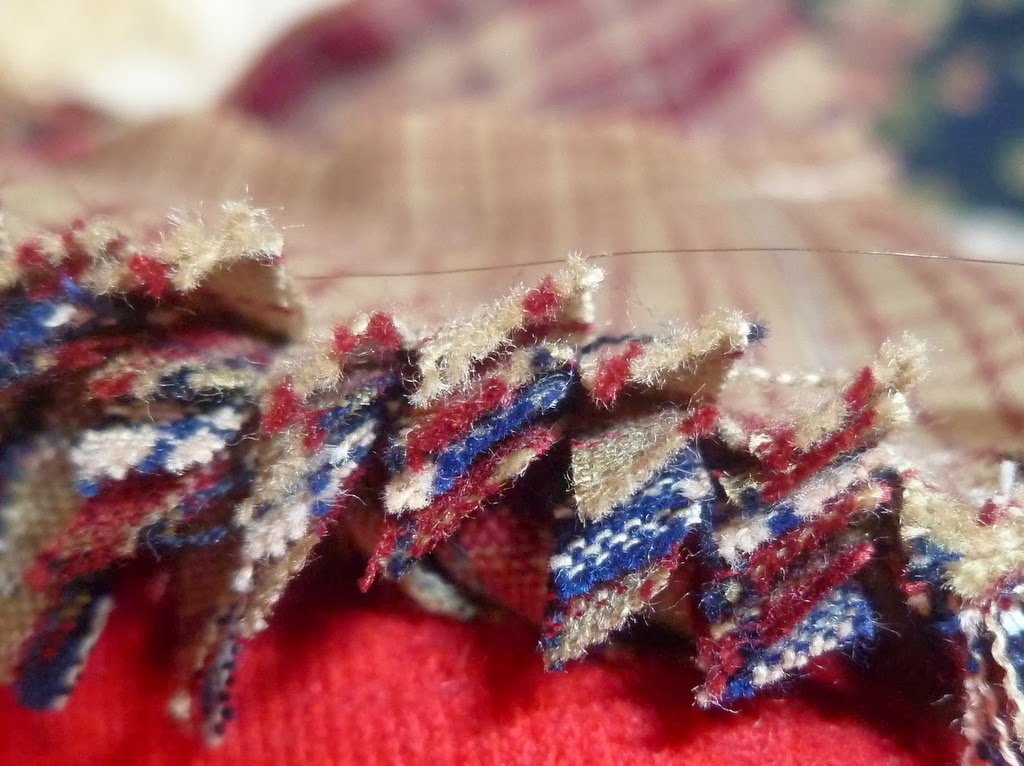
I purchased a pair of snip scissors.
This made the cutting much easier.
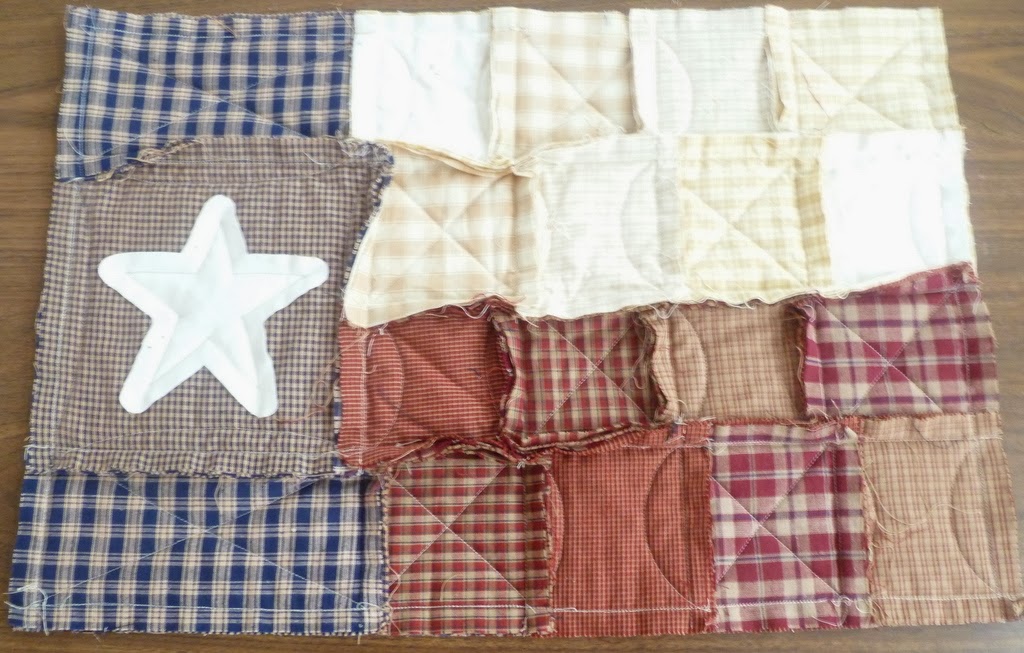
This is what your quilt should look like when you have snipped all the 1/2 inch seam allowances through out your quilt, including the star.
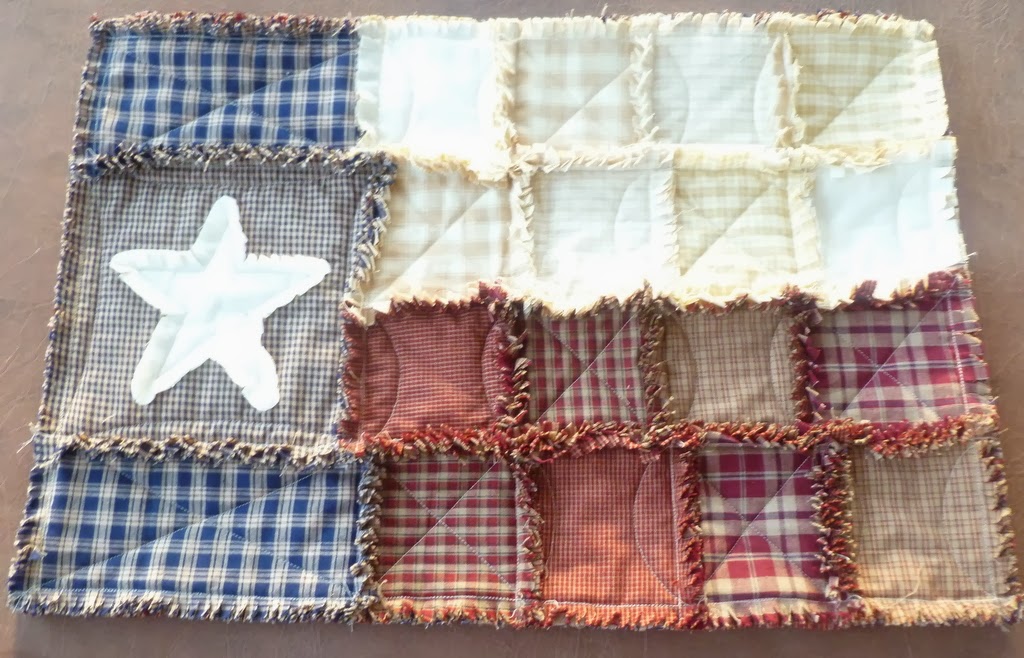
I am excited to have finished this Texas Star Rag Quilt. It is my first (of this kind) and I think it turned out pretty good. I am excited about making another one. It was pretty simple and relaxing.
Once you have completed your quilt. Take it to a laundry mat to wash so as to keep your machine from clogging up with the strings that shed. The commercial machines are made to handle more than the home machines.
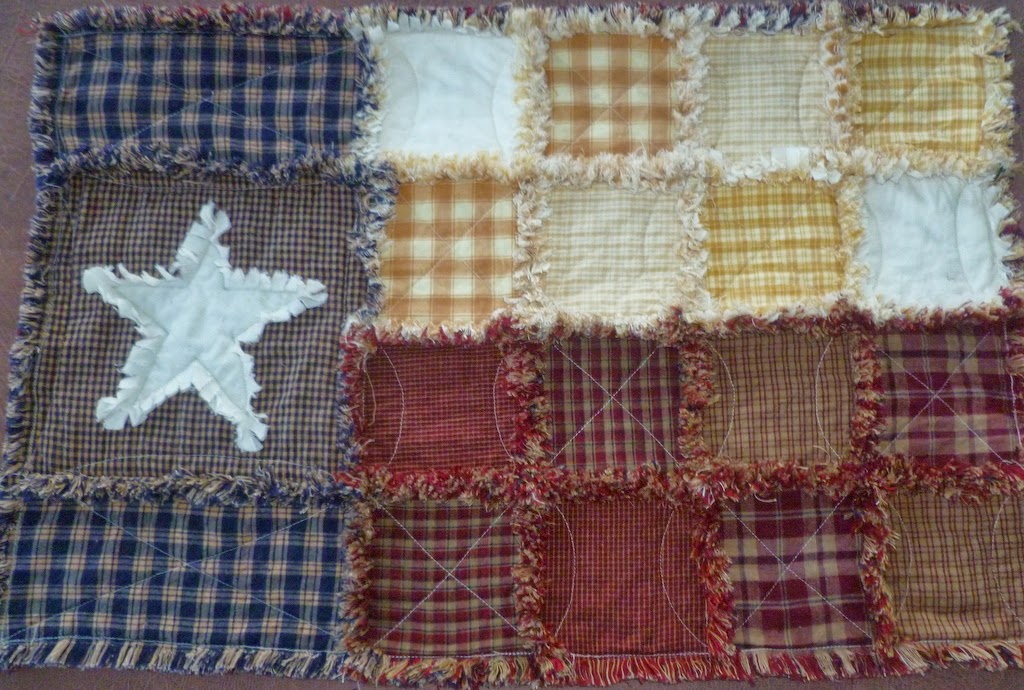
Lay flat to dry.
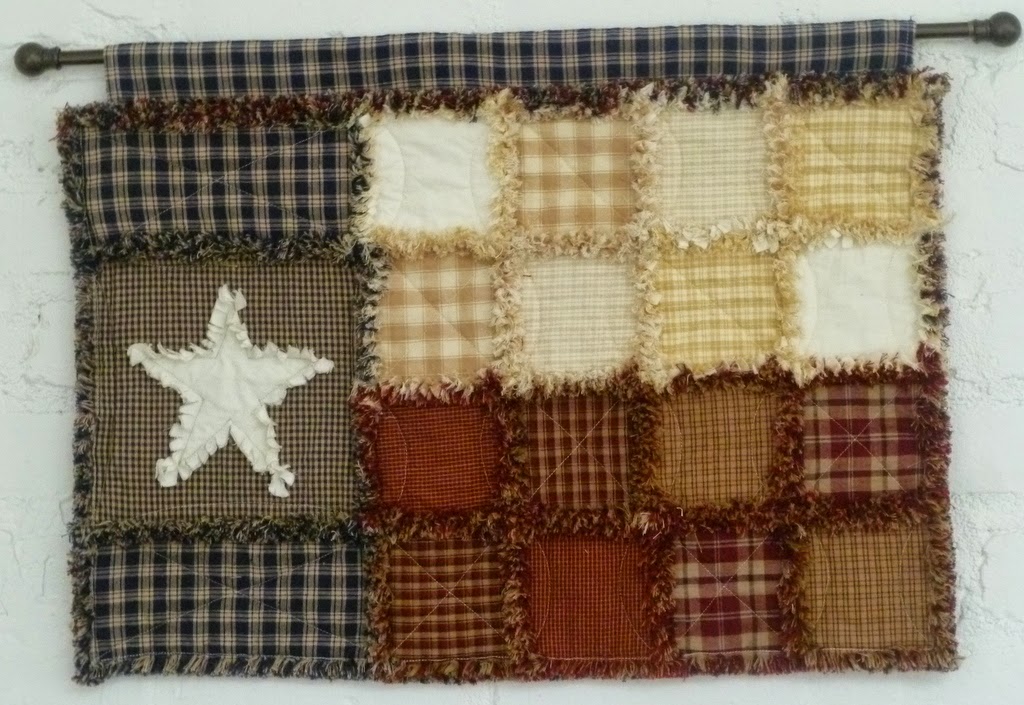
I didn’t want my hanger to show so I hand stitched it to the back of my quilt and
ran my rod through the casing.
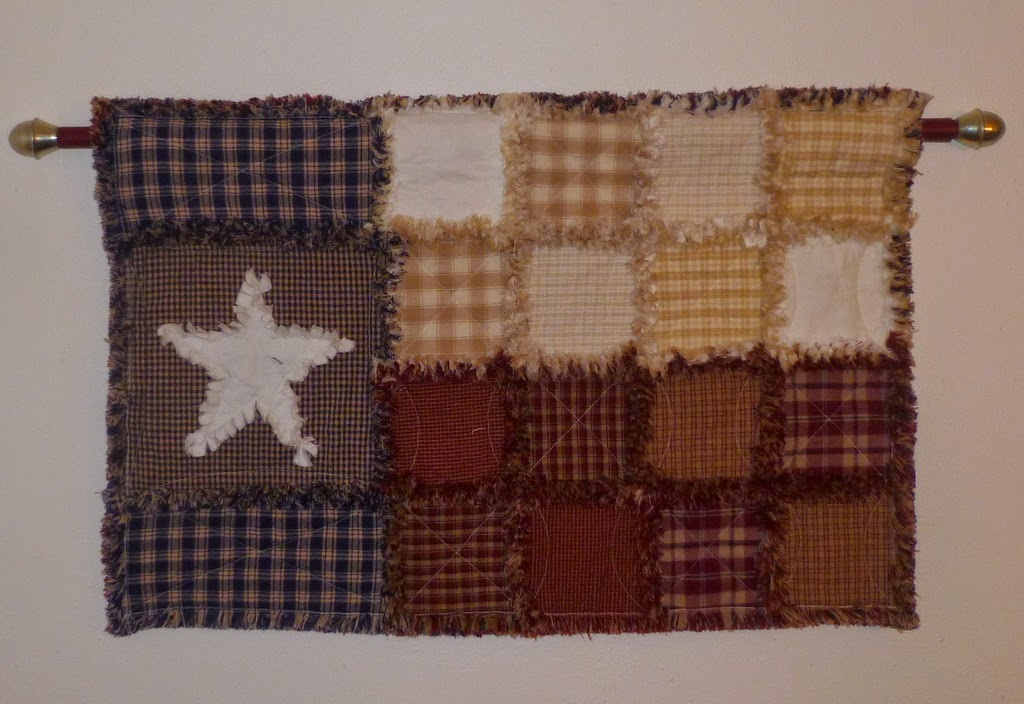
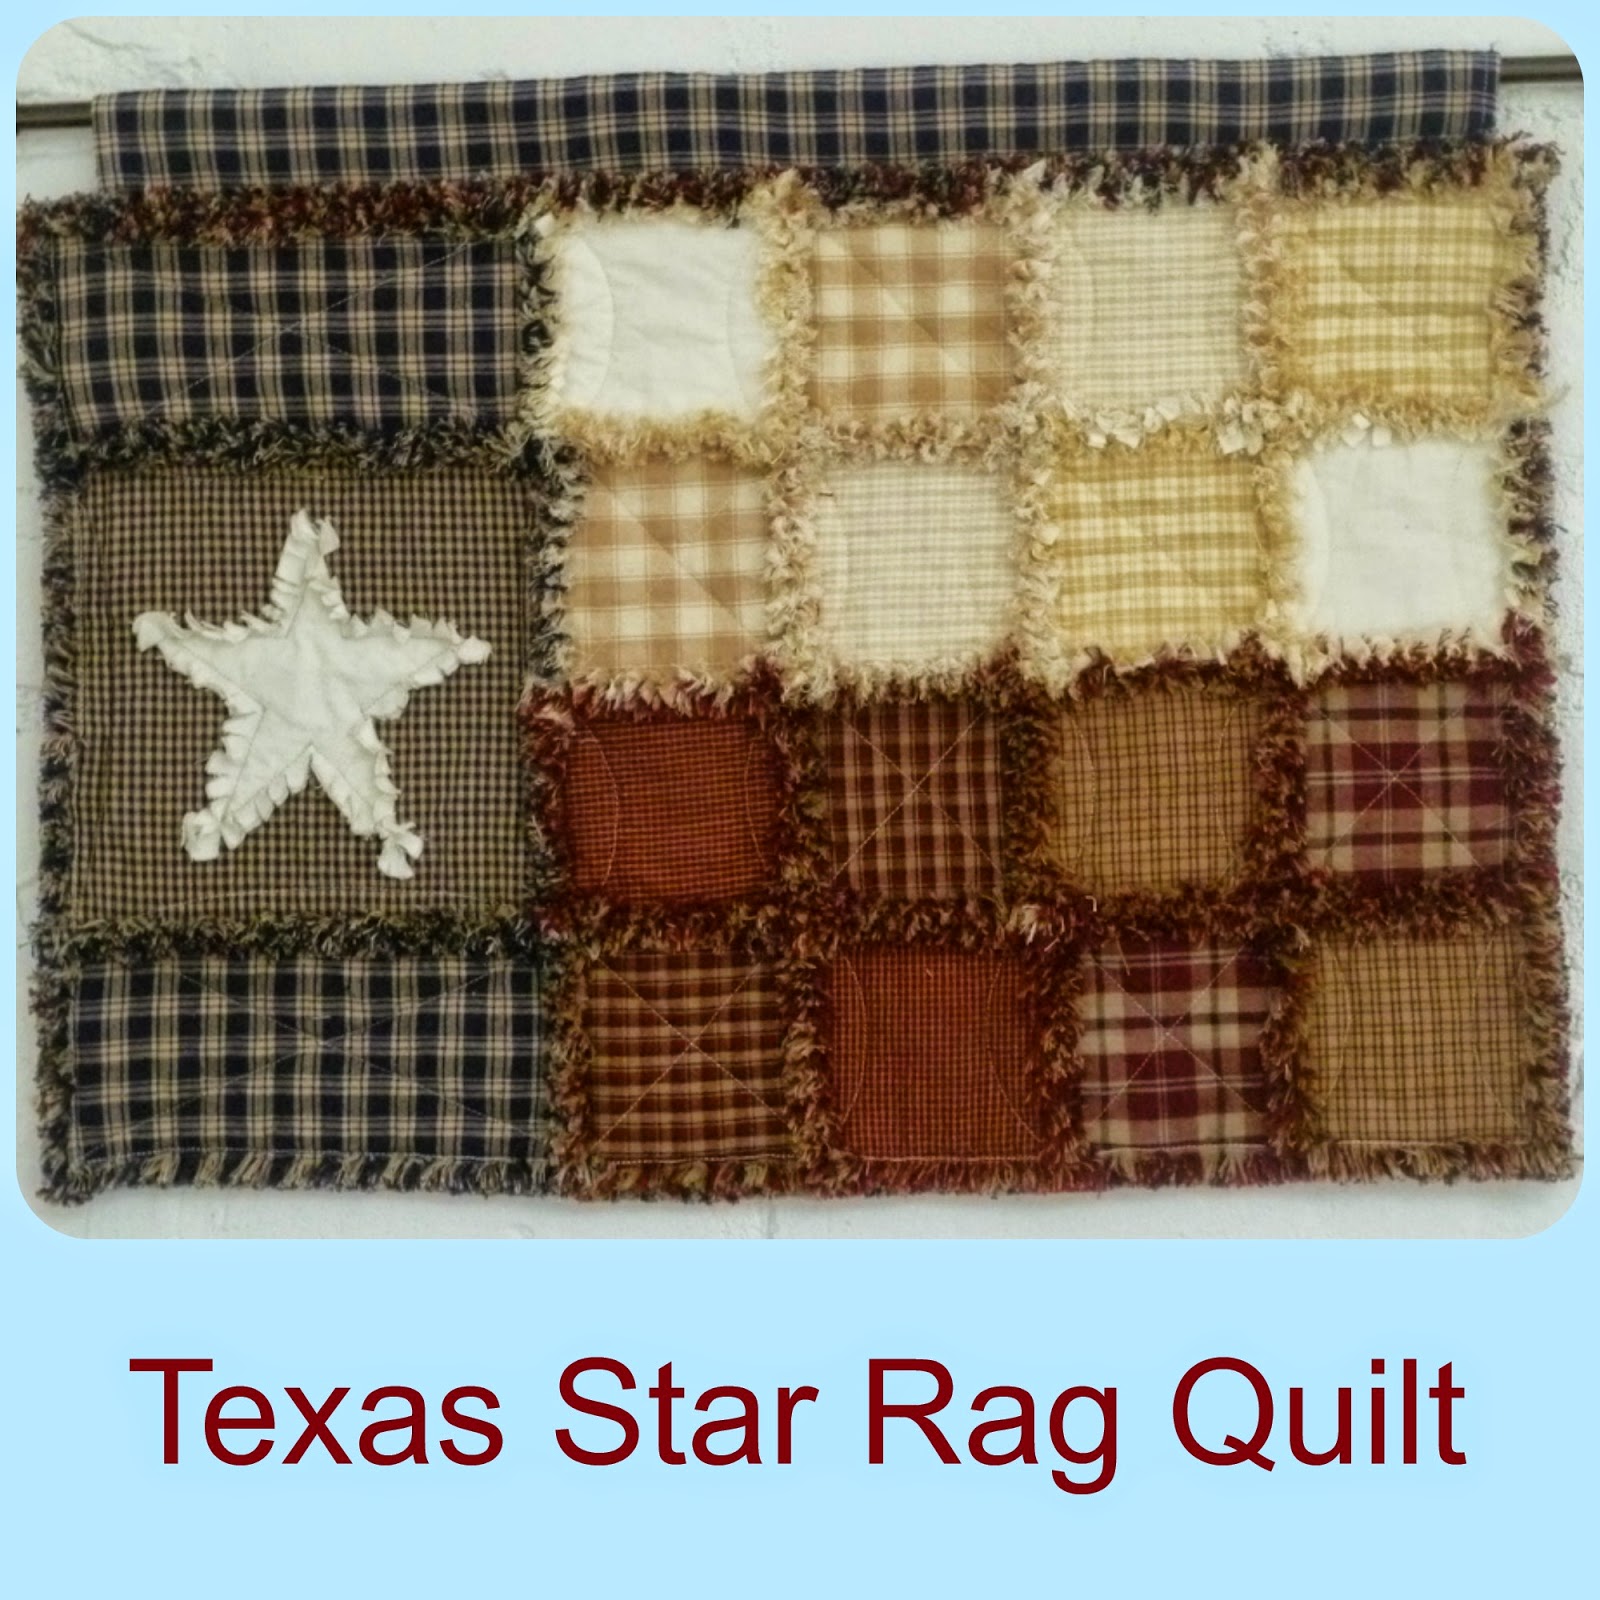
I am looking forward to displaying my Texas Star Rag Quilt for all to see.
Hope you like it.
Blessings,

Linking to some of
these fun linking parties:
Sunday:
Under
the Table and Dreaming , DIY Showoff , Nifty Thrifty Things, Homemaker on a
Dime , Embellishing Life, Sumo’s Sweet Stuff, DIY Home Sweet Home
Monday:
Skip to my Lou , Craft O Maniac , It’s
so Very Cheri , Keeping it Simple, Creating Really Awesome
Free Things, Make Ahead Meals for
Busy Moms Between Naps on the
Porch , The Girl Creative Singing Three Little
Birds , Mad
in Crafts , I’m An Organizing Junkie, Add a
Pinch, A Southern Fairytale, Sew Can Do, I
Should Be Mopping the Floor, Cherished Bliss, Making the World Cuter, The Gunny Sack, Mrs Happy Homemaker
Tuesday:
Coastal Charm, A Bowl Full of
Lemons , Tip Junkie , Sugar
Bee Crafts , Not Just a
Housewife , Today’s Creative Blog , Balancing Beauty and Bedlam , 5 Minutes for Mom , Funky Polkadot
Giraffe , DIY by Design Hope Studios , Reasons to Skip the
Housework , Time Warp Wife , Chef in Training
Home
Stories A to Z, My Uncommon Slice of
Suburbia, Vintage Wanna Bee, The
Blackberry Vine, Carolyn’s Homework, The Kurtz Corner,Mommy By Day Crafter by
Night, Rook No. 17
Wednesday:
Raising Homemakers , Crystal & Co. , We Are THAT Family , Women Living Well , The Trendy Treehouse , Passionately
Artistic , Handy Man, Crafty
Woman Someday Crafts , Fabric
Bows and More , This Chick Cooks , Seven Thirty Three, Sugar & Dots A Creative
Princess , Dragonfly Designs , The Thrifty Home , Creations by Kara, Gingersnap Crafts , A Little Tipsy , Uncommonly Yours, My Girlish Whims,
Thursday:
Shabby Creek
Cottage , Delightful Order , Somewhat Simple , House of Hepworths, Saved by Love
Creations , It’s a Keeper , Thrifty
Decorating , The Frugal Girls , Miz Helen’s Country Cottage , The Thirty Sixth Avenue, Raising Mighty Arrows, Thrifty 101, Diary of a Stay at Home
Mom, Beyond the Picket Fence, A Glimpse Inside, Something Swanky
Friday:
The
Shabby Nest , Fingerprints on the
Fridge , Chic on a Shoestring, Life
as Mom , Miss Mustard Seed , Tidy Mom , Whipperberry , At the Picket
Fence , French Country
Cottage 30 Handmade Days , Finding Fabulous , Just a Girl , Stuff
and Nonsense , Naptime CraftersTatertots and Jello, My Romantic Home , While He was Napping , Comfy in the Kitchen, Bacon
Time with the Hungry, Hungry Hippo, The
Country Cook, Pocket Full of Pink Six Sister’s Stuff, Kitchen Fun With My
Three Sons, Ann Kroeker Writer, Grocery
Cart Challenge, Simply Sweet Home, Craft Junkie Too, Simply Designing, Happy Hour Projects, A Little Knick Knack
Saturday:
Funky
Junk Interiors, Young
and Crafty , Be
Different, Act Normal , A
Vision to Remember, Sweet
as Sugar Cookies, I
Heart Naptime,Positively
Splendid, It’s Overflowing, The Artsy
Girl Connection, Craft
Envy, Too
Much Time On My Hands