Scripture to Live By:
And the angel said unto them, Fear not: for, behold, I bring you good tidings of great joy, which shall be to all people.
For unto you is born this day in the city of David a Saviour, which is Christ the Lord.
And this shall be a sign unto you; Ye shall find the babe wrapped in swaddling clothes, lying in a manger.
And suddenly there was with the angel a multitude of the heavenly host praising God, and saying, Glory to God in the highest, and on earth peace, good will toward men.
Luke 2:10-14
Craft Post:
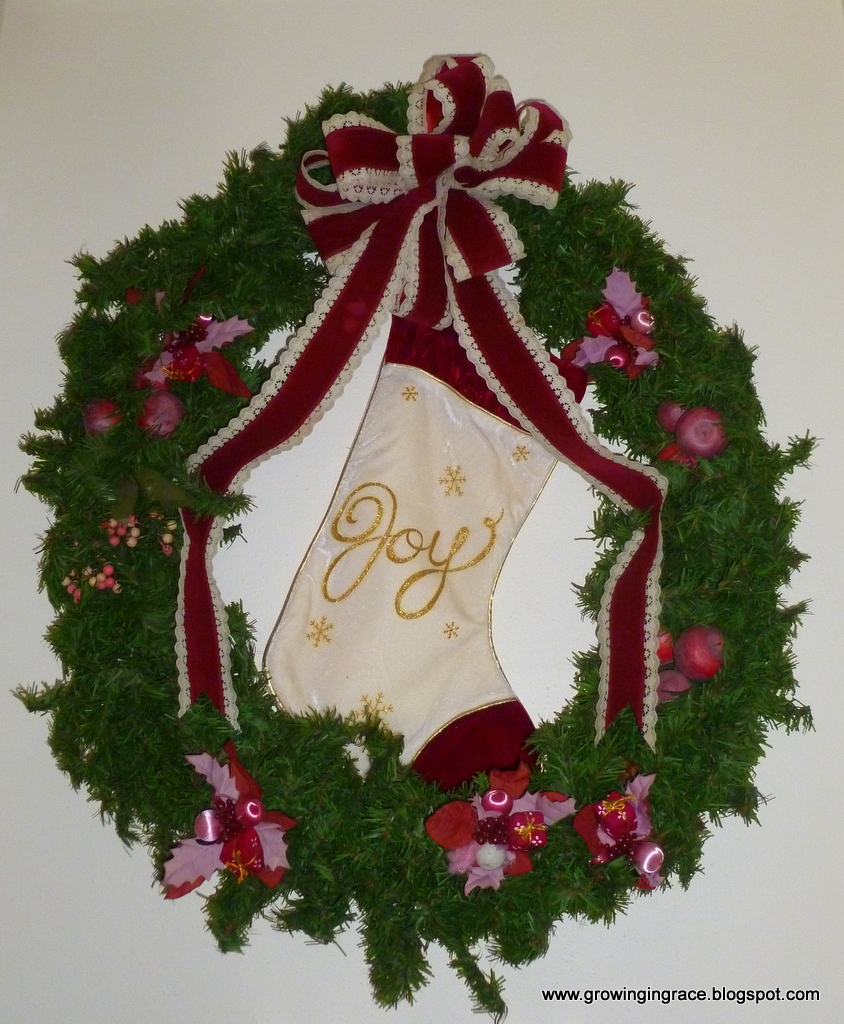 With Christmas upon us and the need for bows, bows and more bows. I thought it might be a good time to re-post my “How to Make a Bow” post. They are certainly more price efficient than the store bought ones.
Here is what you will need:
Ribbon
Scissors
Wire (I use floral wire)
Wire cutter
Tape measure
Scotch or masking tape
The first thing I do is tape my tape measure to a table, this way I can measure the ribbon and wire easily.
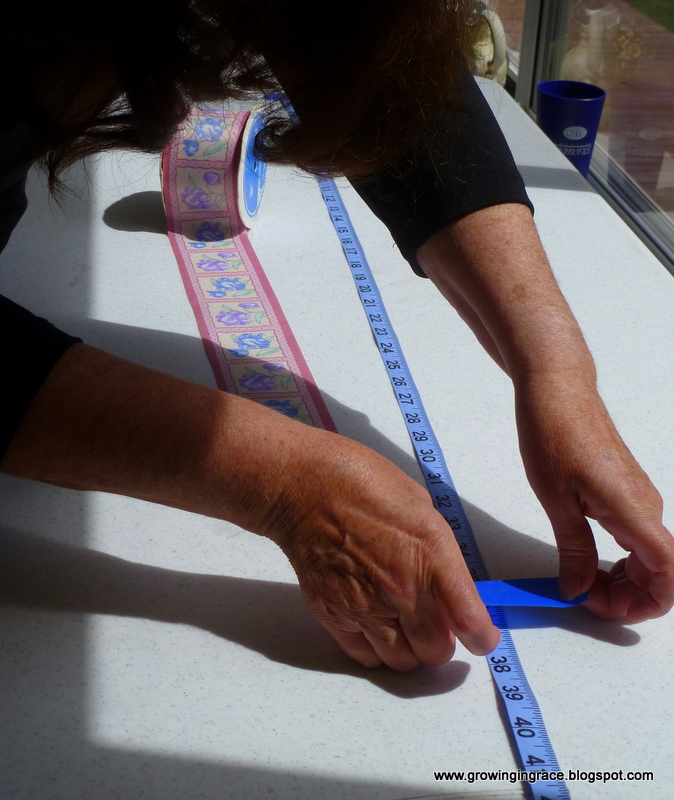
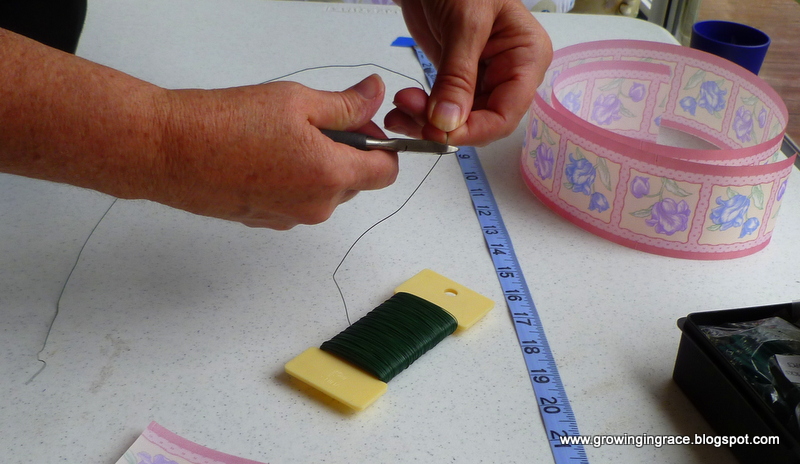
Measure out 18 inches of wire – this will be used to tie your bow together, and then to tie your bow to what ever you will be using it on.
Next measure off 1 yard of ribbon and cut – this will be used for the center of your bow and for the bow tails that hang down.
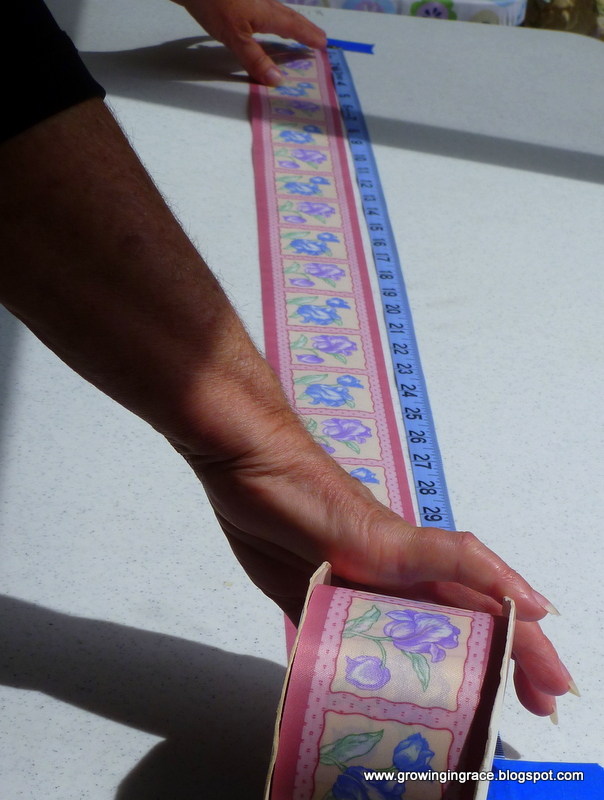
Next measure off 3 yards of ribbon and cut – this is your bow. (You can make a larger bow by using 5 yards of ribbon and making your loops larger.)
Start with one end of your ribbon, right side upward as seen below. You can see in the picture below that you start with the right side of ribbon up and overlapping the center. You want the length of each loop to be approximately 9 inches.
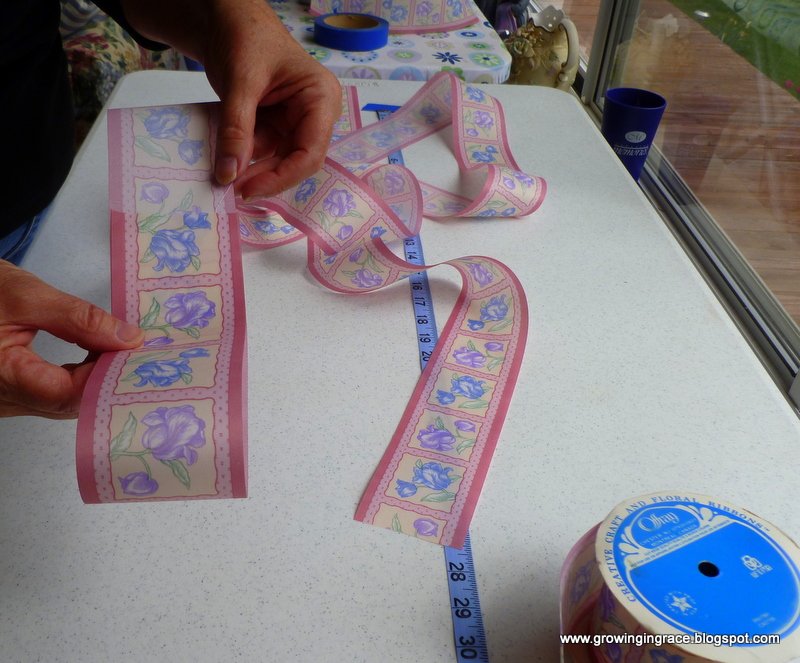
Wrap the entire 3 yards around each other as shown. The extra piece of ribbon seen in the picture is for the center of your bow and the tails of your bow.
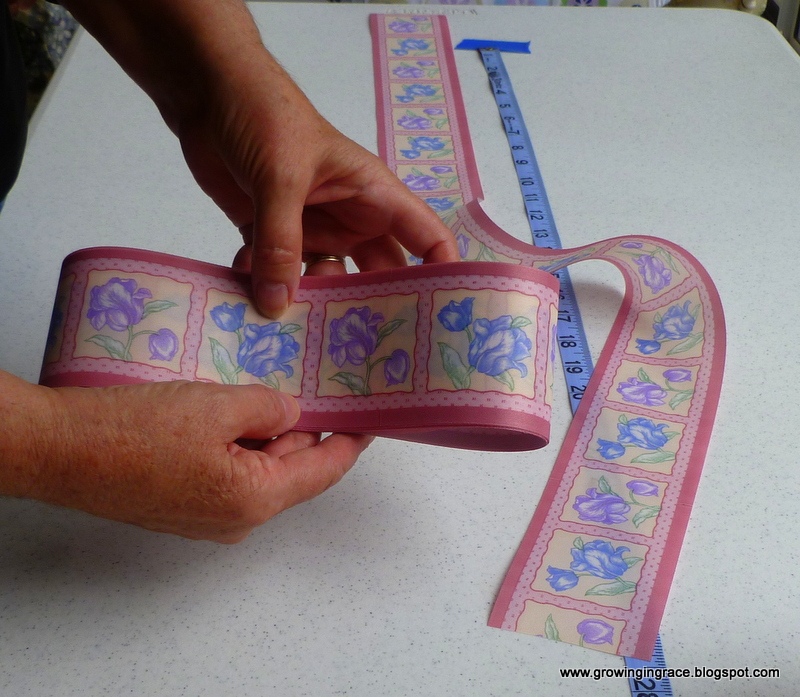
After you get the 3 yards wrapped, take the one yard of ribbon and fold it in the center, match your ends so that it is even.
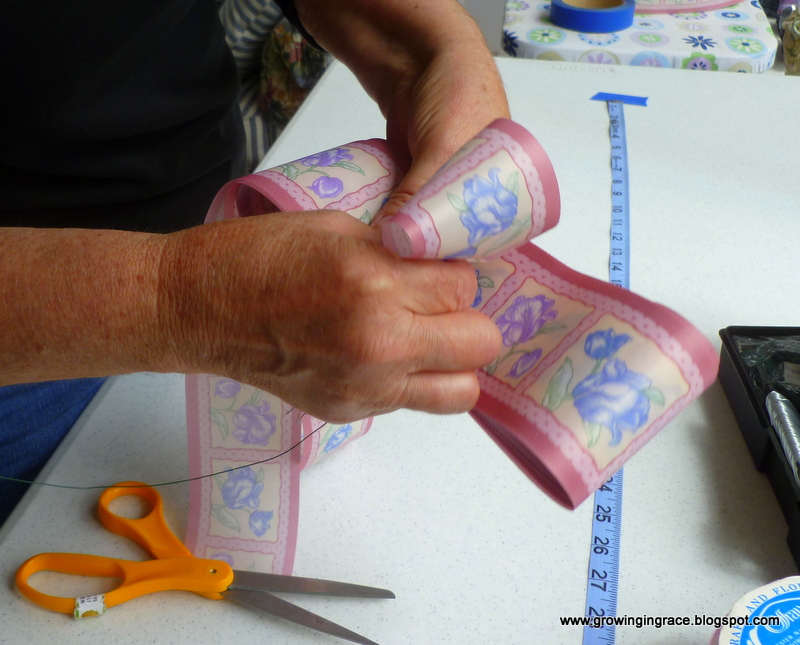
Lay the center of the ribbon about 3 inches above the center of your loops as shown. This 3 inches will be your center loop when you are finished and the pieces of ribbon hanging down will be the tails on your bow.
Next you will hold all of the loops and the center loop in one hand, and with the other hand take your scissors and cut through your ribbons about half way. Turn your ribbon over and cut about half way through but make sure you come down approximately 1/4 inch from your first cut. You do not want to cut all the way through and ruin your bow.
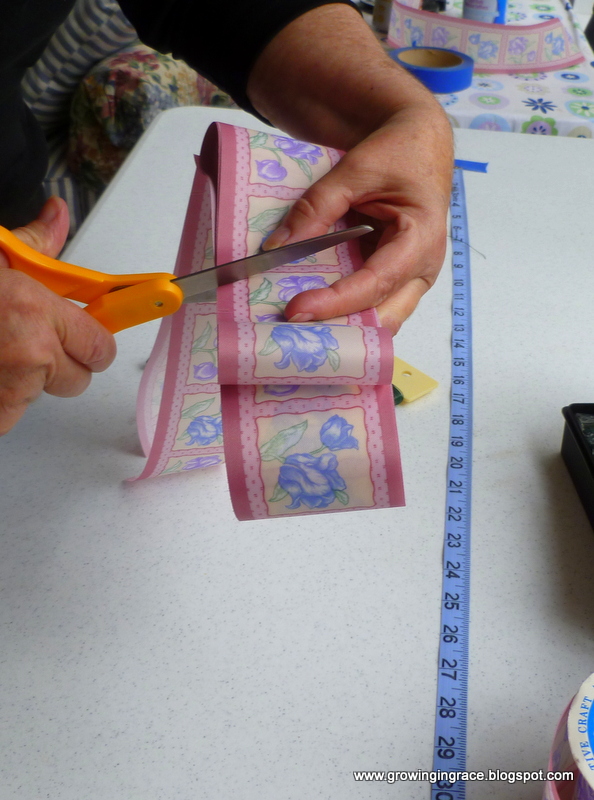
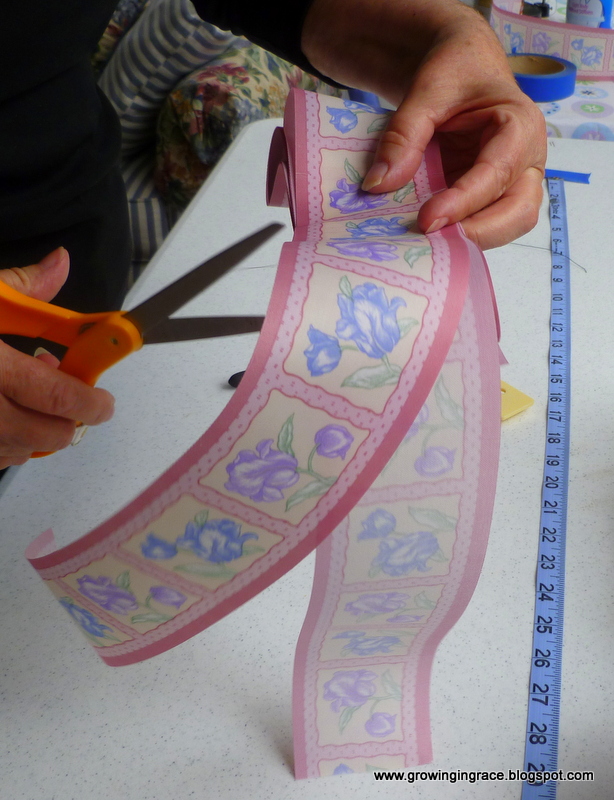
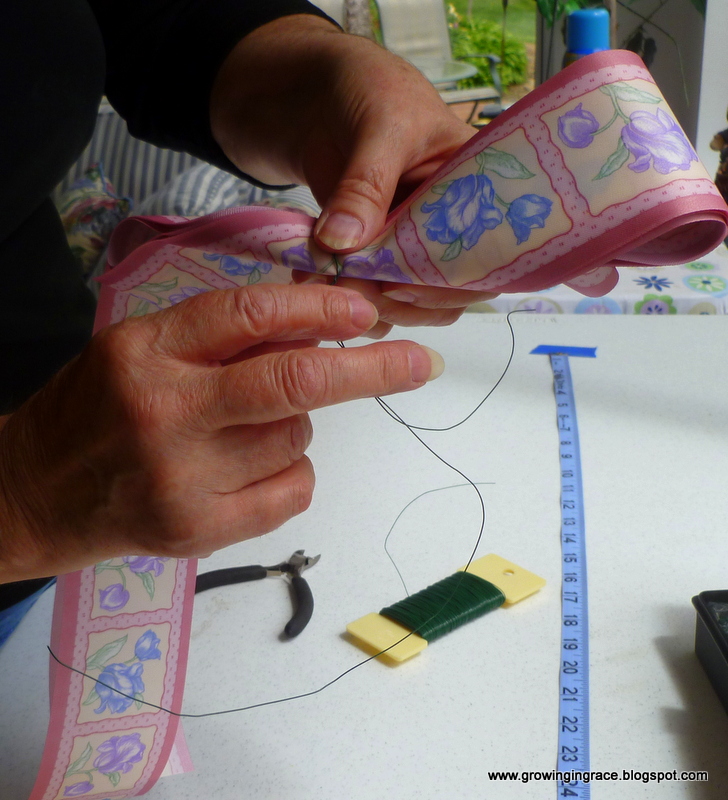
Next take the piece of wire you cut previously, start in the middle of the wire, and put it in the slits of the ribbon you have just cut. Pull the wire tight and wind it together to secure the ribbon in place.
Now you have two sections of 6 loops. Start with your most inward loop on one side and pull it outward and twist it, to form your first loop. Continue doing this until you have all your loops pulled out and twisted on one side.
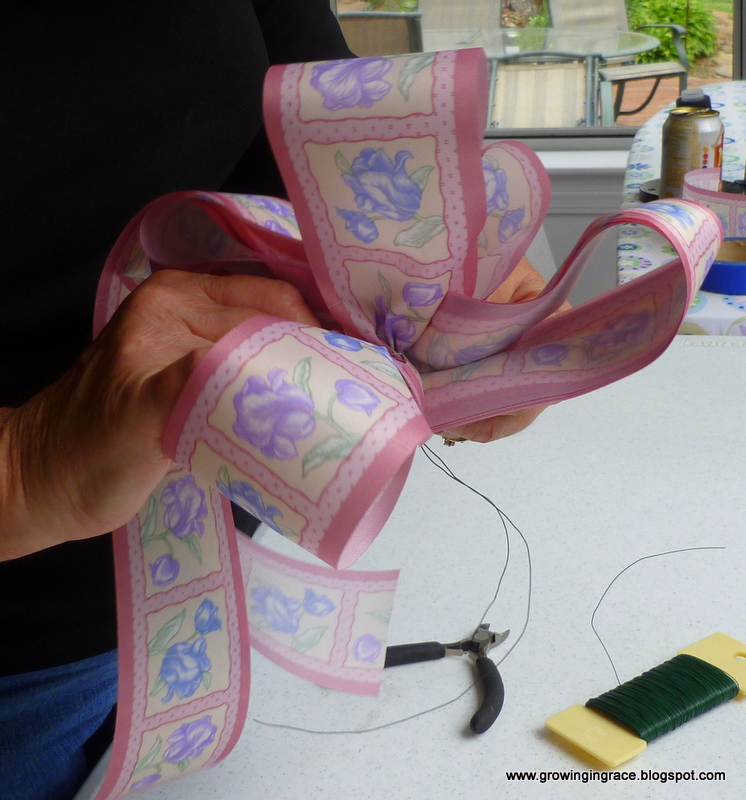
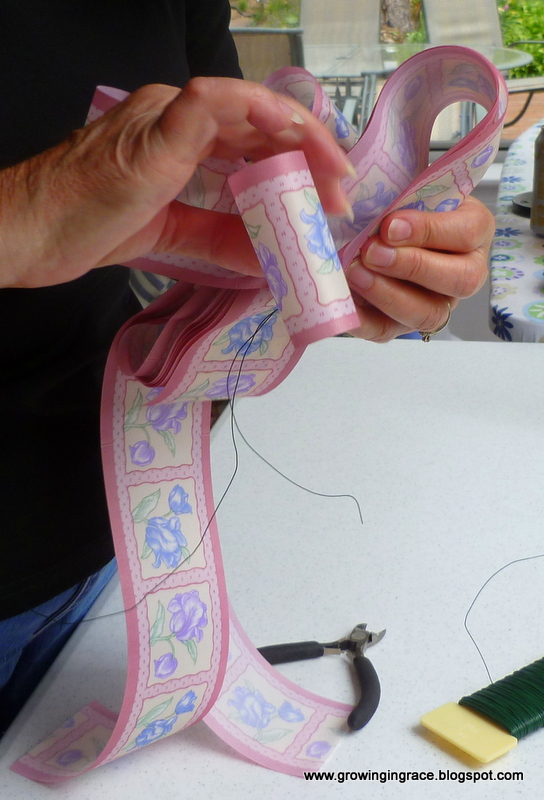
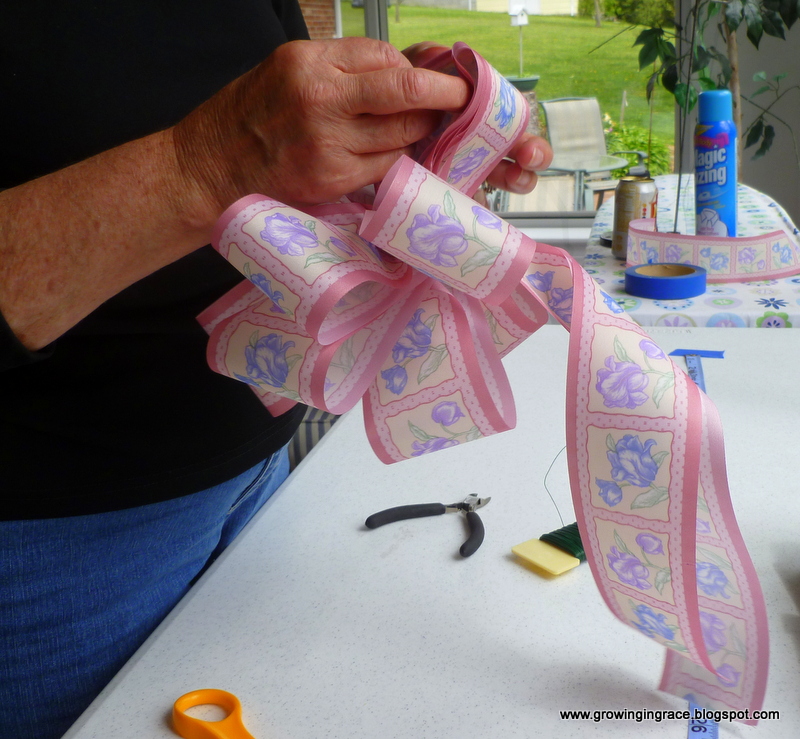 Then go to the other side and do the same as shown here.
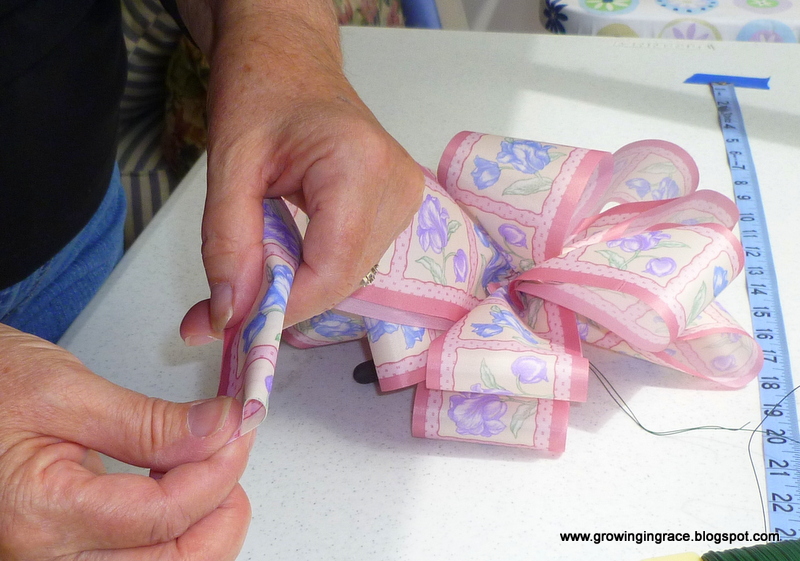 After you get all your loops pulled outward and twisted, you are now ready to work with the ends of your ribbons that are hanging down. Fold one of the ribbons in the center as seen in the photo. Then coming up about 1 1/2 inches on the ribbon cut with your scissors from the center point to the outward edge as shown below
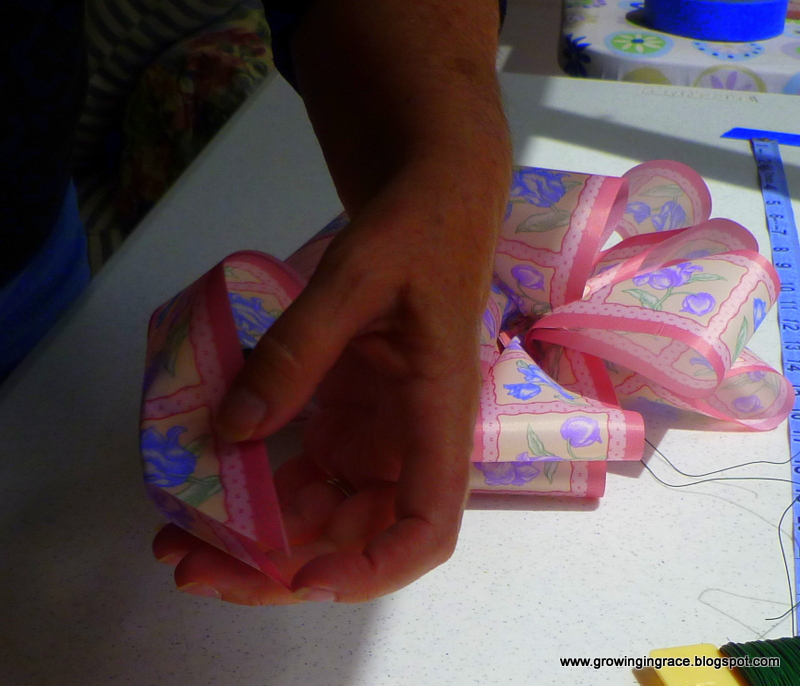
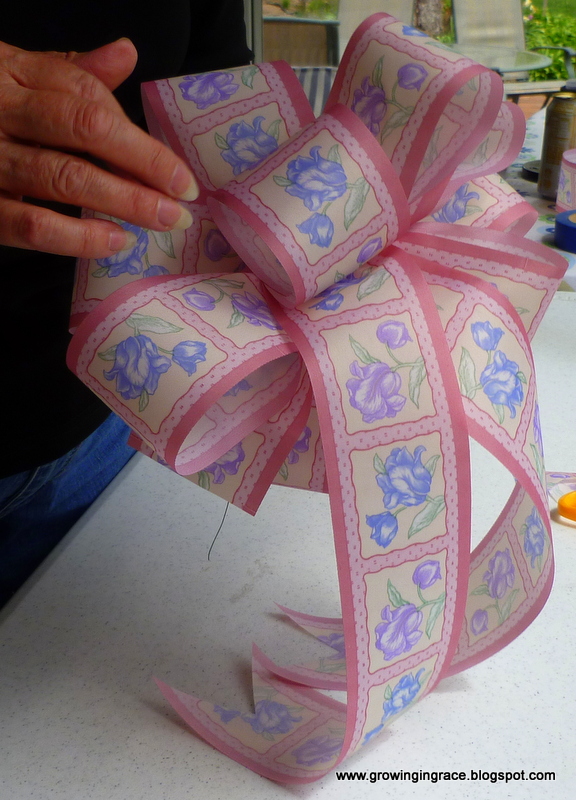
Adjust your loops as you desire.

You now have a bow you would be proud to display on any craft project.
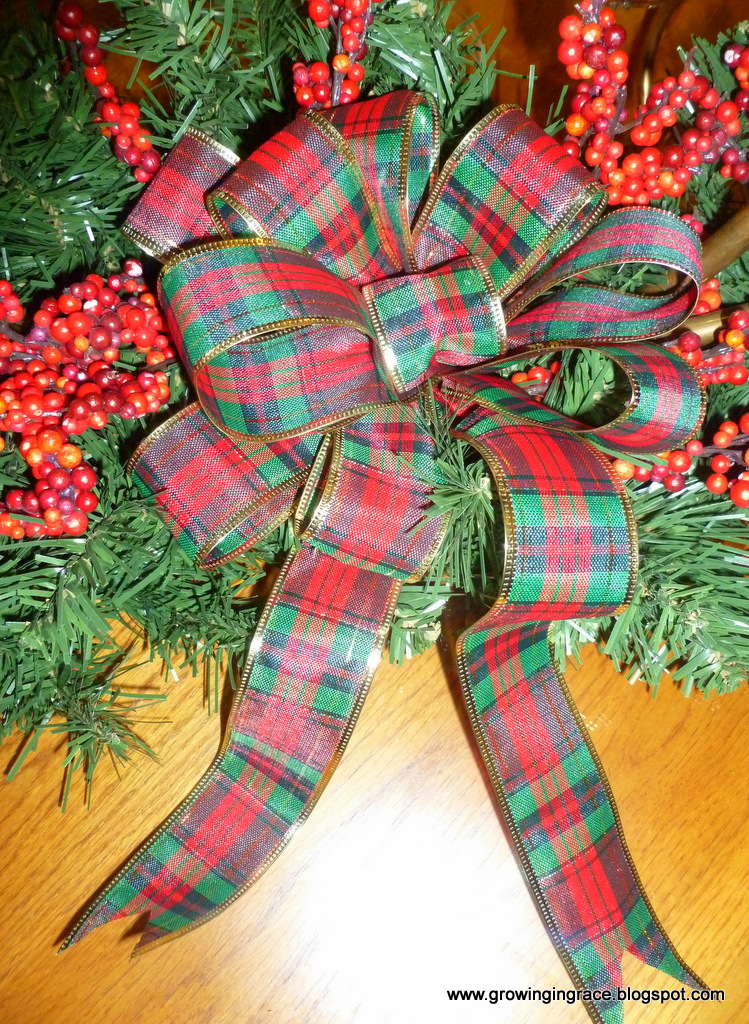
I like using ribbon with the wire inside, if this ribbon gets slightly mashed you can fix it quite easily by adjusting the wire. Go here to see how to restore mashed bows you have already made.

If you want extra long tails to the bows just add more ribbon length to your center loop.
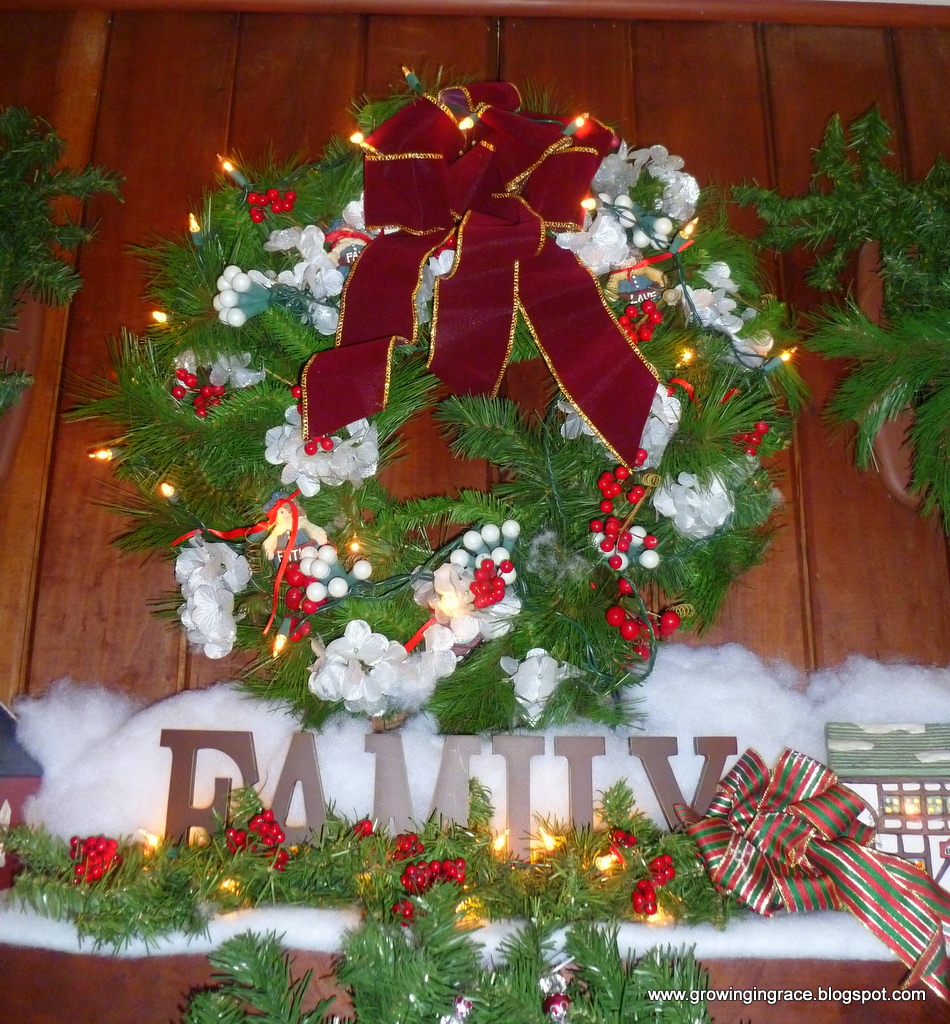
If you want more than two tails on your bow as you see in the above photo, just add how many you want to your center loop, before you put your wire on your bow.
Bows look good on so many different projects
This wreath I have displayed on my fireplace mantle.
I hope this tutorial will help you make your own bows. Why not try it for yourself?
Have a great Christmas.
Blessings,

Parties I Link Up To:
Between naps on the Porch,penny-pinching-party;I’m an Organizing Junkie;The Dedicated House; Beauty and Bedlam;Ginger Snap CraftsIt”s So Cheri
InLinkz.com
Great tutorial. I wish you'd been at my house last night as Steve and I fought with a bow. You make it look so easy! Here from Kathe's.
thank you.
Great bows. Love the tutorial!!!! I need to make some bows for greens we cut from the bottom of out christmas tree:) Pinned to try later. New follower. Follow me too. I posted http://www.sewsweetvintage.com/2012/12/let-it-snow_13.html to Chic and crafty:)
Thank you so much for your very encouraging comment. So glad you liked the tutorial and hope you will try it later. Thank you also for becoming a follower. I did go and visit your blog and become a follower as well. i really liked your "Let It Snow" sign. There are some signs I want to make as well. Thank you for sharing.You did a really nice job on it. Blessings, Jo-Ann
Thank you! I think I can tackle giant bows now! Lol
Kindest regards,
Jennifer
You are so welcome Jennifer. I think you will do fine in making large or small bows. Glad I could share how I make them. Blessings to you and your family, Jo-Ann
What a great tutorial! I'd love for you to share this or any of your great ideas at the link party going on now (and every Saturday – Tuesday) at 'Or so she says …' We've also got an exciting giveaway going on now that includes a chance to win a BlendTec. Hope to see you there! http://www.oneshetwoshe.com
Mariel, Thank you so much for your encouraging comment, I so appreciate it. Thank you also for your invitation to link to your party. I did link to your party and liked you on Facebook. Blessings to you this Christmas season. Jo-Ann