Scripture to Live By:
“Seek the Lord while he may be found; call upon him while he is near; let the wicked forsake his way,
and the unrighteous man his thoughts; let him return to the Lord, that he may have compassion on him,
and to our God, for he will abundantly pardon.
8 For my thoughts are not your thoughts, neither are your ways my ways, declares the Lord.
9 For as the heavens are higher than the earth, so are my ways higher than your ways and my thoughts than your thoughts.
Isaiah 55:7-9
Sewing Project:
I have been carrying my cutting mats, rulers and quilting supplies to my quilting class each week in what ever I could find and I just hate not being organized, so I decided I needed to make a carrier for them that I could carry with one hand and keep them all together. I had seen one that a friend had but it carried a single cutting mat. I wanted something to carry both the cutting mats and the rulers. This is what I came up with and I really like it.
So if you would like to make one for yourself the following is what you will need and how to do it.
You will need 1 3/4 yards of sturdy material 54 inches wide, thread to match material and sewing machine and three dowel rods.
Instructions:
Press material before laying it out for cutting.
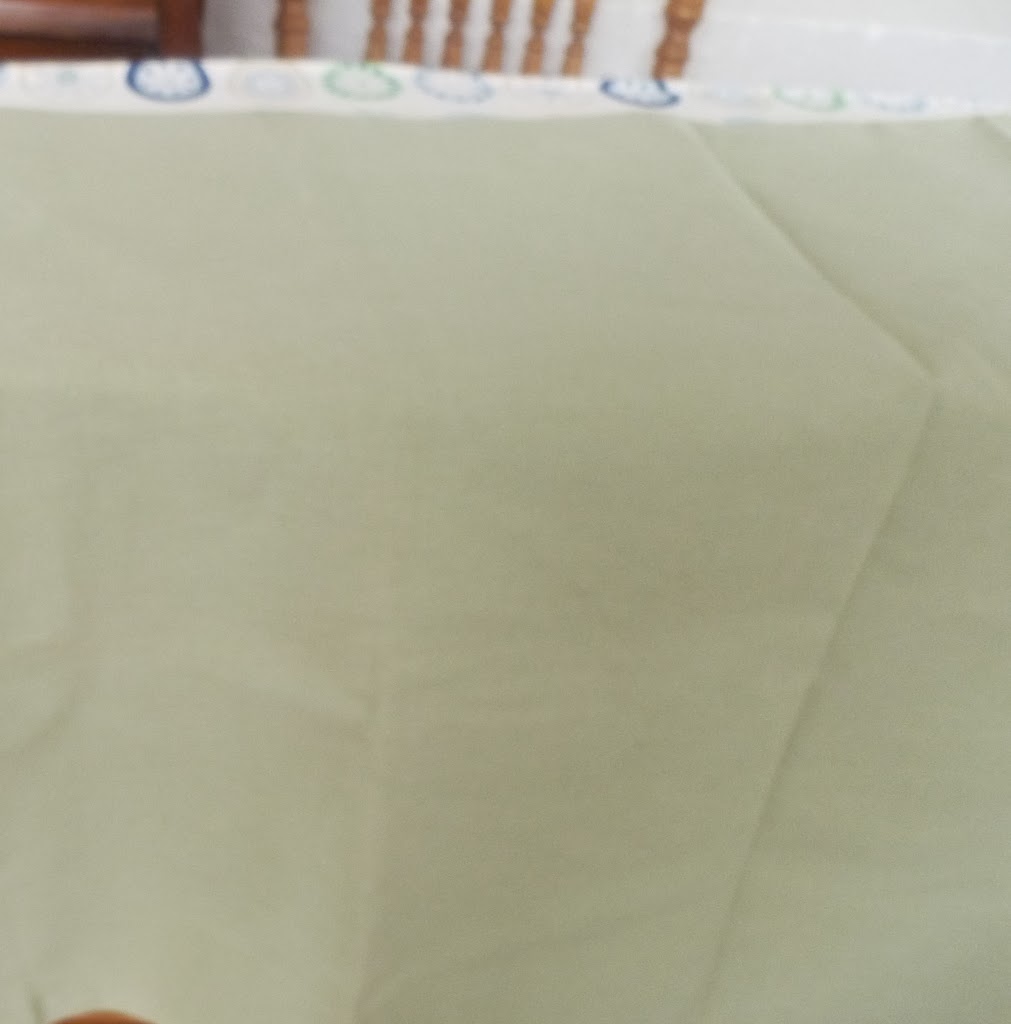
Fold material in half from side to side bringing selvage edges together.
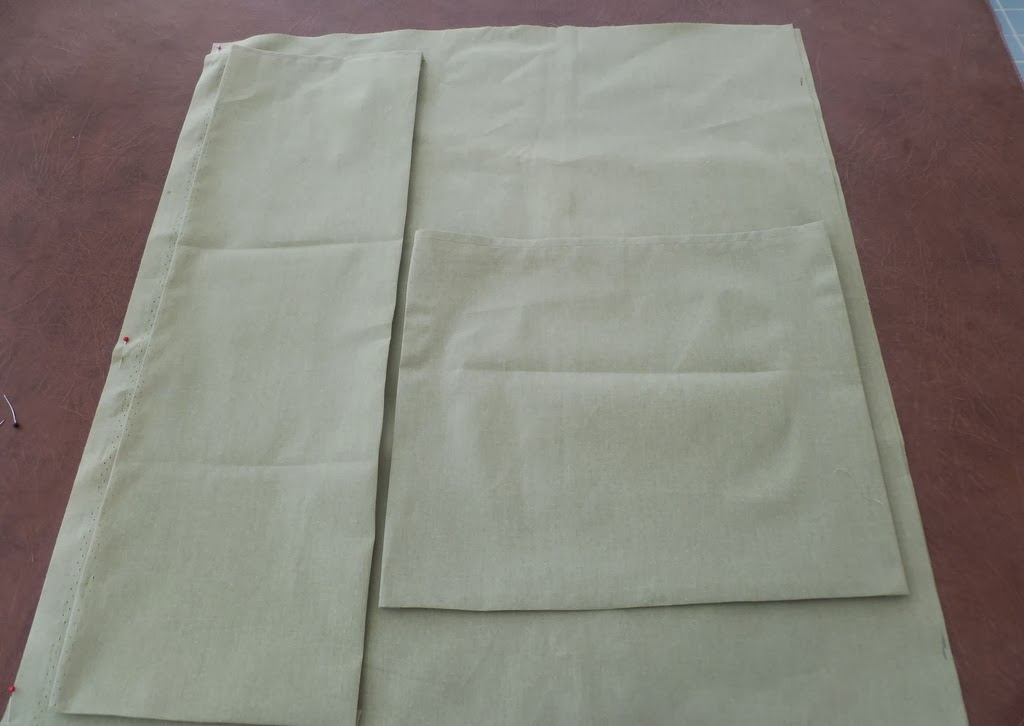
Cut two pieces of material 25 inches wide and 29 inches long. (Front and Back of Mat Carrier)
Cut two pieces of material 9 inches wide and 27 inches long. (Front and Back Pocket)
Cut two pieces of material 17 inches wide and 15 inches long. (Front and Back Pocket)
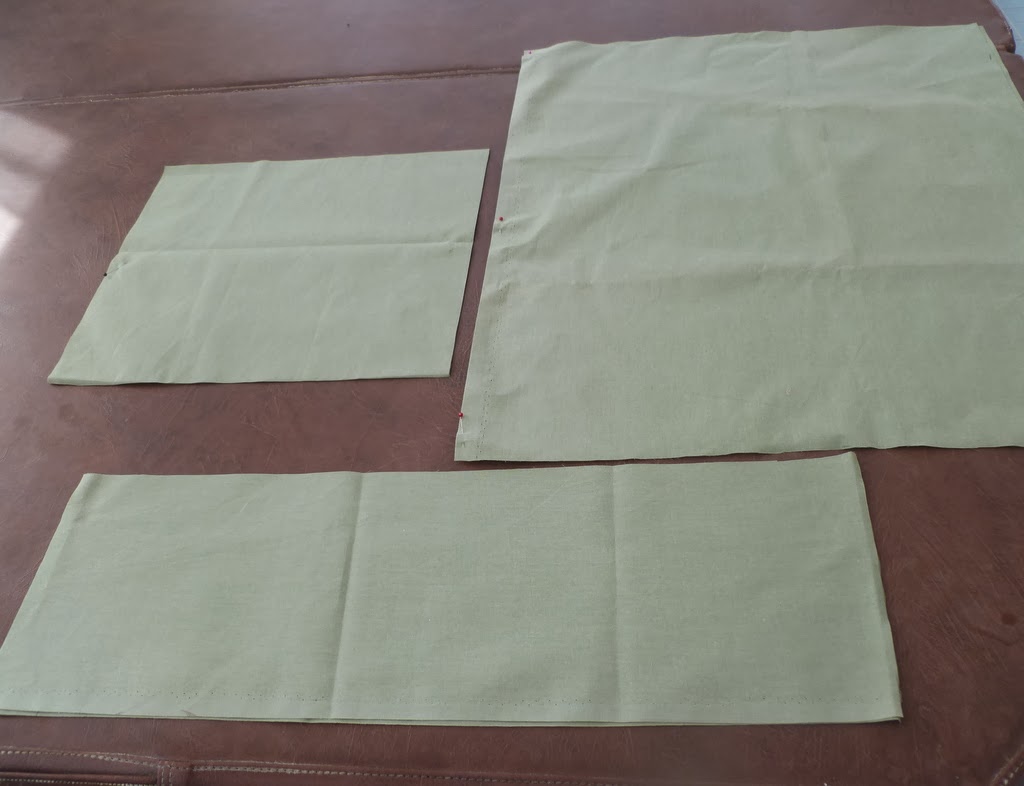
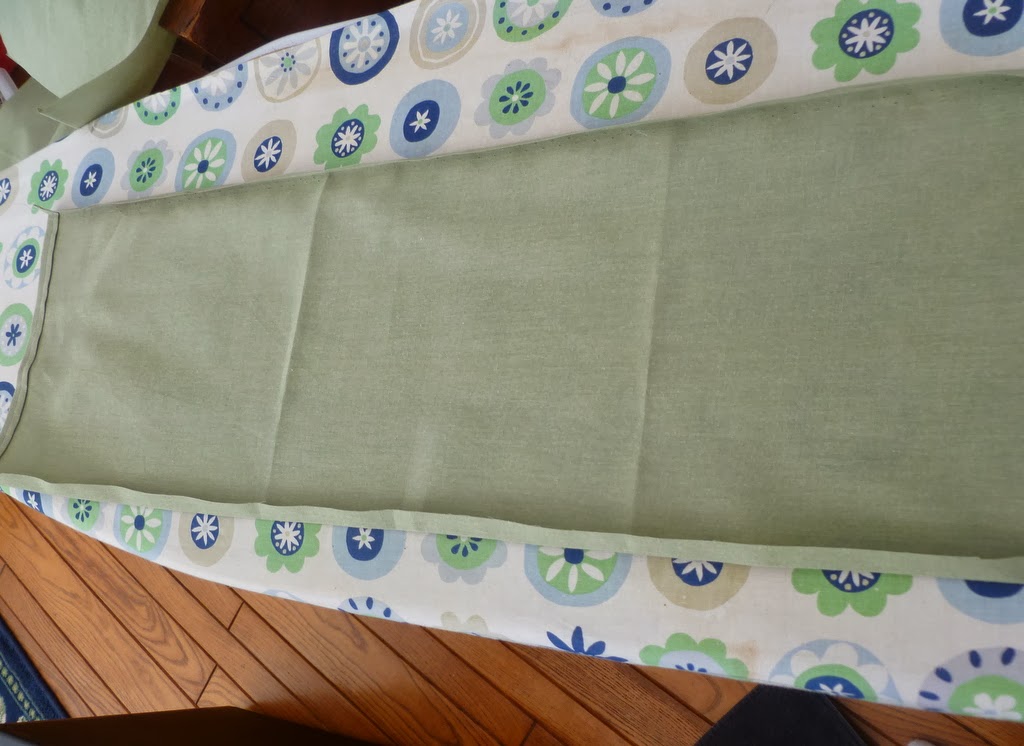
(The bottom picture looks like it is cut across the material but it was actually cut up and down the grain of the material. It is cut up and down so the material doesn’t stretch as much. It is laying in the picture opposite than it is cut to just fit in the picture.)
Work on the mat holder before you work on the pockets. (2 largest pieces of material)
On each piece of material, turn down the material 1 inch by measuring all the way across and pressing it in place.
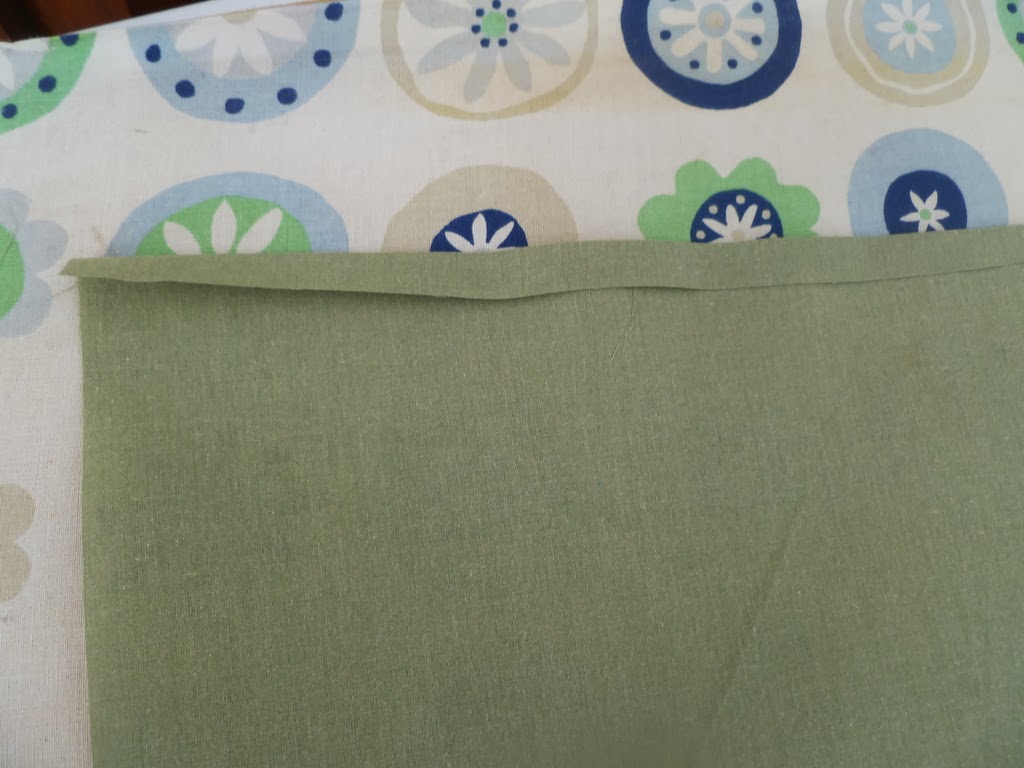
Turn it under another inch and press it down and pin it in place before sewing your seam. This will double the strength of the top edge of your carrier where you will have your handles.
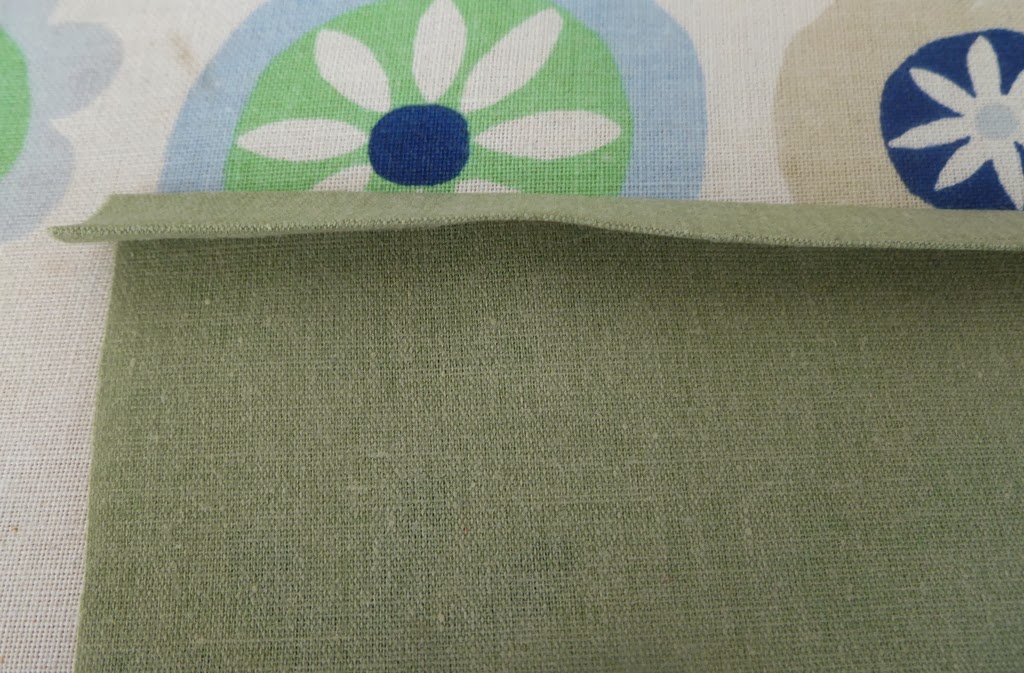
Sew in place and set it aside until you get your pocket made and ready to sew on it.
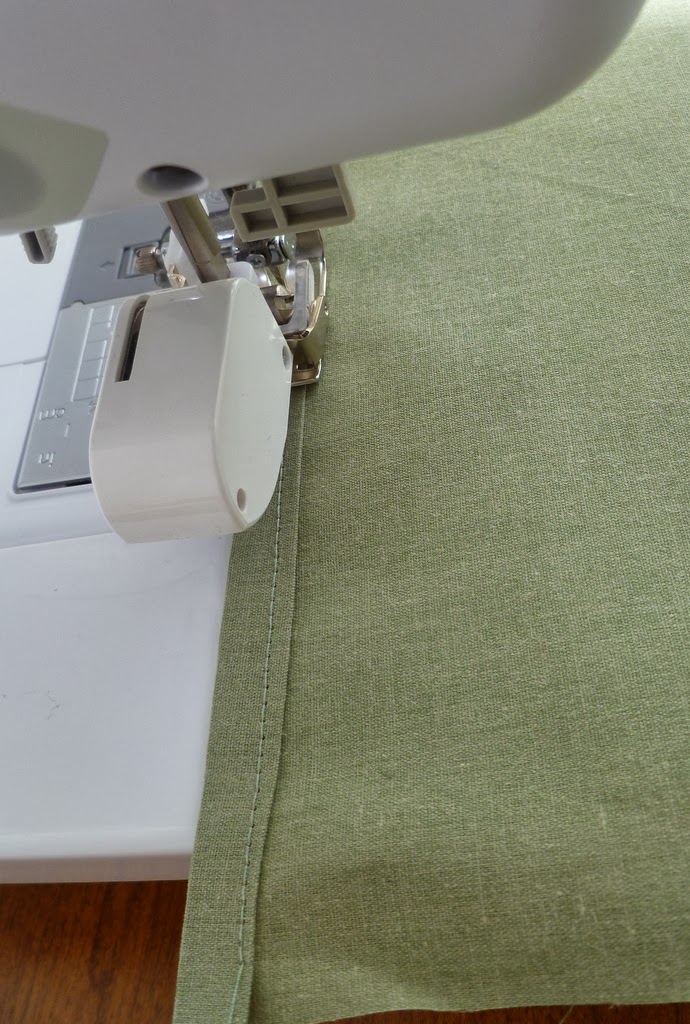
You are going to use the same procedure for both the 17 x 15 inch pockets, with one exception.
Turn the top edge down and press like you did in the front and back of the mat carrier, only this time you only turn down 1/2 inch twice instead of an inch. Sew the top edge seam in place.
Next turn inward the side edges 1/2 inch and press them in place.
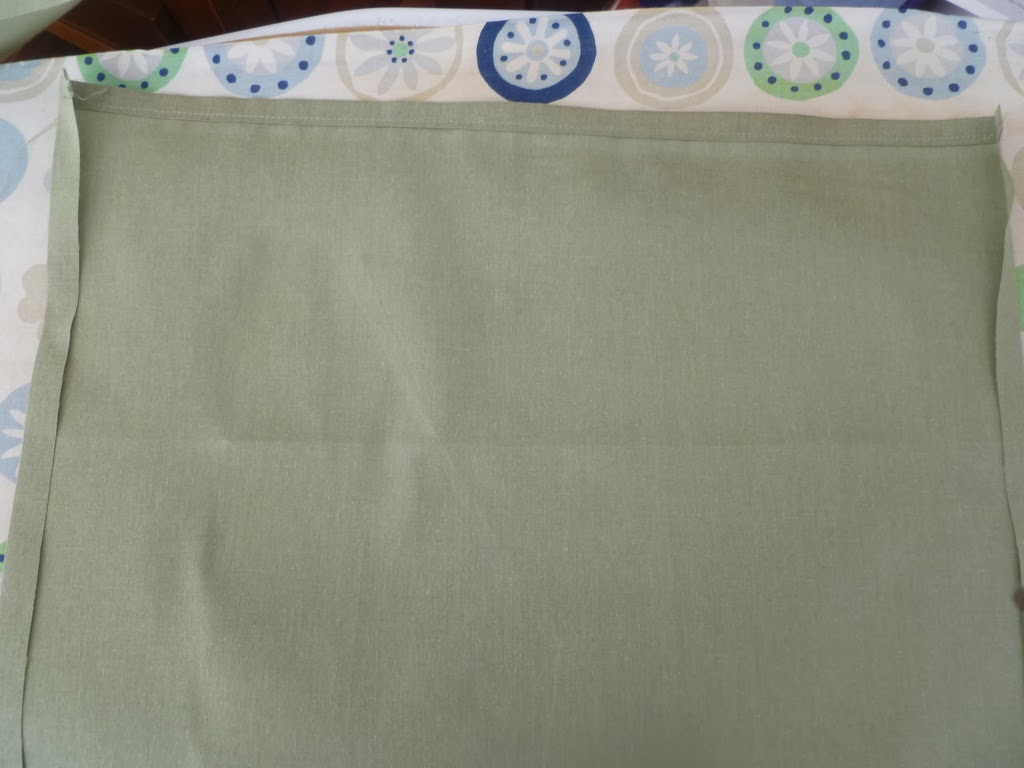
Then turn the bottom edge up 1/2 inch and press it in place.
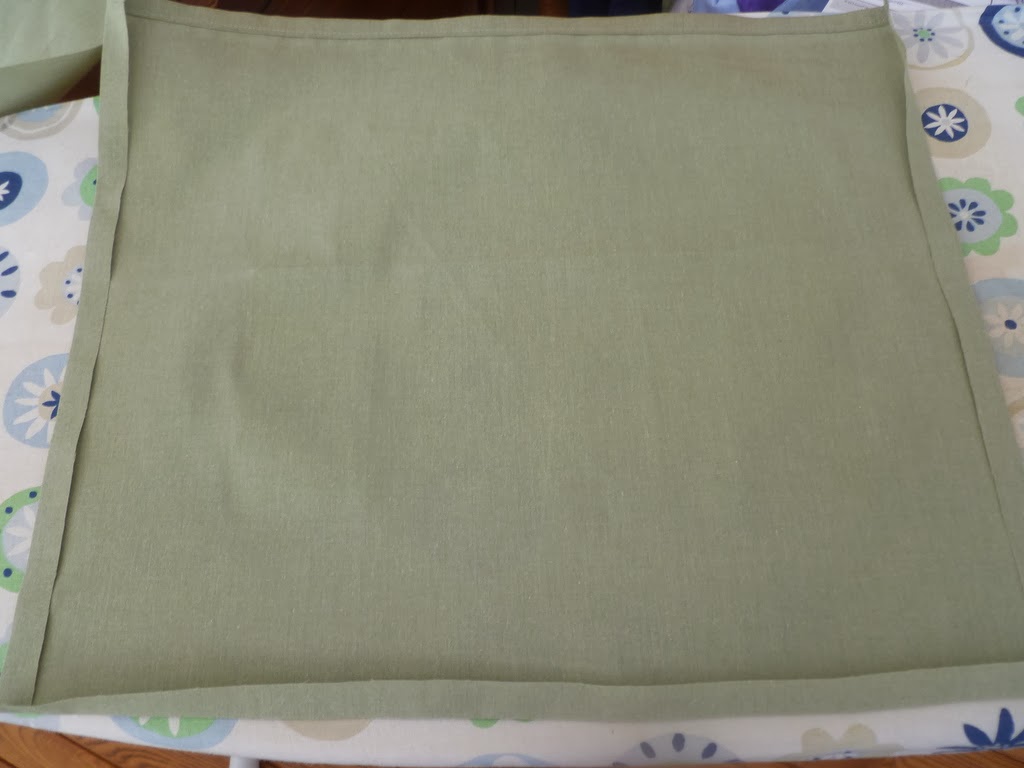
Press your longest pockets and follow the above procedure on the top and the sides, but leave the bottom seam flat. That seam will be sown in with the bottom seam of your mat.
Before you sew your pockets on, double check and make sure your mats will fit in the pocket.
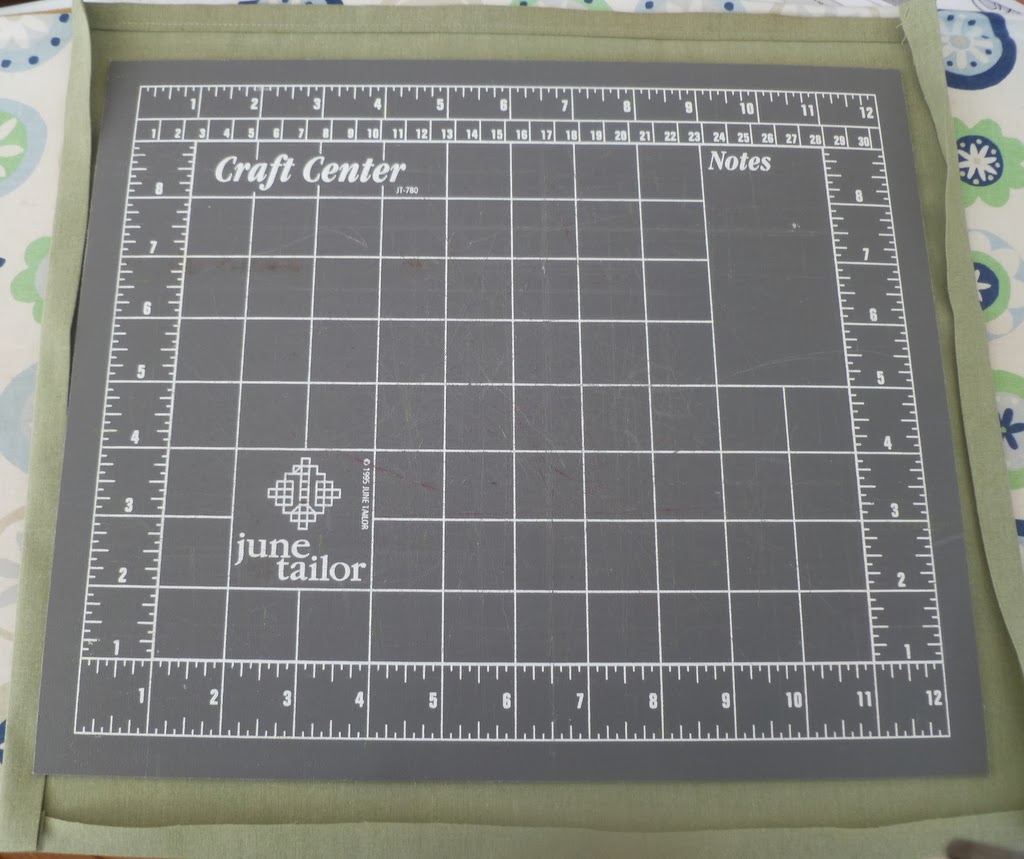
Lay your pockets out for the proper placement you want on you mat carrier.
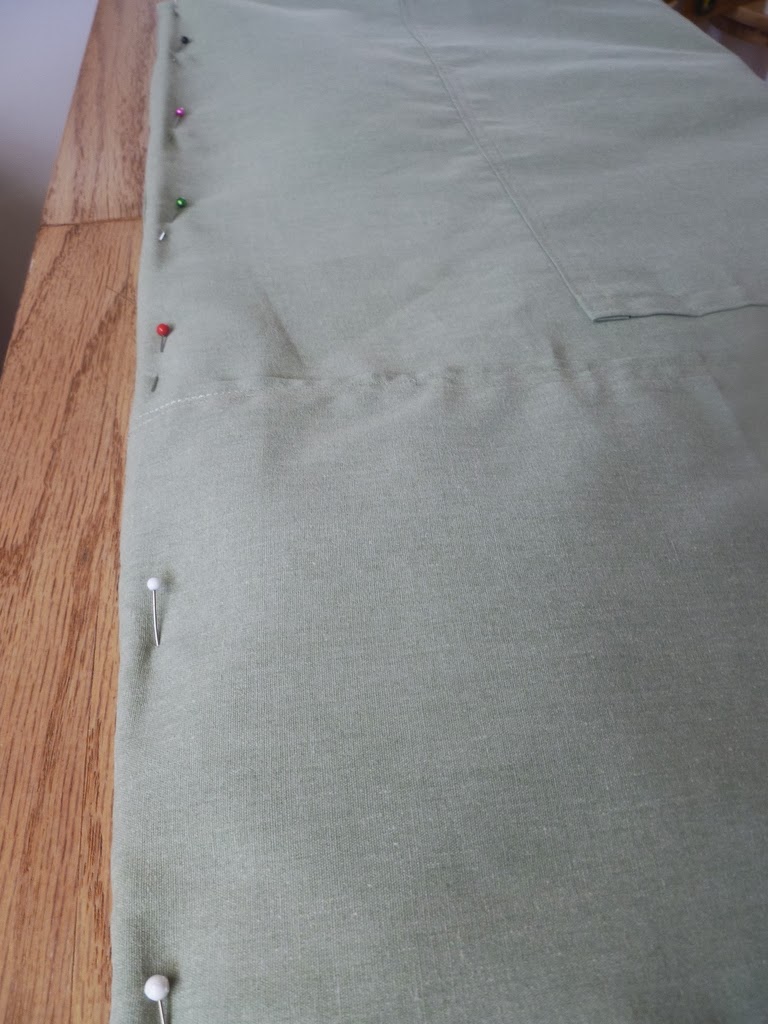
I placed long ruler pocket even with the top edge of my mat carrier and the other one 7 inches down and at least 1 inch from the edge of the side of mat carrier on each side. Measure to make sure they are even and pin them in place. (I laid out my pocket the opposite way on the back piece of my mat.)
(My material was not as wrinkled as it looks in this photo. I had pressed it several time.)
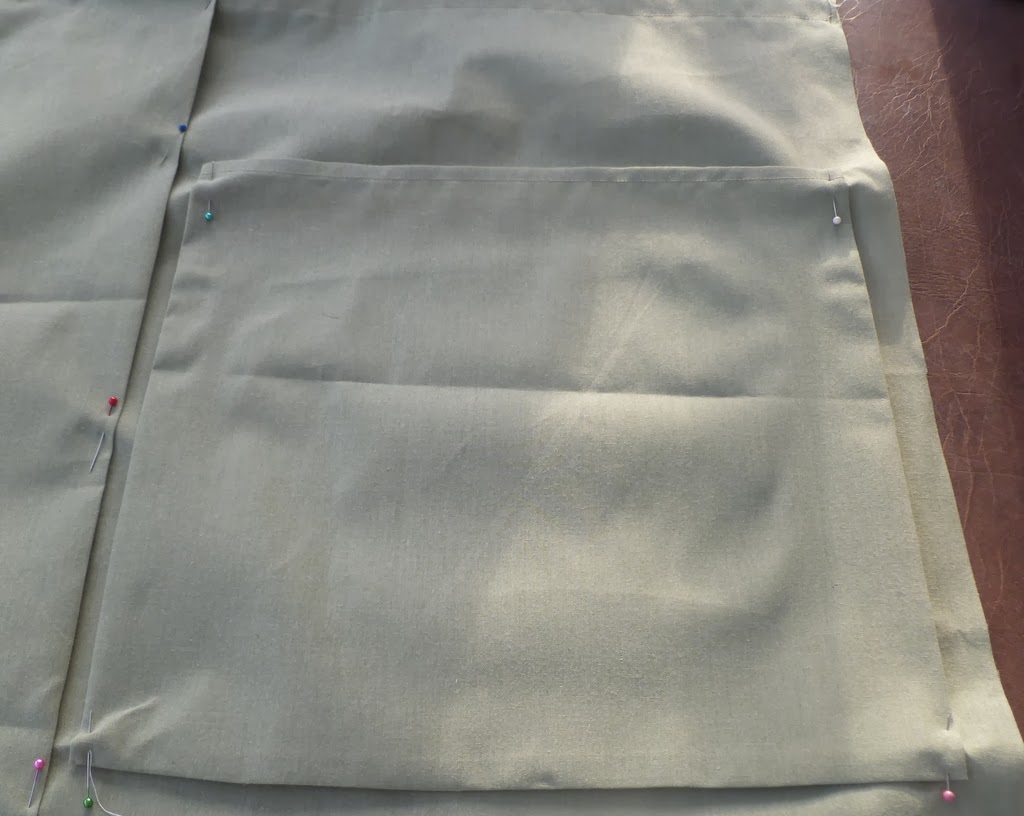
Double stitch the sides and the bottom of the smaller pockets and double stitch the sides of the longer pockets, leaving the bottom open, that seam will be sewn into the mat seam.
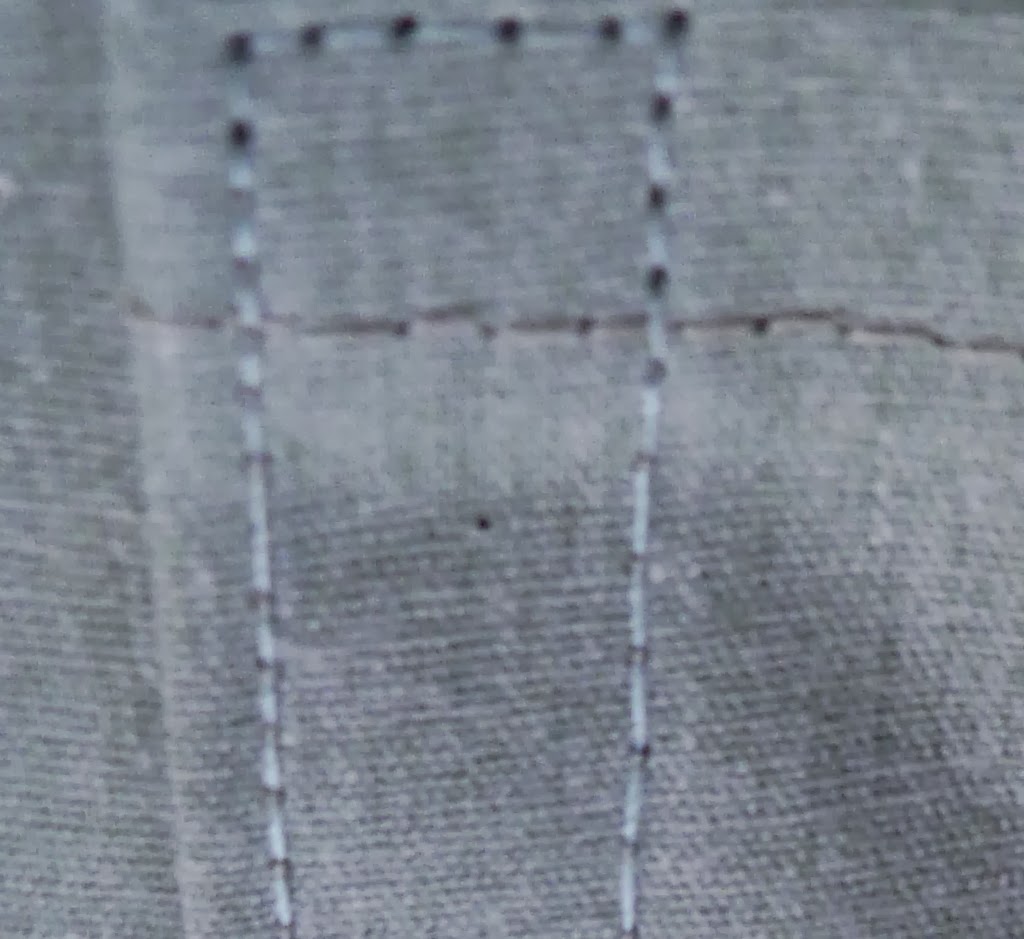
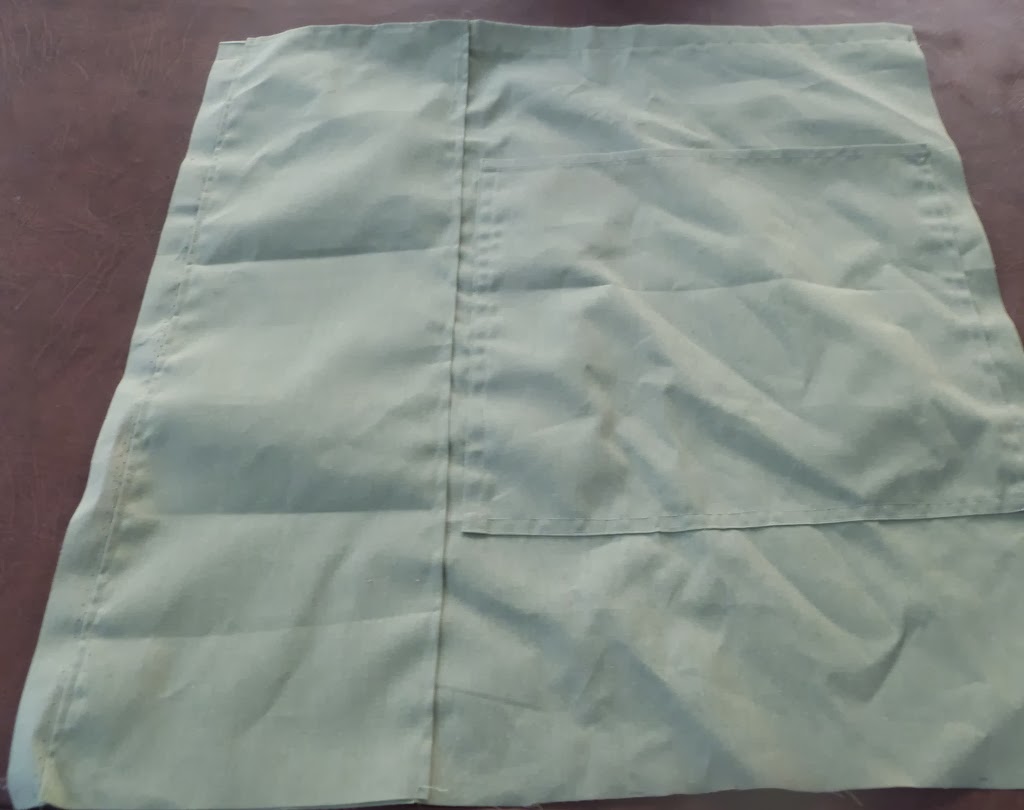
Now that pockets are sewn on, check to make sure they fit.
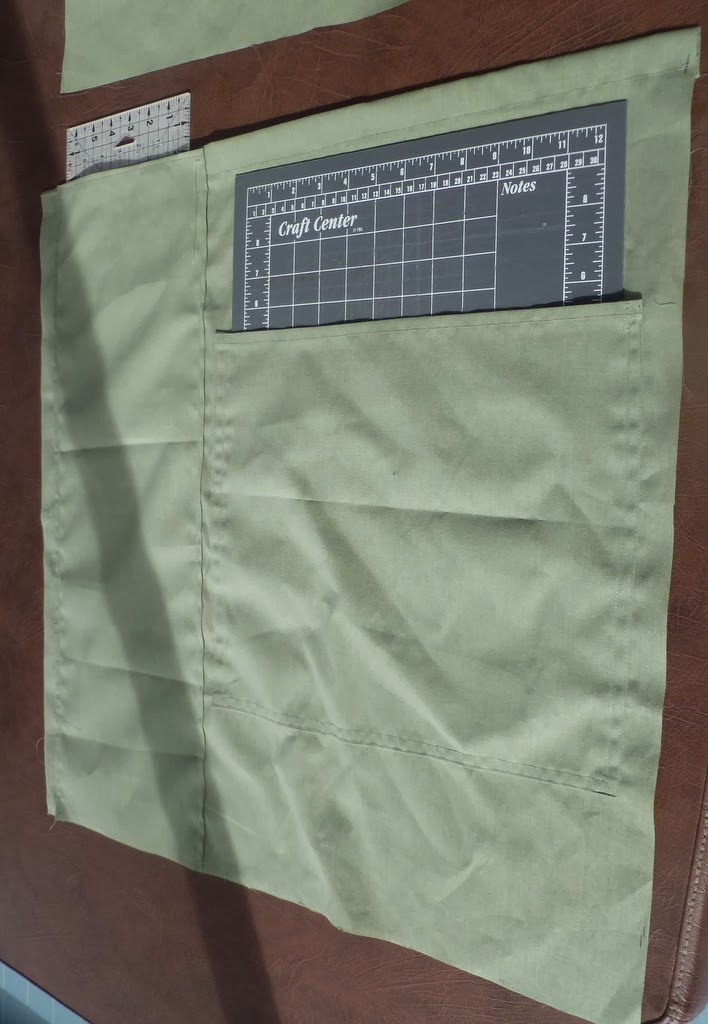
Now that you have the pockets sown on the front and the back pieces of your mat carrier, you are ready to sew them together. (Remove your rulers from pockets.)
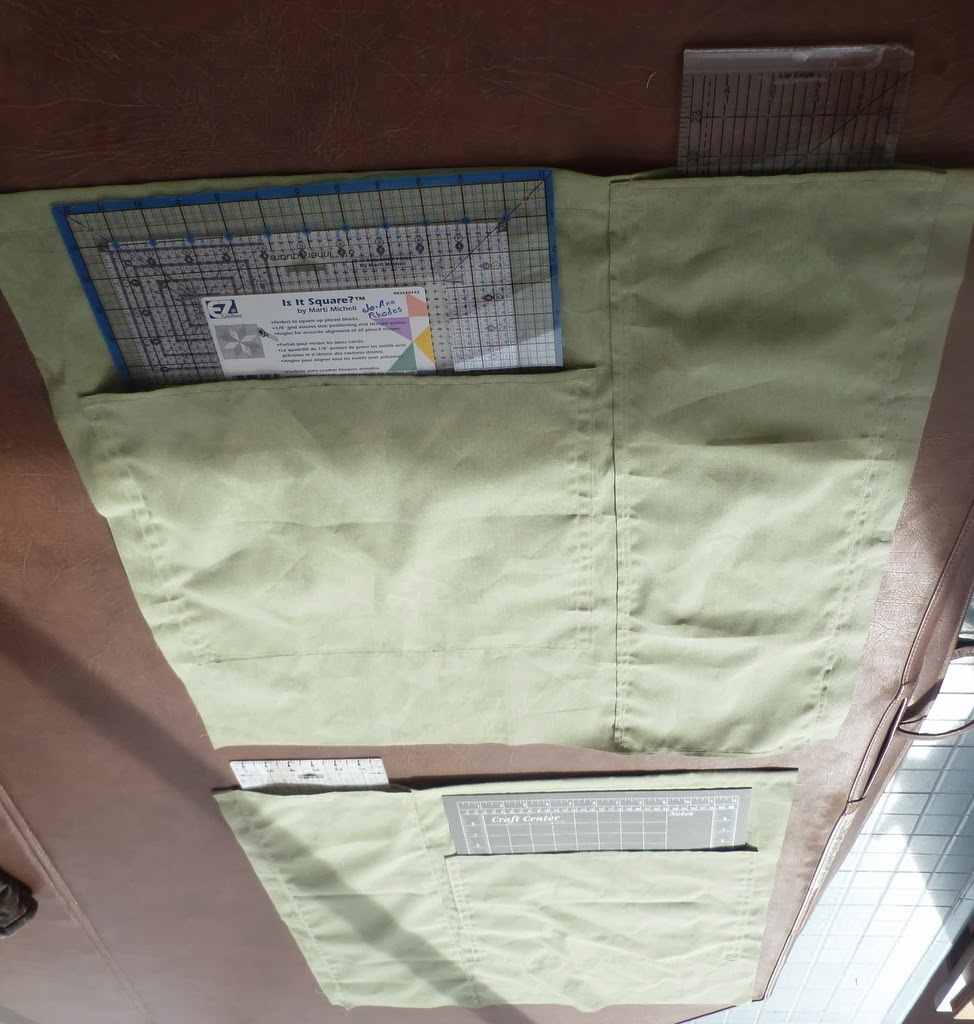
Match front and back edges and pin together.
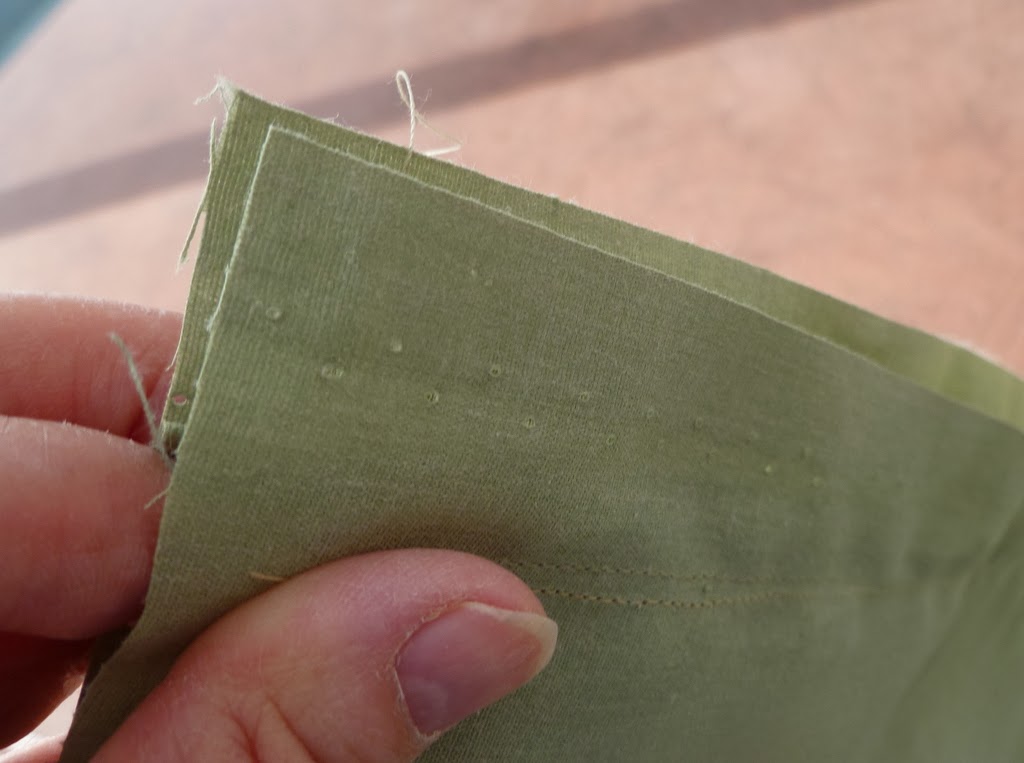
Sew the sides and bottom.
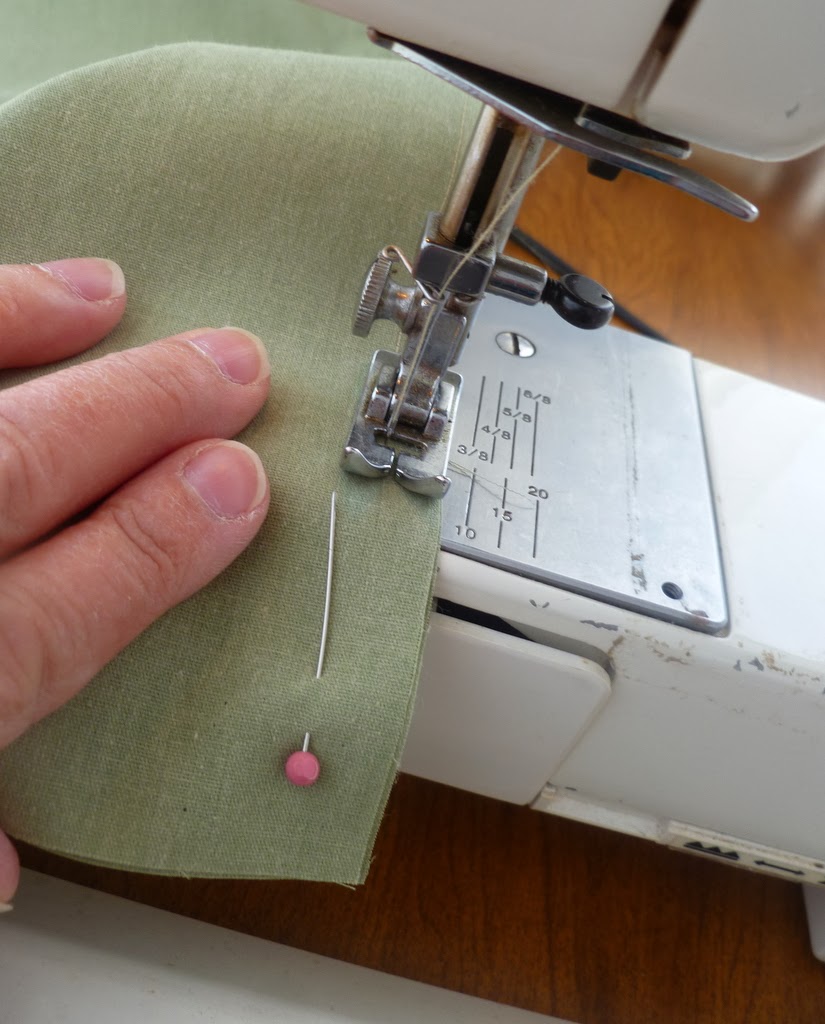
Turn right side out.
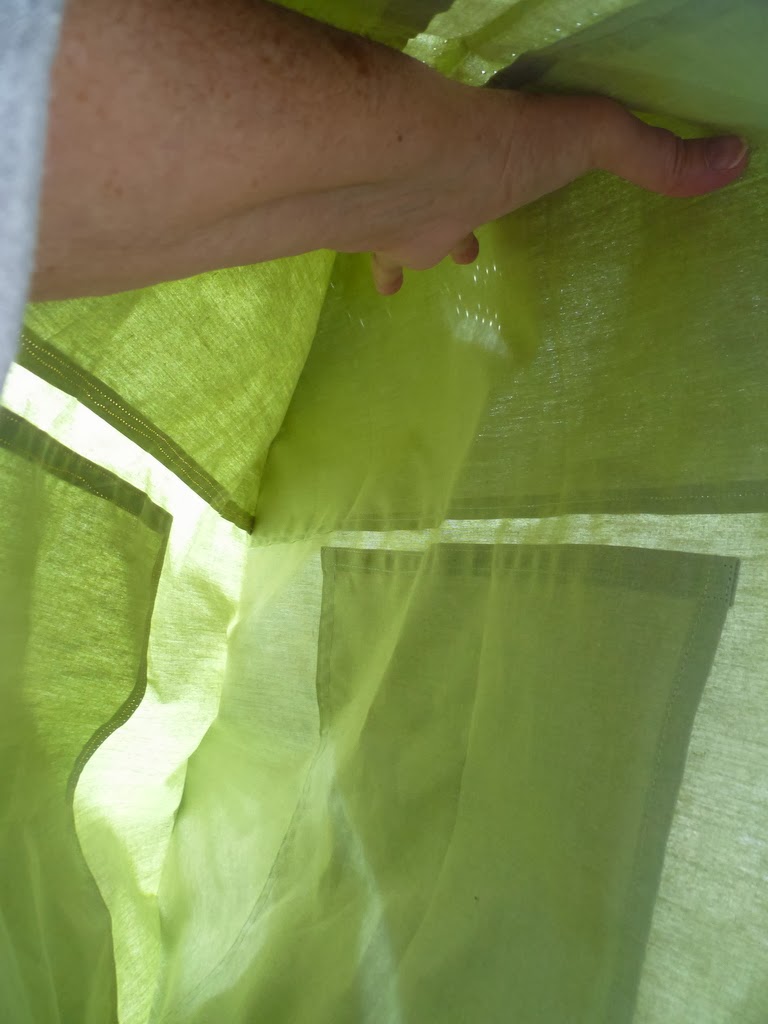
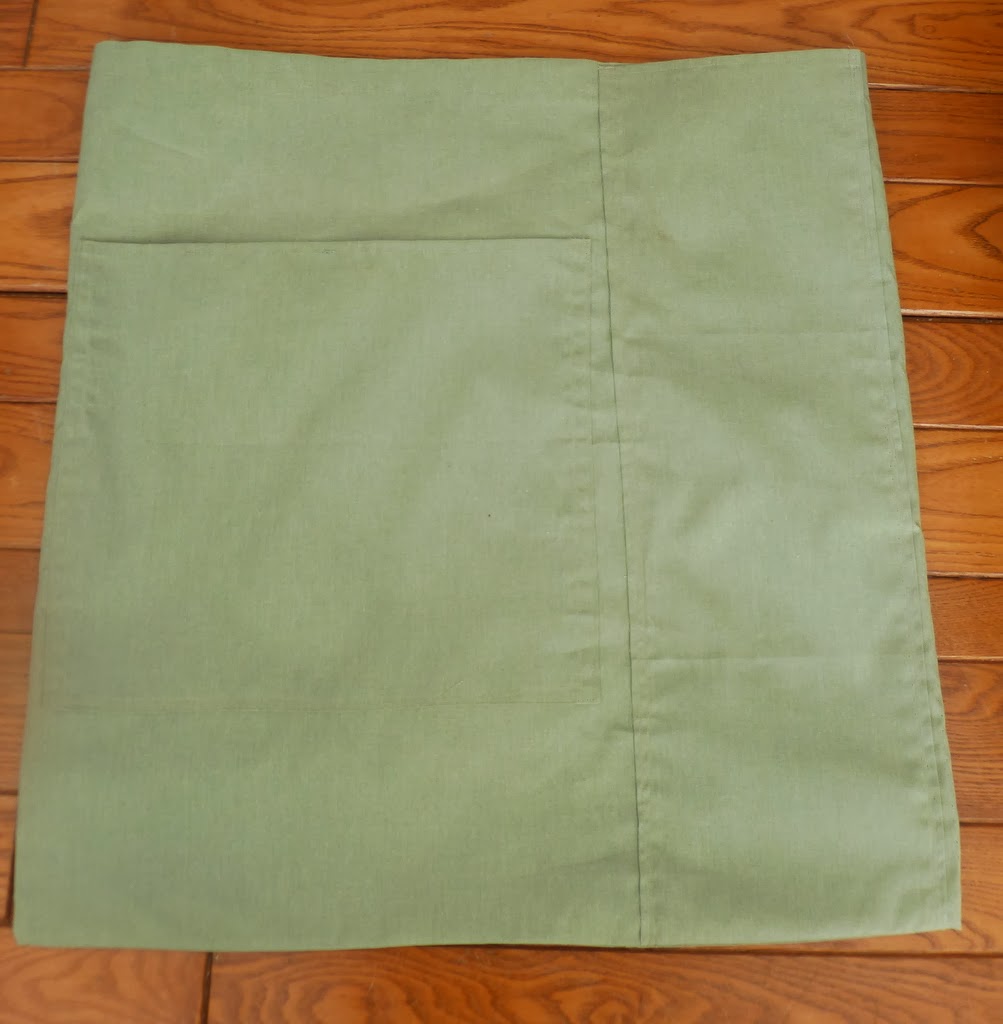
Press the seams.
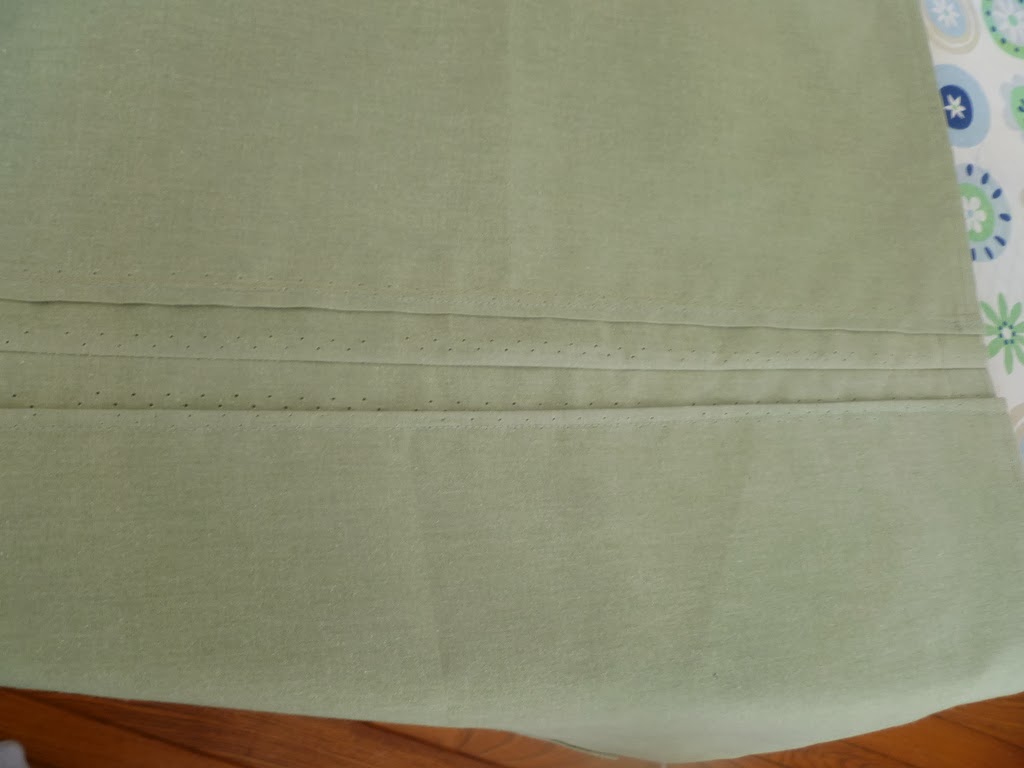
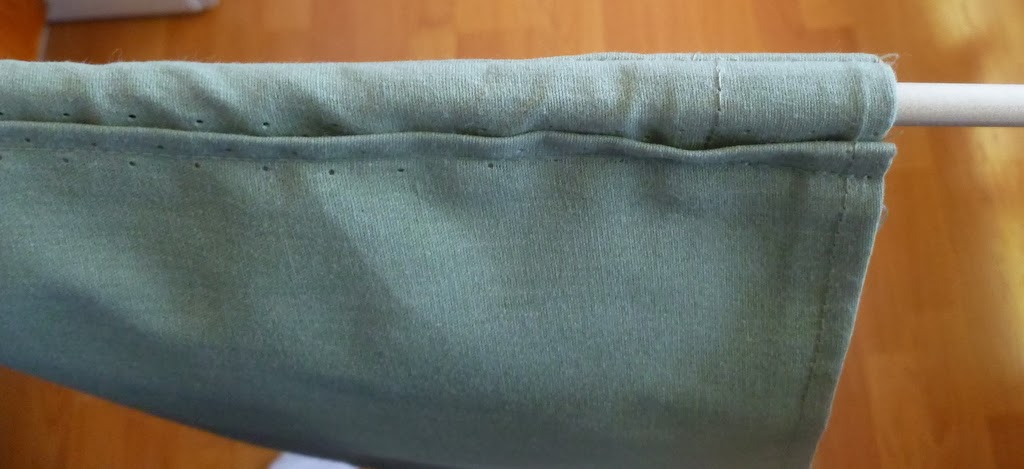
The three (1/4 inch) dowel rods are used to stabilize the mat carrier so the cutting mat will remain flat.
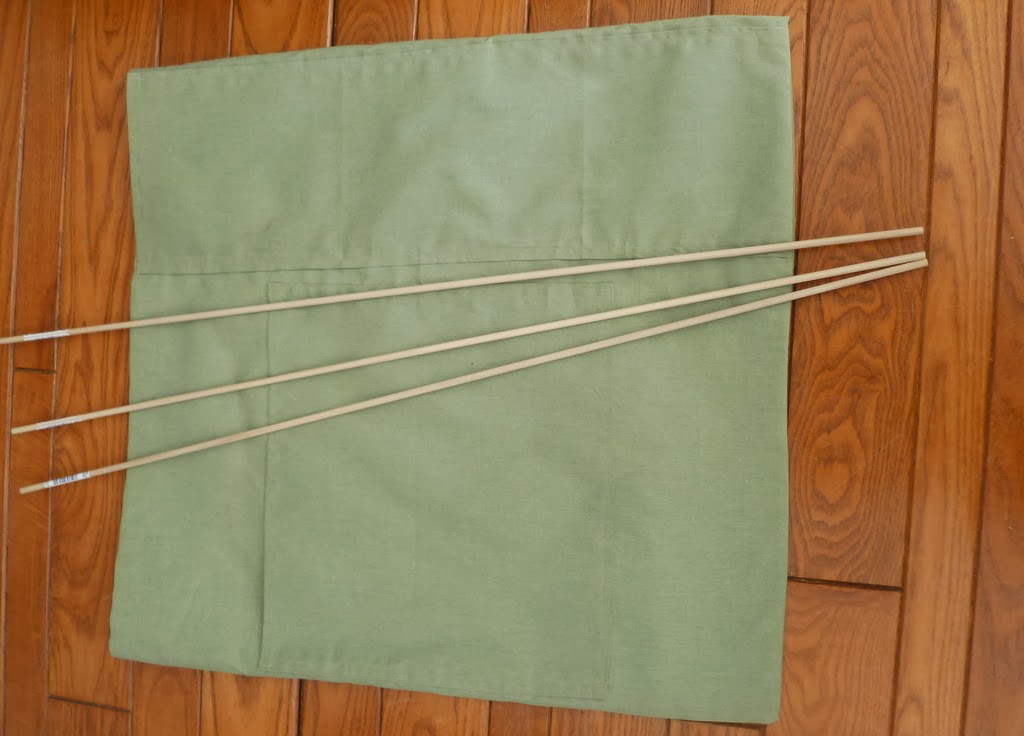
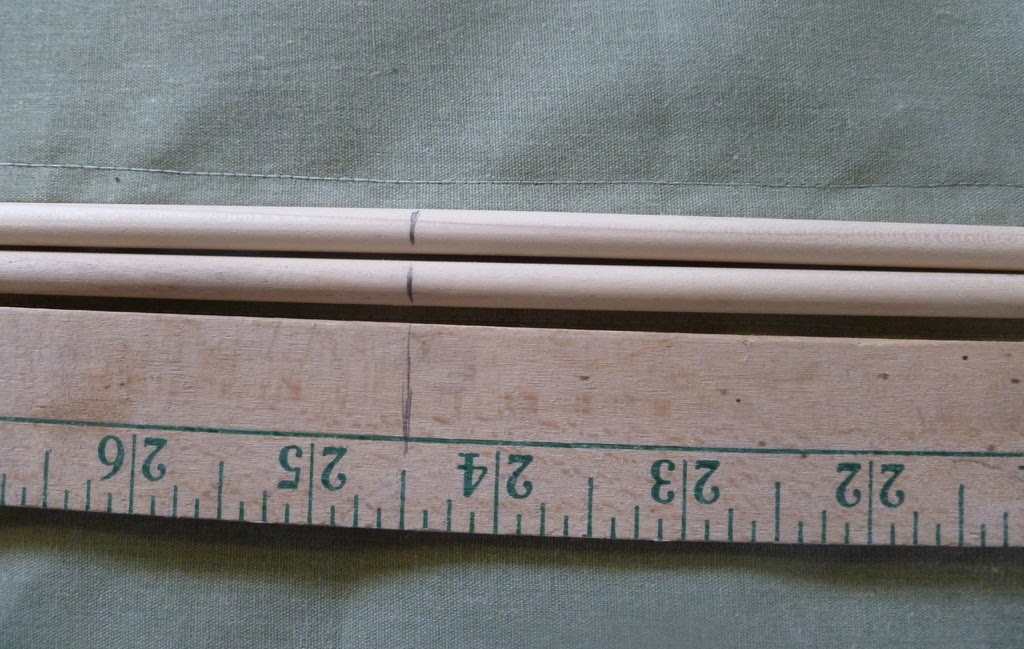
Measure the bottom of the mat carrier and cut the dowel rod the length needed to go inside the carrier.
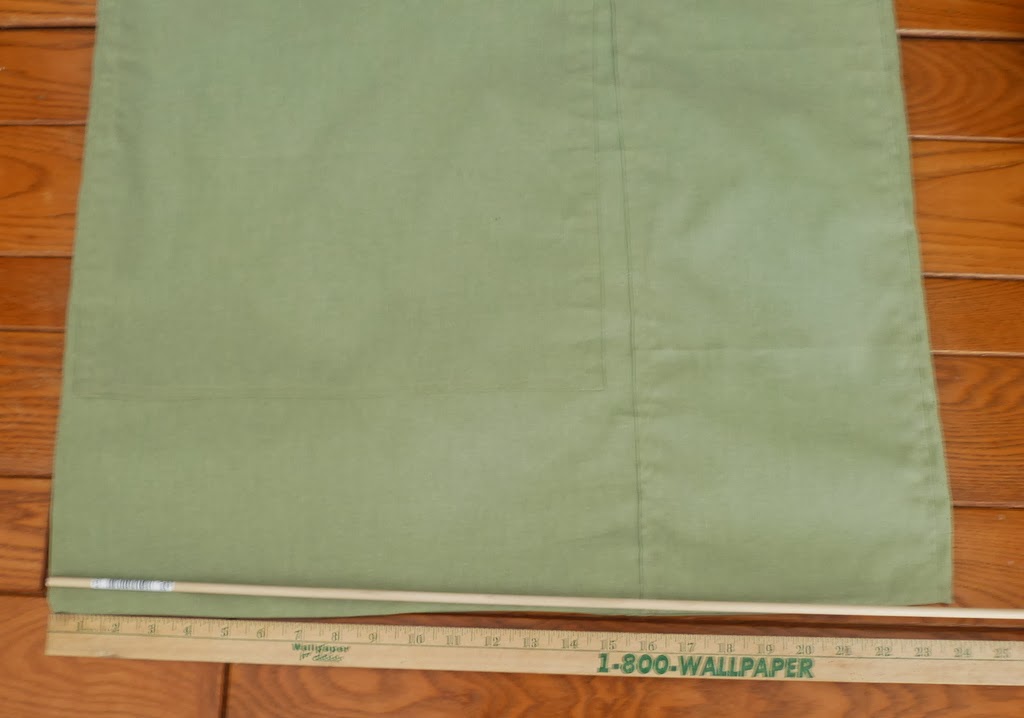
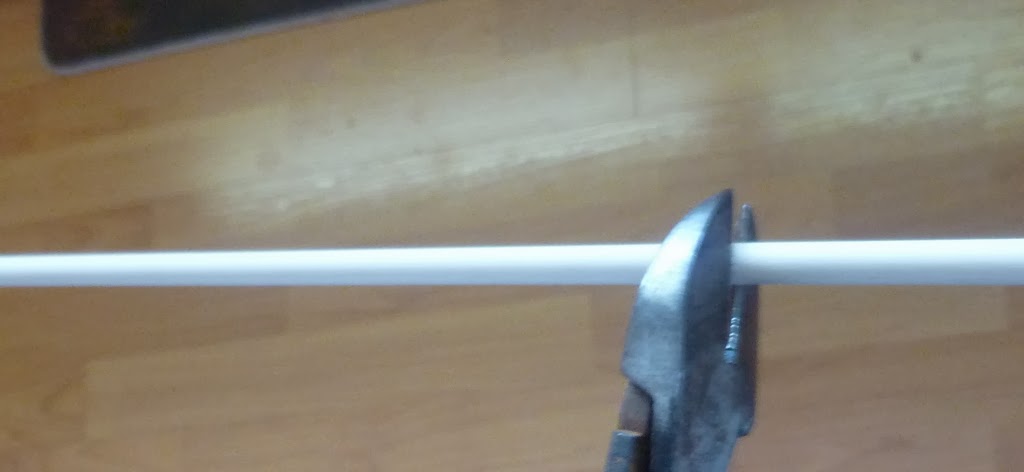
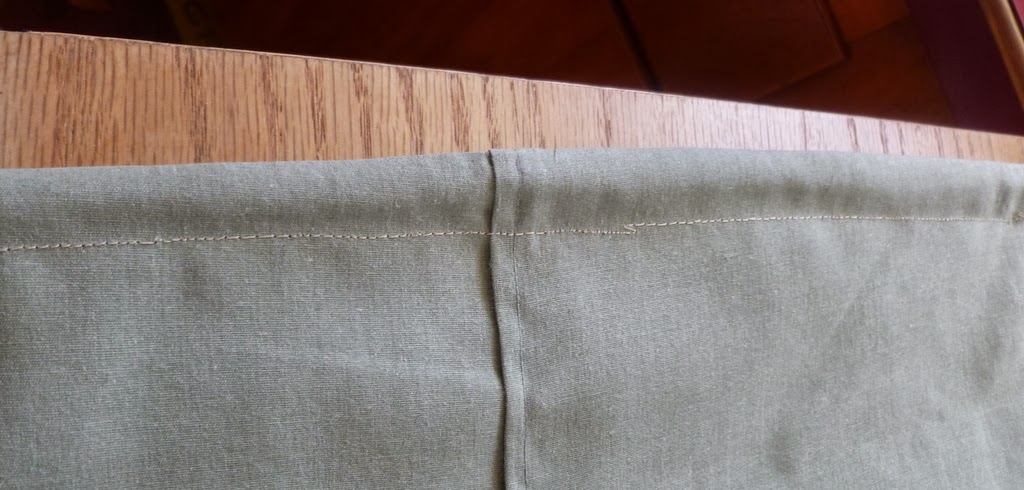
Put it inside the bag and push it all the way to the bottom and pin the line where you want to sew, as seen below.
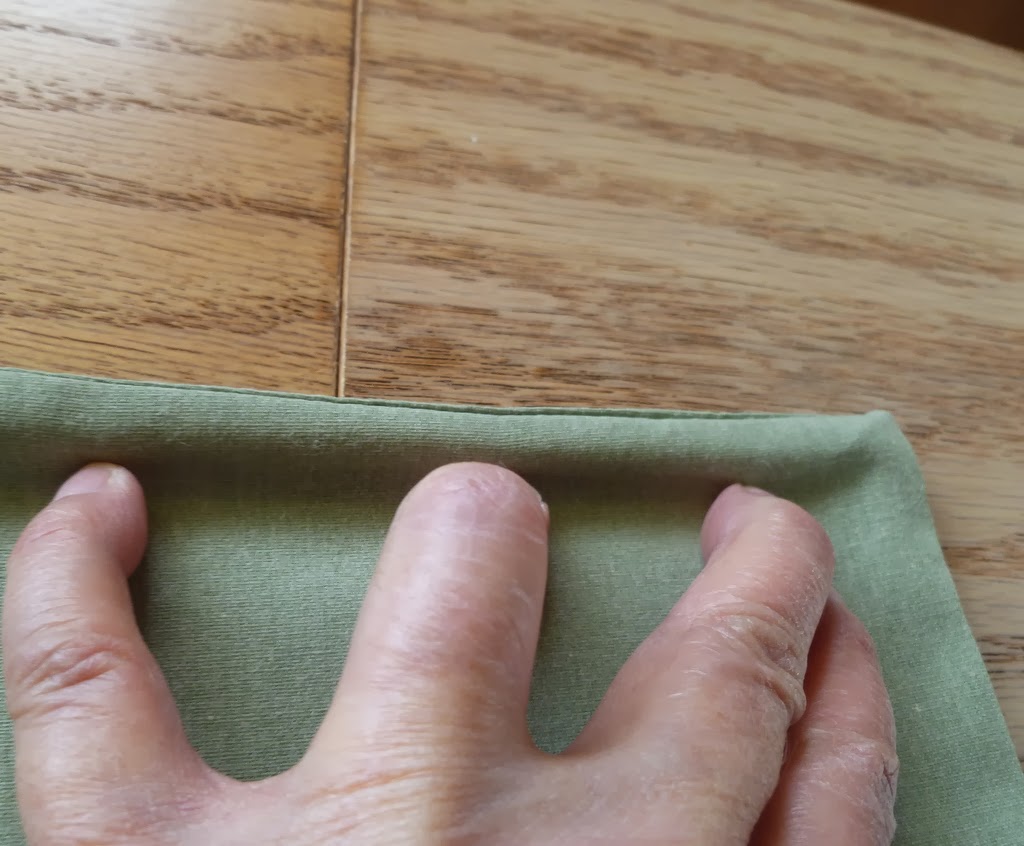
I cut my rod 23 1/2 inches long.
Sew the seam with the rod inside.
Measure the side and cut the rods the needed length. For the sides I didn’t put the rods in to sew. (That would make it very hard to sew.) I came in 1/2 inch from the edge and sewed down each side. Then I put the rods in to make sure they fit. I took them back out until I made the handles and sewed them on.
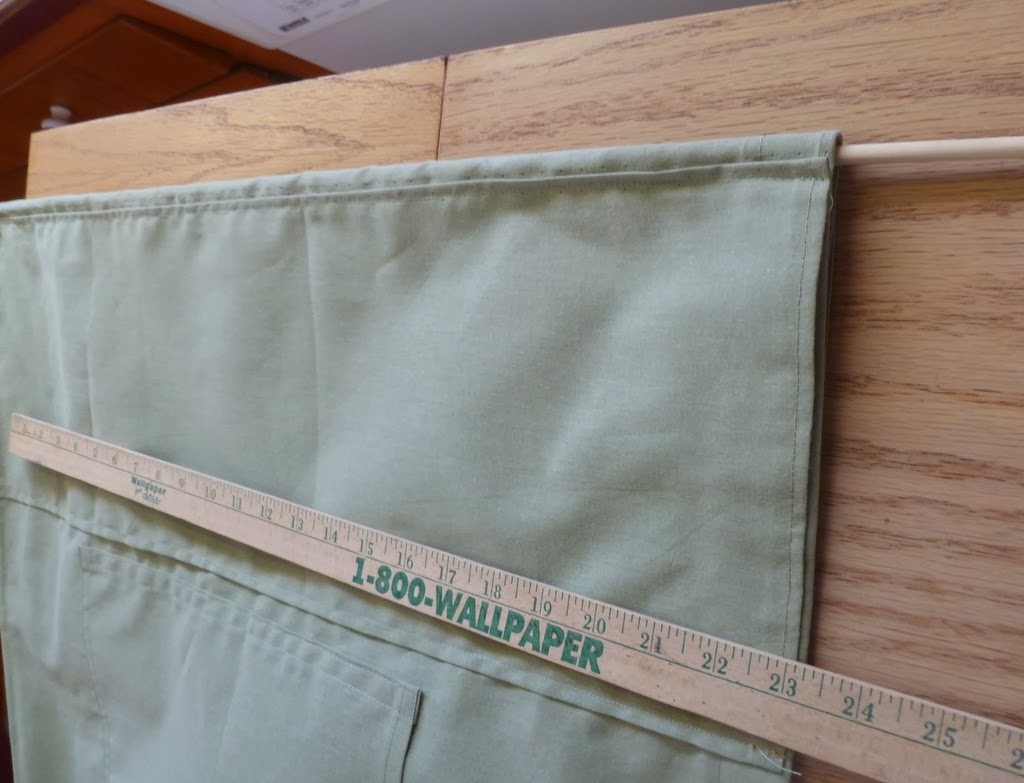
The side rods I cut at 24 1/2 inches long.
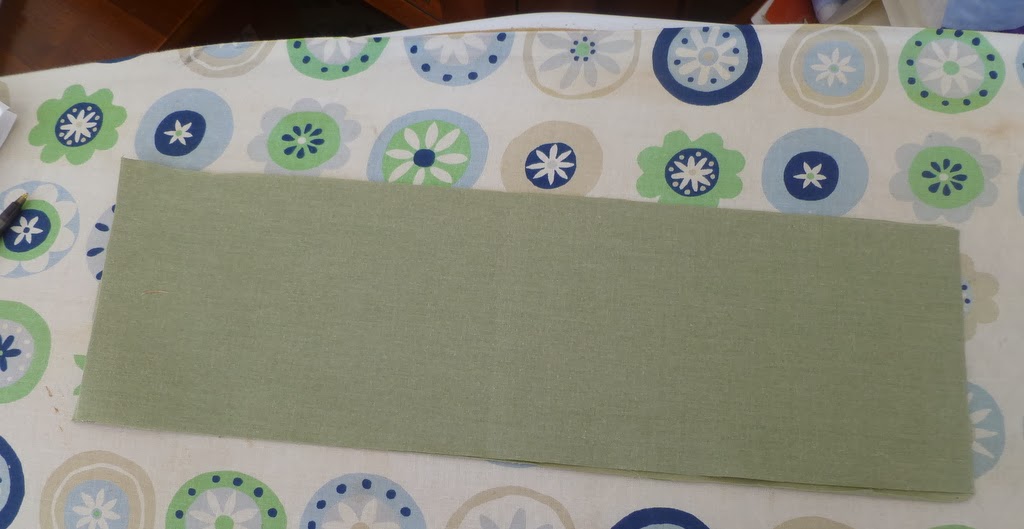
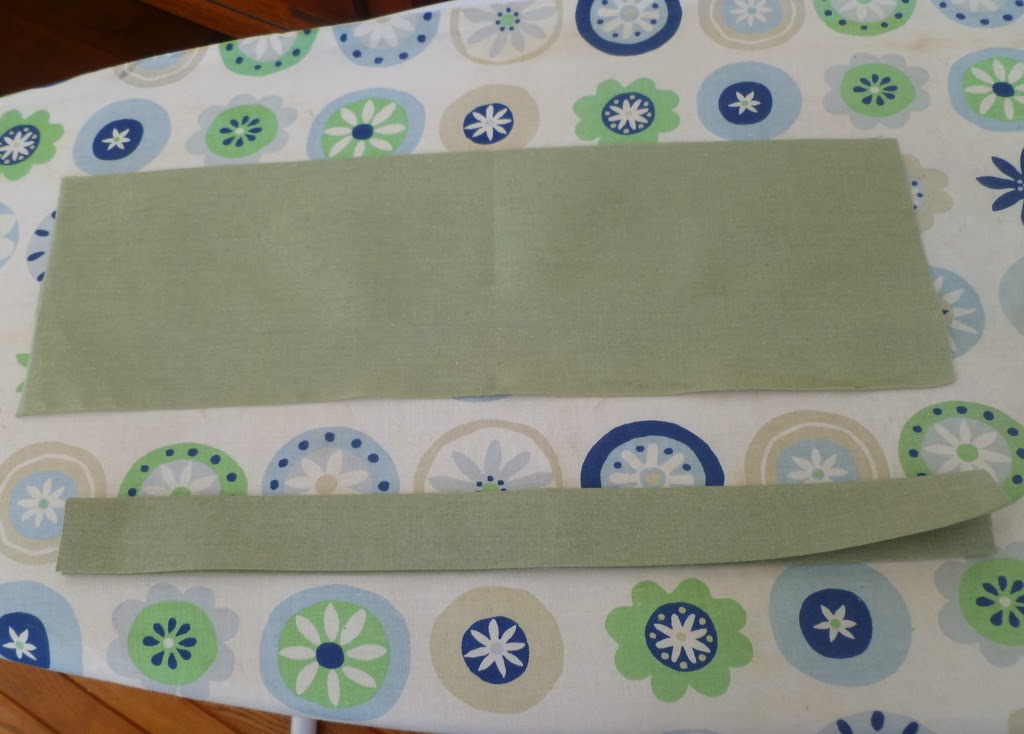
To make the handles. Cut two pieces of material 15 x 5 inches.
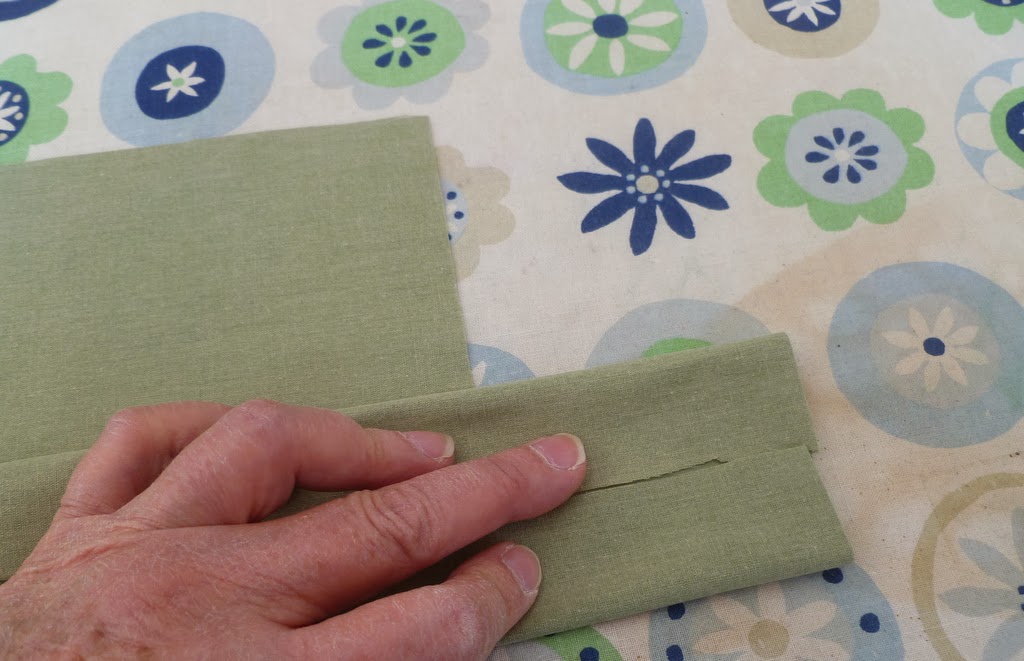
Fold both edges to the center as shown below. Press.
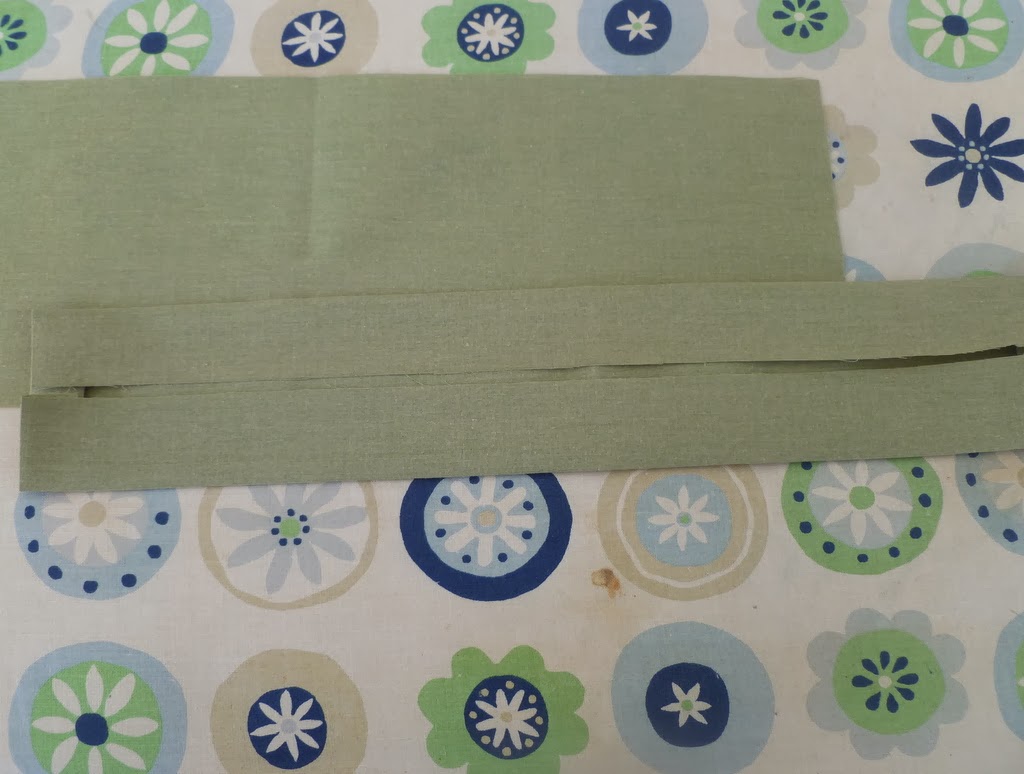
Fold in the center and bring the edges together and pin.
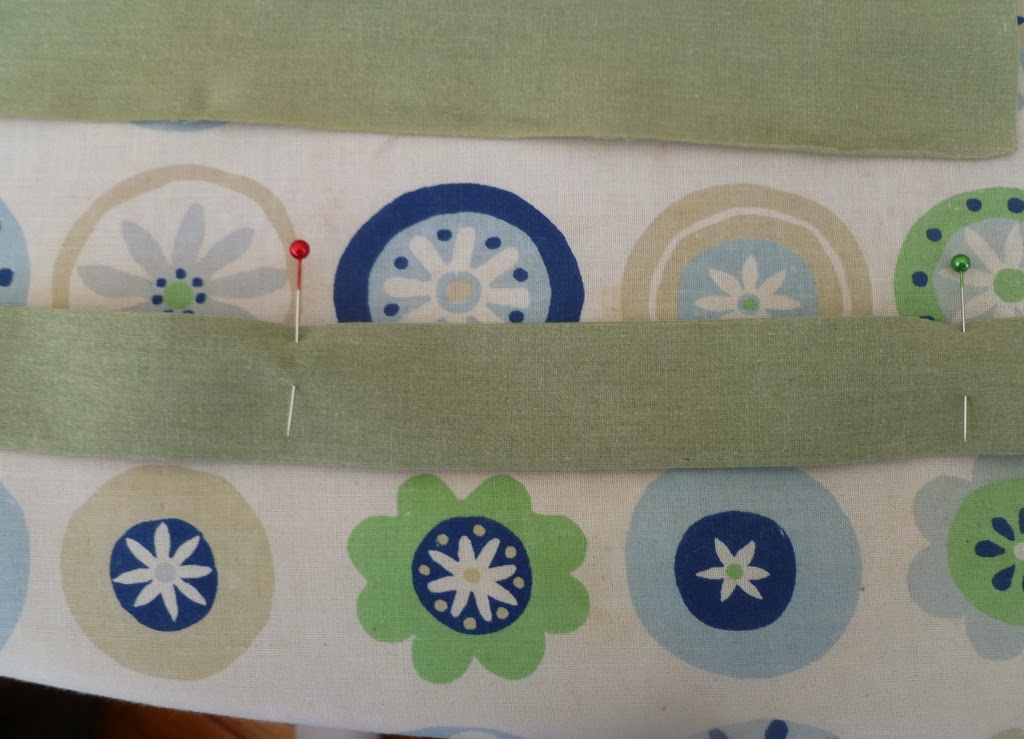
Sew. Make the other handle the same way.
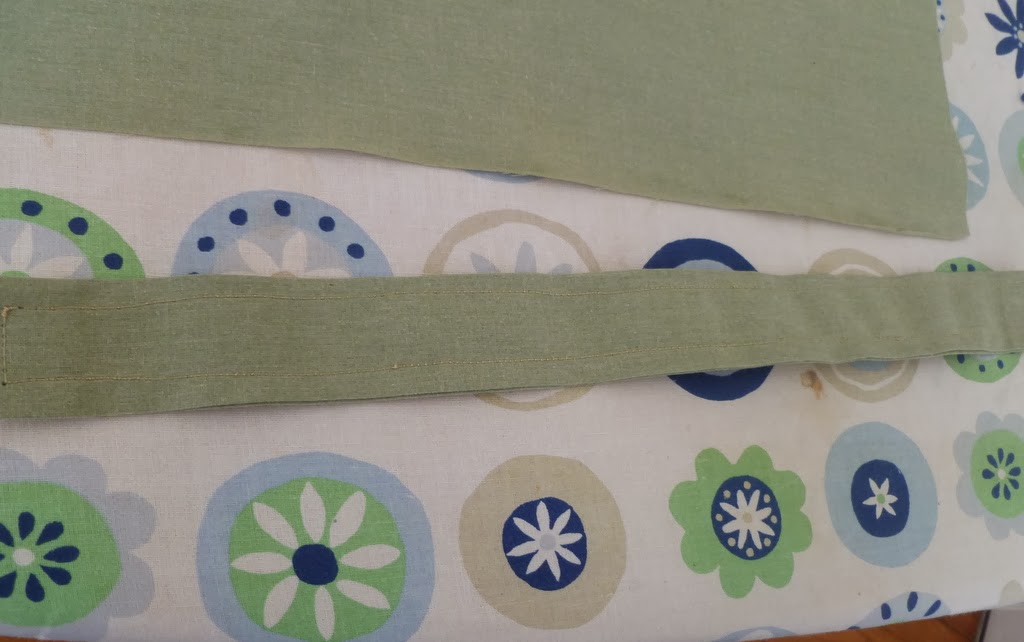
Attach the handle to the outside of the mat carrier.
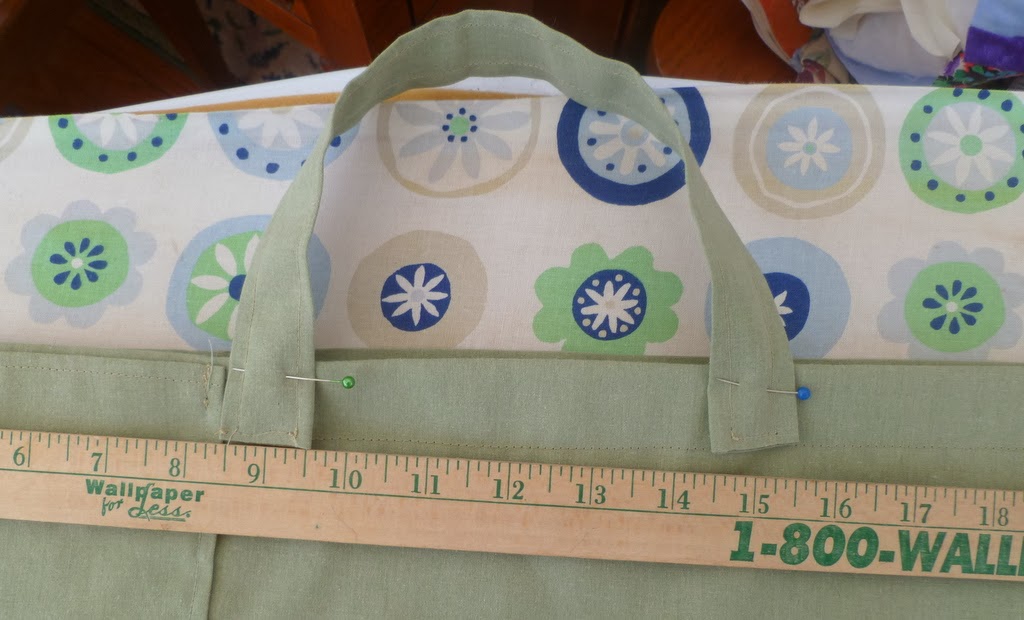
Measure from each edge to place handle equally from both sides.
Mine are placed 8 1/2 inches from each edge.
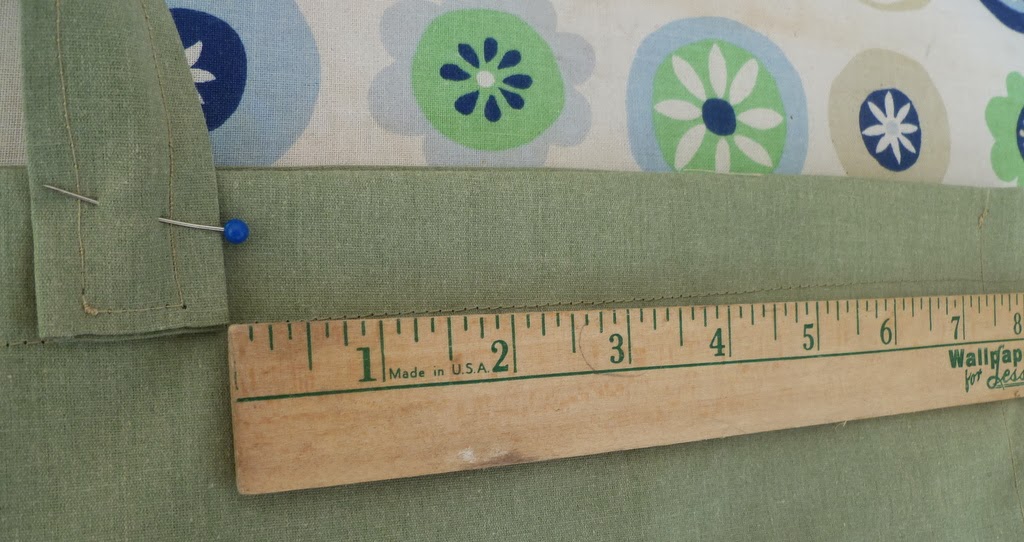
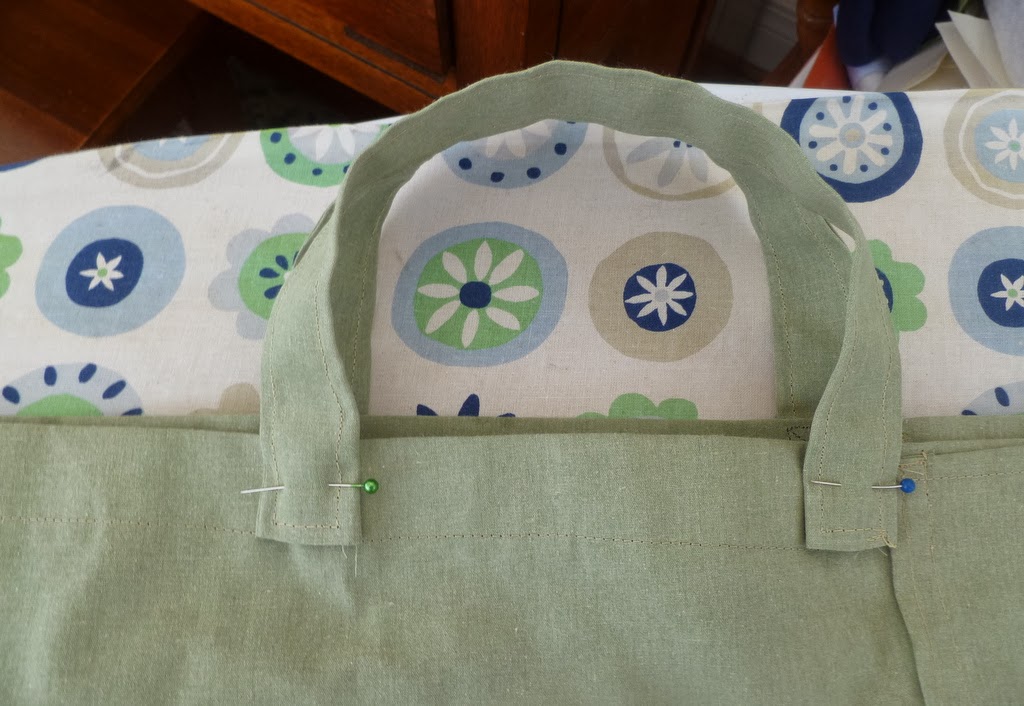
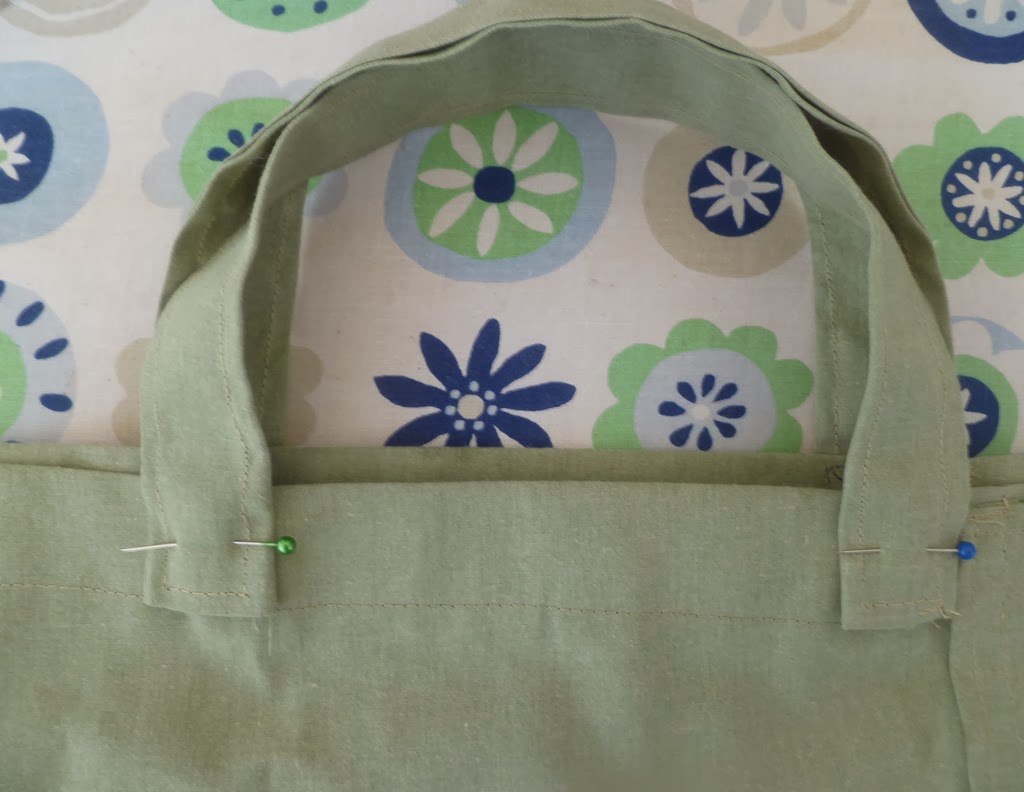
Sew in place on both top, bottom and both sides making a box and then make an X across the box.
By doing this you handles will be more secure.
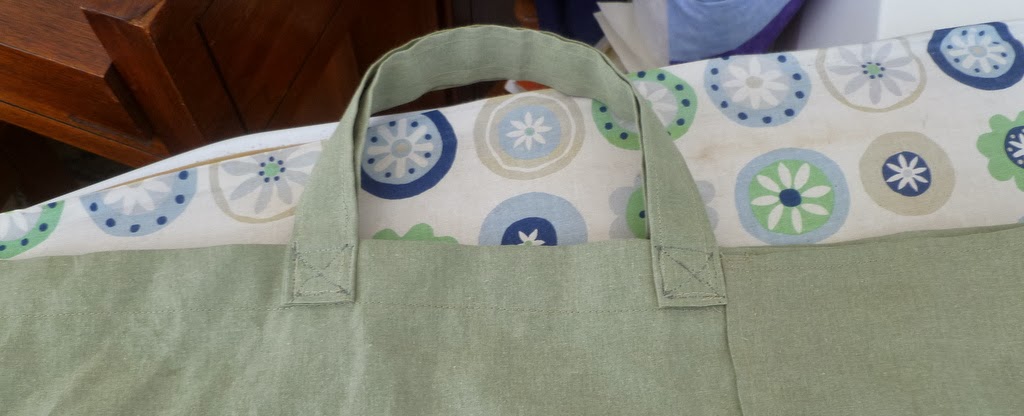
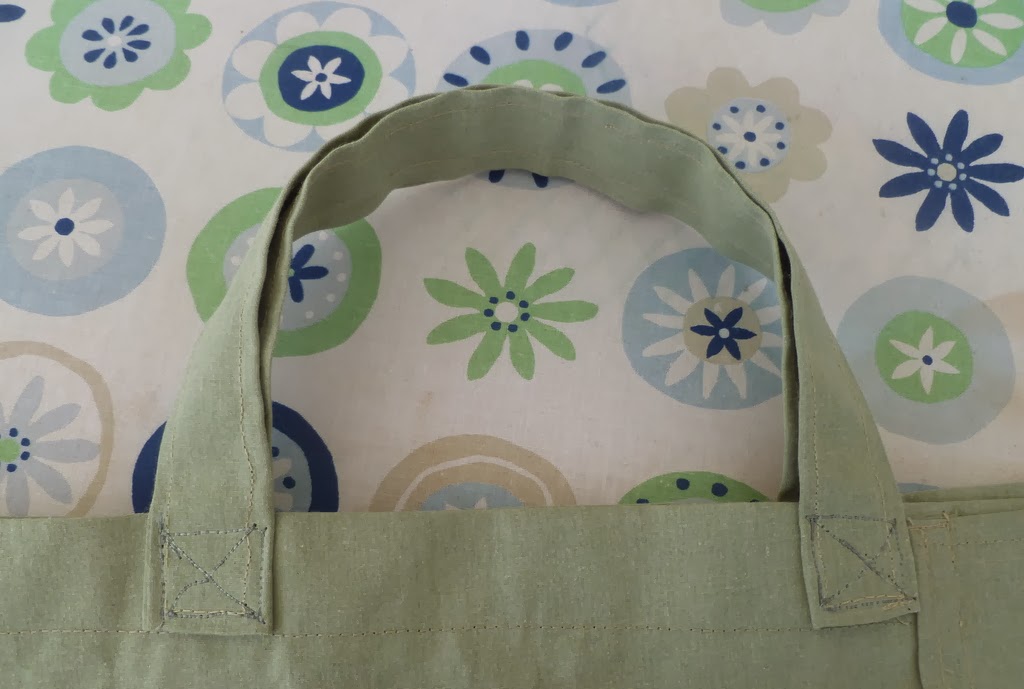
Your carrier is complete and you are now ready to store your mats and rulers in it.
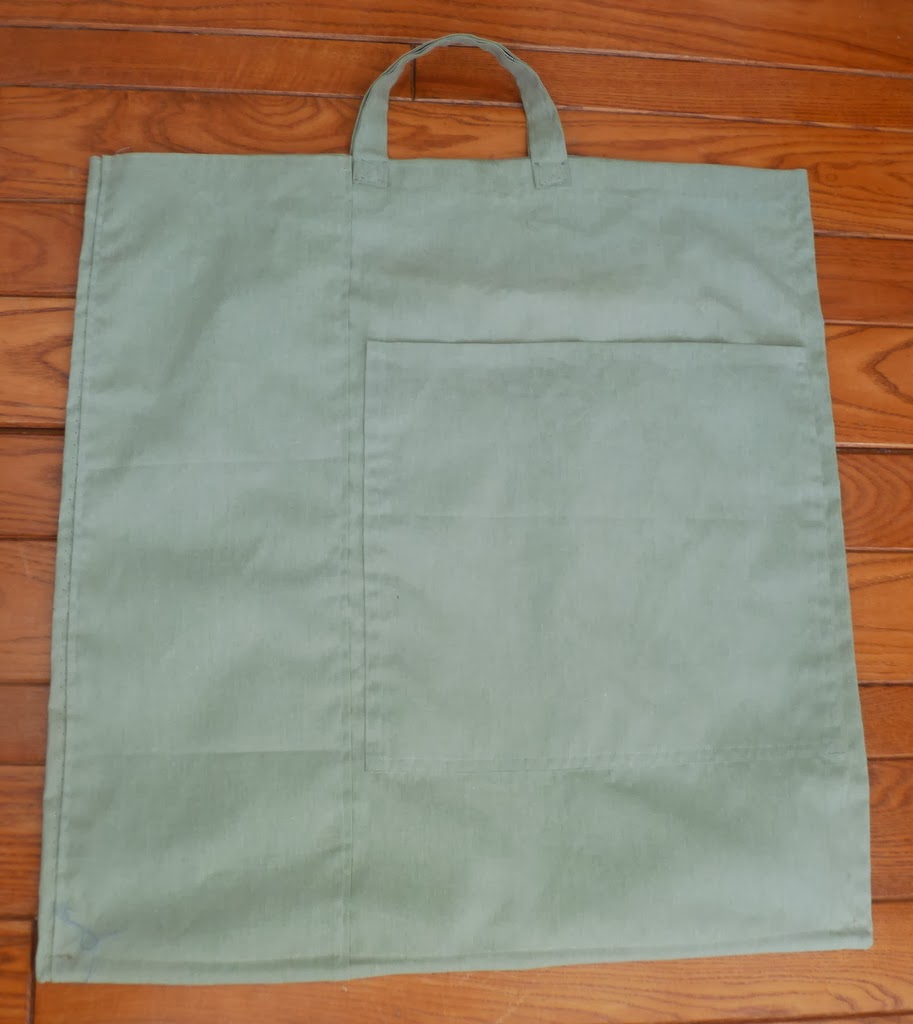
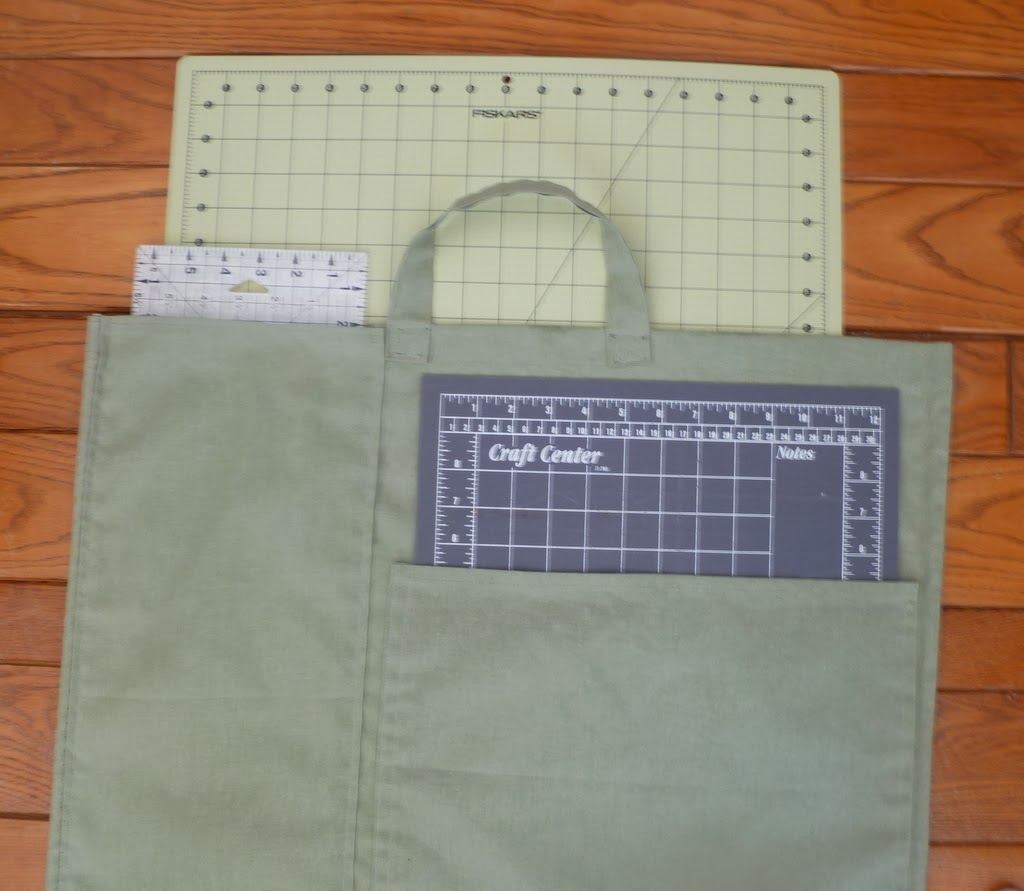
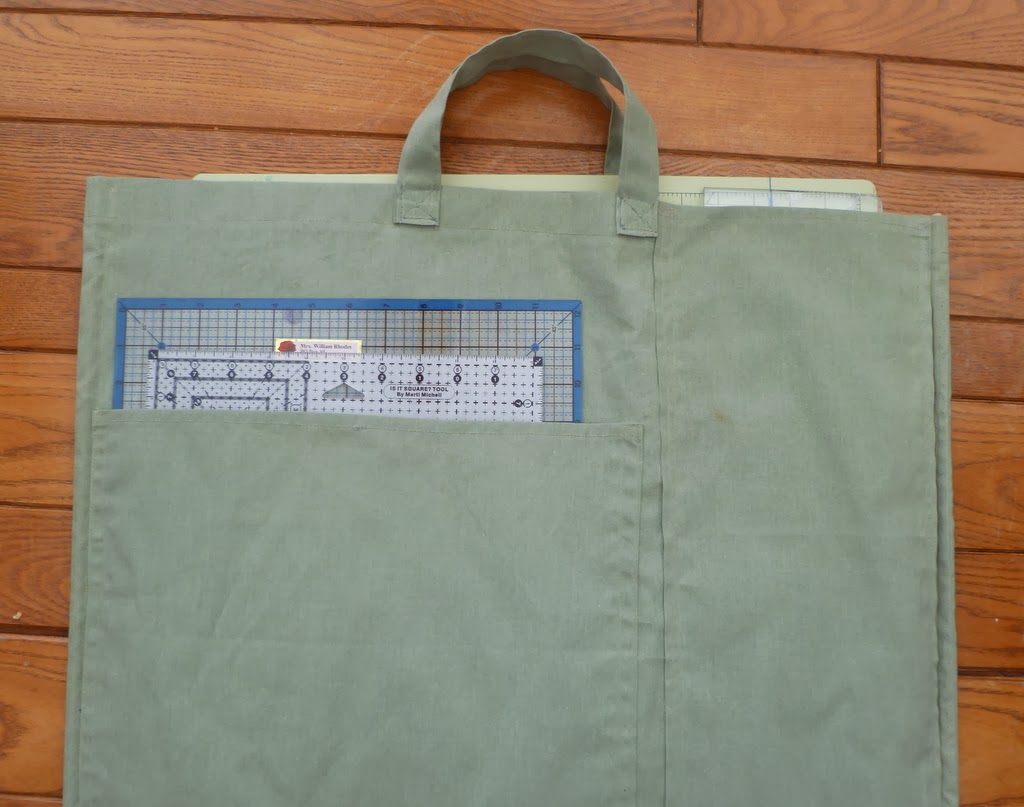
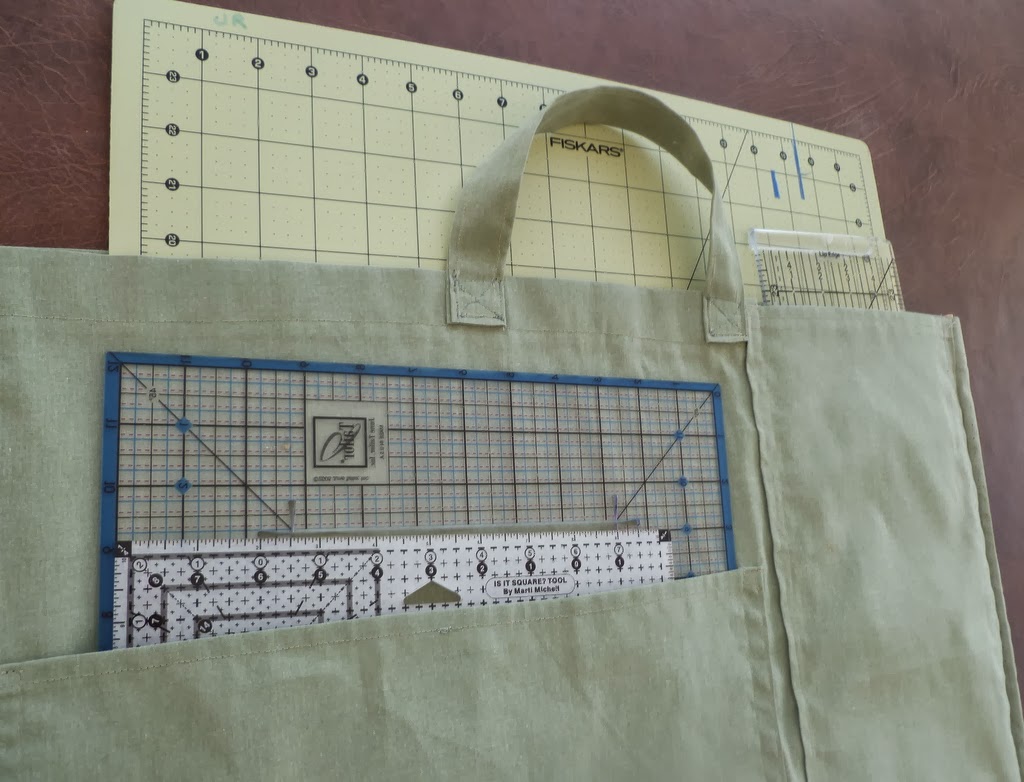
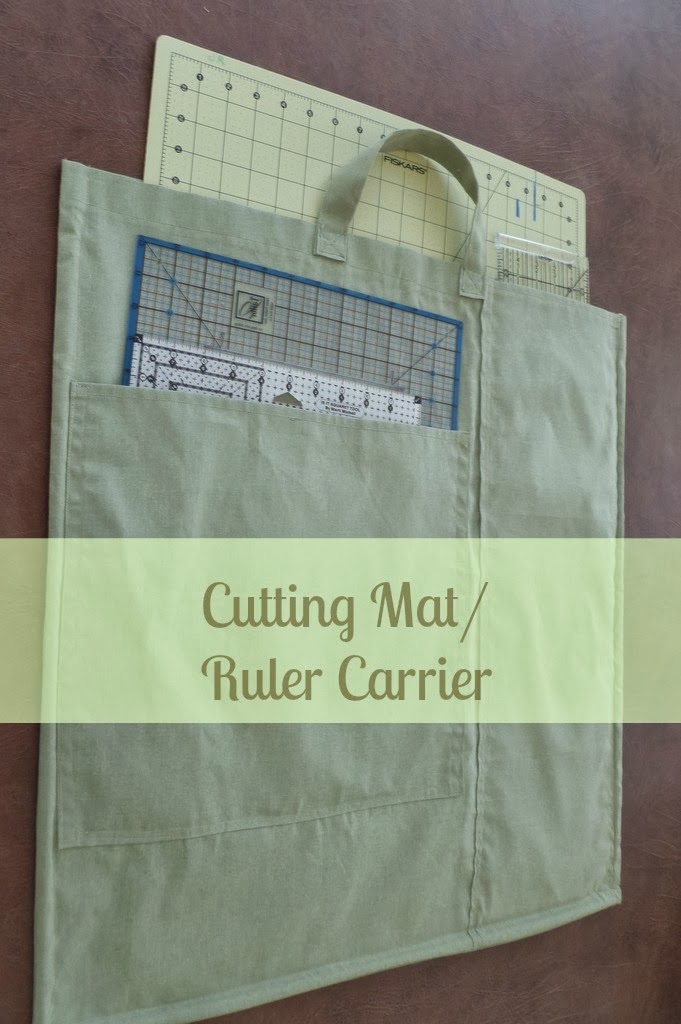
I used my Cutting Mat/Ruler Carrier today, as I went to my quilting class. It was such a big help and made the carrying of my supplies so much easier. I can store them it the carrier and have them ready when ever they are needed.
This is really a good way to organize and store them.
Hope you like it, I know I do.
Blessings,

Parties I Link Up To:
Monday:
Skip to my Lou , Craft O Maniac, Keeping it Simple, Creating Really Awesome Free Things, Make Ahead Meals for Busy Moms Between Naps on the Porch, , Mad in Crafts, I’m An Organizing Junkie, Sew Can Do, I Should Be Mopping the Floor, Making the World Cuter, The Gunny Sack, Mrs. Happy Homemaker, Uncommon Designs, DIY Home Sweet Home, The Modest Mom
Tuesday:
Coastal Charm, A Bowl Full of Lemons , Tip Junkie , Sugar Bee Crafts , Not Just a Housewife ,Today’s Creative Blog , Balancing Beauty and Bedlam , 5 Minutes for Mom , Funky Polkadot Giraffe , Hope Studios , Time Warp Wife , Chef in Training Home Stories A to Z, My Uncommon Slice of Suburbia, Vintage Wanna Bee, The Blackberry Vine, Carolyn’s Homework, The Kurtz Corner, Growing Home, Cornerstone Confessions, Mercy Ink, Ginger Jamboree,A Diamond in the Stuff, Reasons to Skip the Housework,A Stroll Thru Life
Wednesday:
Raising Homemakers , Crystal & Co. , We AreThat Family , Women Living Well, The Trendy Treehouse , Handy Man, Crafty Woman Someday Crafts , This Chick Cooks , Seven Thirty Three, Sugar & Dots A Creative Princess , Creations by Kara, Gingersnap Crafts , Uncommonly Yours, My Girlish Whims, Adorned from Above Fabric Bows and More, Twin Dragonfly Designs, The Thrifty Home, Semi Homemade Mom Simply Designing
Thursday:
Shabby Creek Cottage, Delightful Order House of Hepworths, The Frugal Girls , Miz Helen’s Country Cottage , Thrifty 101, Diary of a Stay at Home Mom, Beyond the Picket Fence, A Glimpse Inside, MandatoryMooch, Think Tank, The Real Thing with the Coake Family,Life we Live 4,Somewhat Simple
Friday:
The Thirty Sixth Avenue,The Shabby Nest , Fingerprints on the Fridge , Chic on a Shoestring, Life as Mom , Miss Mustard Seed , Tidy Mom , Whipperberry, French Country Cottage 30 Handmade Days , Finding Fabulous , Naptime Crafters Tatertots and Jello,My Romantic Home , While He was Napping , Comfy in the Kitchen, Bacon Time with the Hungry, Hungry Hippo, The Country Cook, Six Sister’s Stuff, Kitchen Fun With My Three Sons, Ann Kroeker Writer,, Simply Sweet Home, Craft Junkie Too, , Happy Hour Projects,Young and Crafty, Five Days Five Ways, At Home With Bobi,
A Peek into Paradise,Practically FunctionalSaturday:
Funky Junk Interiors, Young and Crafty , Be Different, Act Normal , A Vision to Remember, Sweet as Sugar Cookies, Positively Splendid, It’s Overflowing, The Artsy Girl Connection, Craft Envy, Too Much Time On My Hands, Something Swanky Sassy Little Lady,
Or So She Says, Tutus and Tea Parties, Your Home Based Mom
Sunday:
Under the Table and Dreaming , DIY Showoff , Nifty Thrifty Things, Homemaker on a Dime , Sumo’s Sweet Stuff ,The Girl Creative
What a clever idea! I found your link through notjustahousewife.net linky party. I have the big cutting mat, so I might need to made a spiral pocket so I can roll it up and carry it, but I LOVE the idea of using a tote instead of trying to carry the mat, ruler, and fabric separately! Thanks for sharing!