Scripture to Live By:
Matthew 14:27-31
But Jesus immediately said to them: “Take courage! It is I. Don’t be afraid.” “Lord, if it’s you,” Peter replied, “tell me to come to you on the water.” “Come,” he said.Then Peter got down out of the boat, walked on the water and came toward Jesus. But when he saw the wind, he was afraid and, beginning to sink, cried out, “Lord, save me!” Immediately Jesus reached out his hand and caught him. “You of little faith,” he said,“why did you doubt?”
What ever we are going through we need to keep our eyes on Jesus. When we take our focus off Jesus we began to focus on the winds in our lives and we begin to sink. To get through the storms of our lives we need to, moment by moment, keep our eyes on Jesus.
Today my husband was relaxing and he began to sing a song he had heard when he was a little boy. The name of the song is “Love Lifted Me”. Here are the lyrics to it.
- I was sinking deep in sin, far from the peaceful shore,
Very deeply stained within, sinking to rise no more,
But the Master of the sea heard my despairing cry,
From the waters lifted me, now safe am I.- Refrain:
Love lifted me!
Love lifted me!
When nothing else could help,
Love lifted me!
- Refrain:
- All my heart to Him I give, ever to Him I’ll cling,
In His blessed presence live, ever His praises sing,
Love so mighty and so true, merits my soul’s best songs,
Faithful, loving service, too, to Him belongs. - Souls in danger, look above, Jesus completely saves,
He will lift you by His love, out of the angry waves.
He’s the Master of the sea, billows His will obey,
He your Savior wants to be, be saved today. - It was written by James Rowe. 1912
- This song says it all.
Home Improvement Post:
We are always looking for ways to add more storage space without making our house look cluttered. We decided we could use more storage area in the living room, dining room area. Since they are attached we decided a buffet would provide some for both rooms.
We wanted every thing to match so we went back to Lowe’s and bought some unfinished wall cabinets and here is what we did with them. We had made our DIY Entertainment Center and we wanted them to match. We followed the same process as we had in making it. If you would like to see all the steps we did go here.
We sanded all doors and frame work and then stained them.
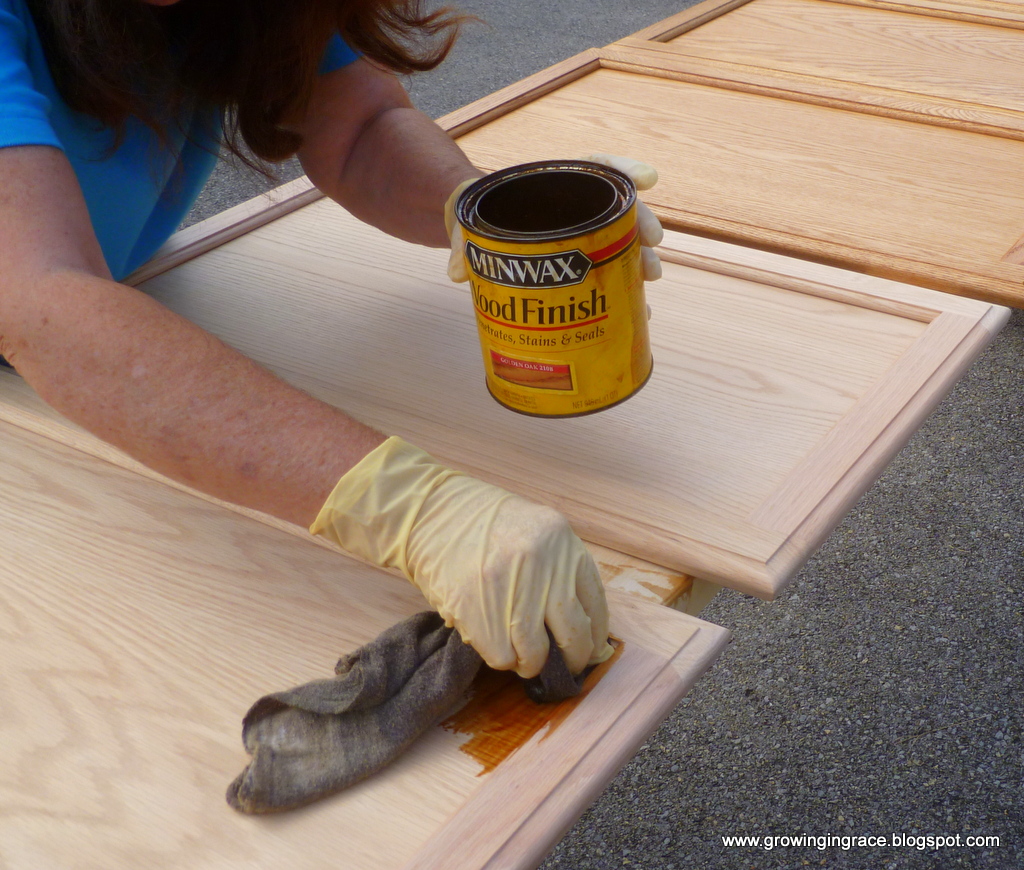
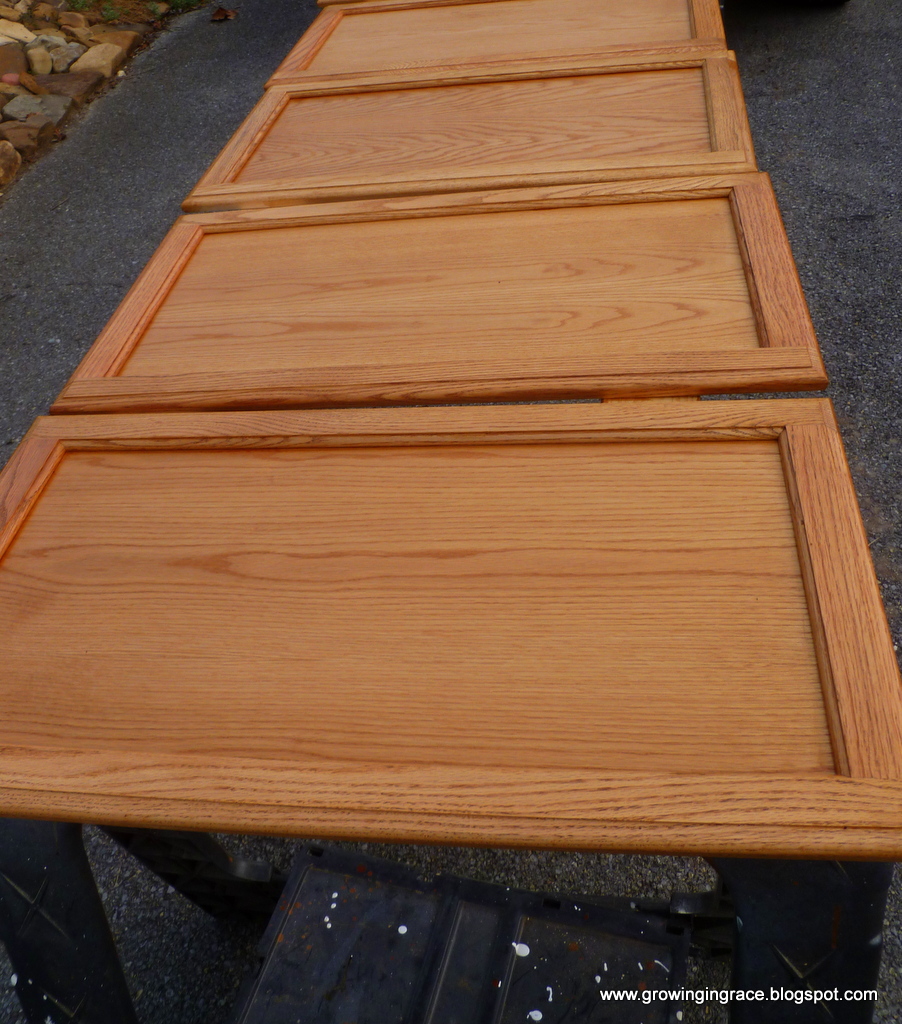
After the stain dried, I put the first of three coats of Minwax Polycrylic protective finish on the doors and the frame work.
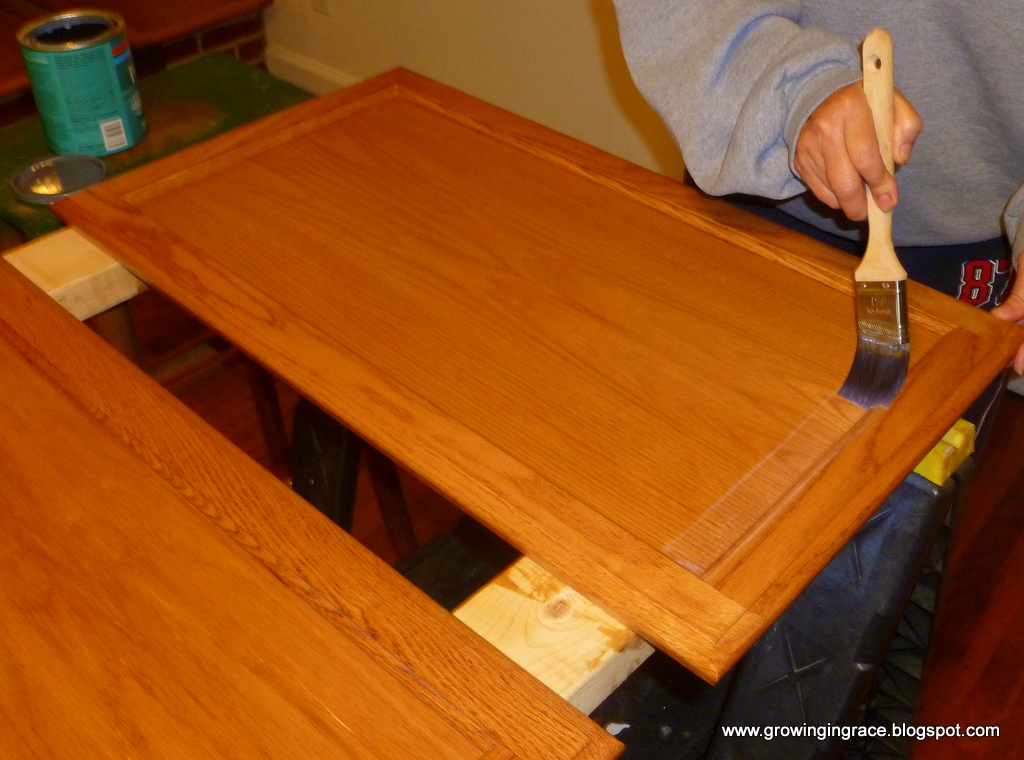
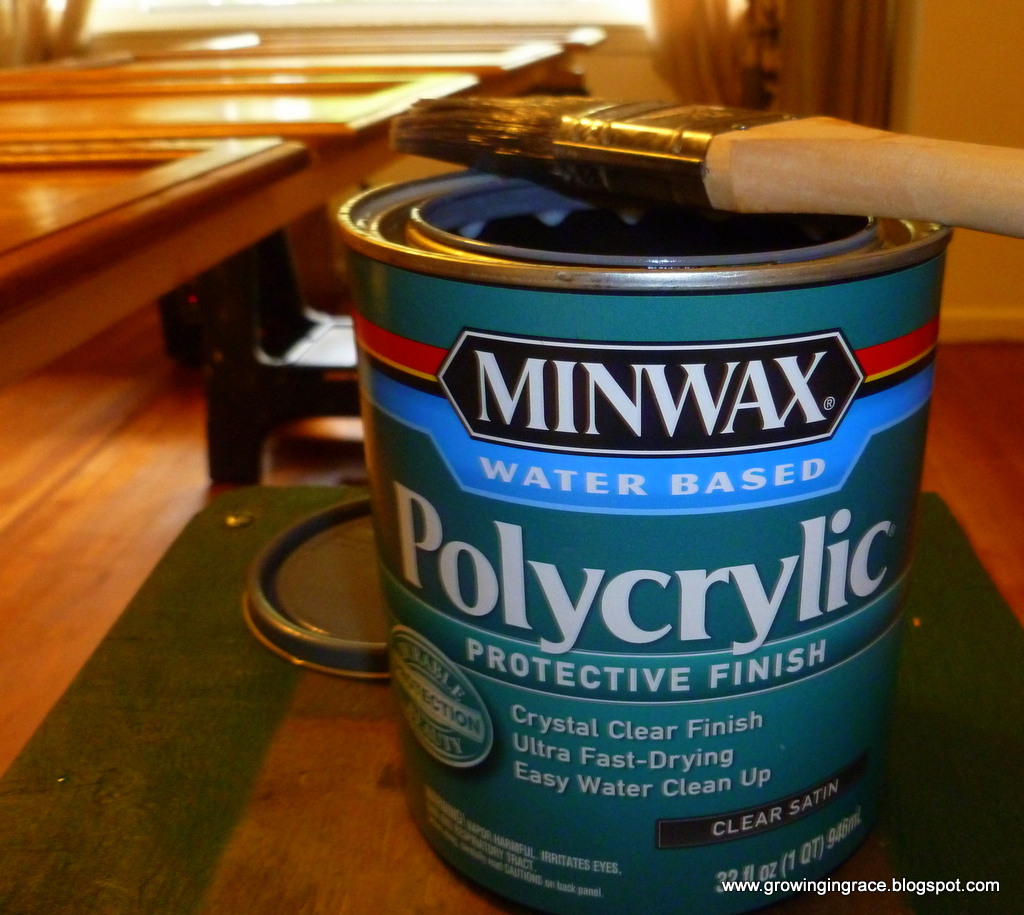
When the first coat of Minwax Polycrylic protective finish dries,
you lightly sand it before adding each additional coat.
We removed the baseboard from the wall so the cabinets would fit up against the wall.
Then we made a frame for the cabinets to sit on. We used 2 x 4’s to do the frame work.
We had stained and Polycrylic finish them as we had the doors and the cabinets.
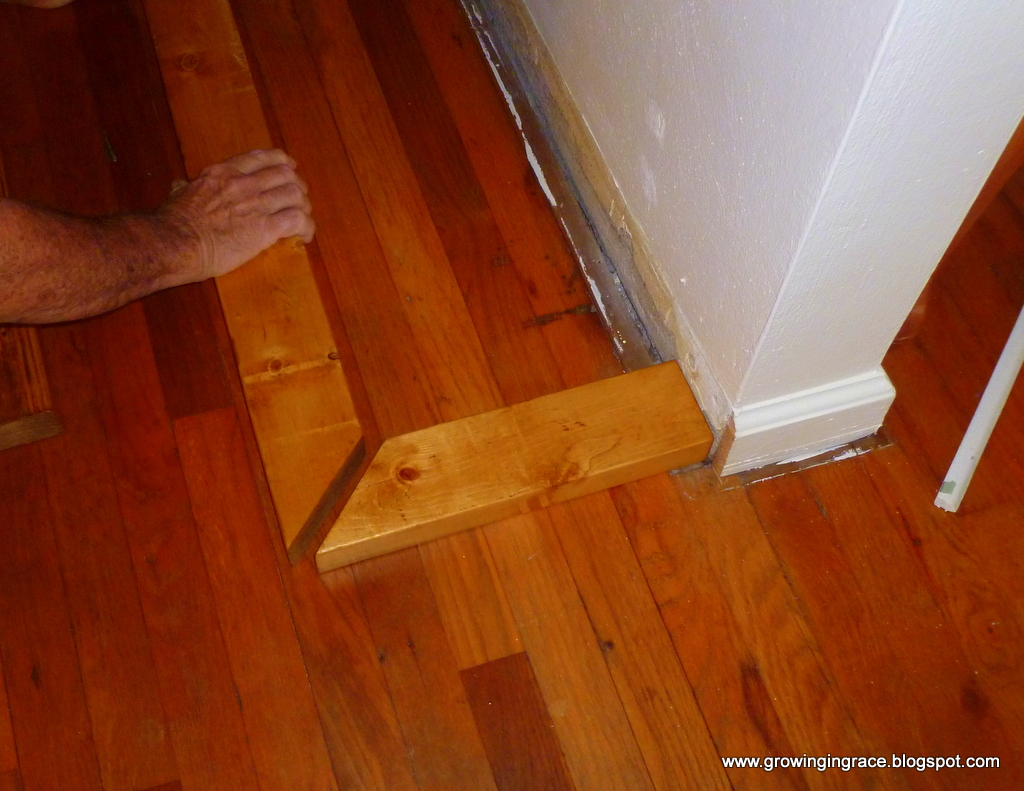
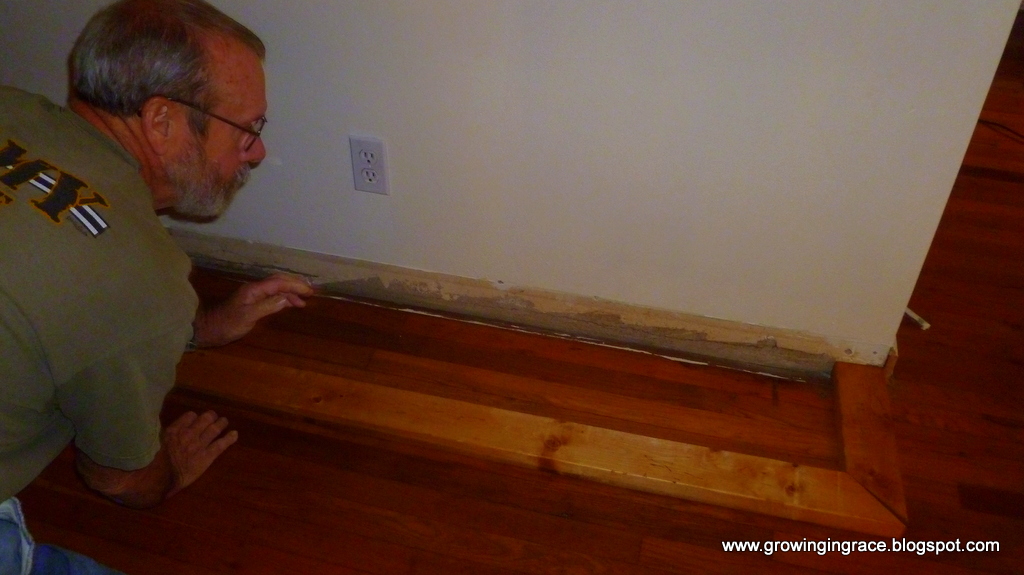
We made framework extend beyond the cabinet itself, one and one quarter inch around the entire perimeter of the cabinets.
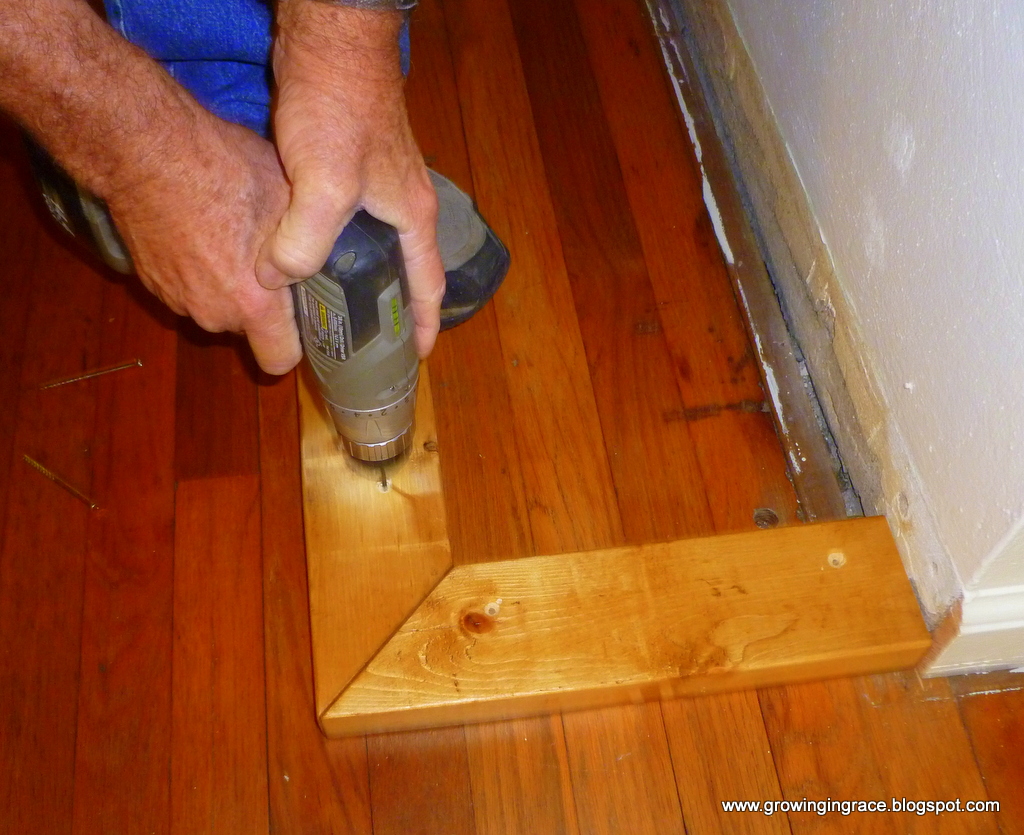
After the framework was finished we sat the cabinets in place.
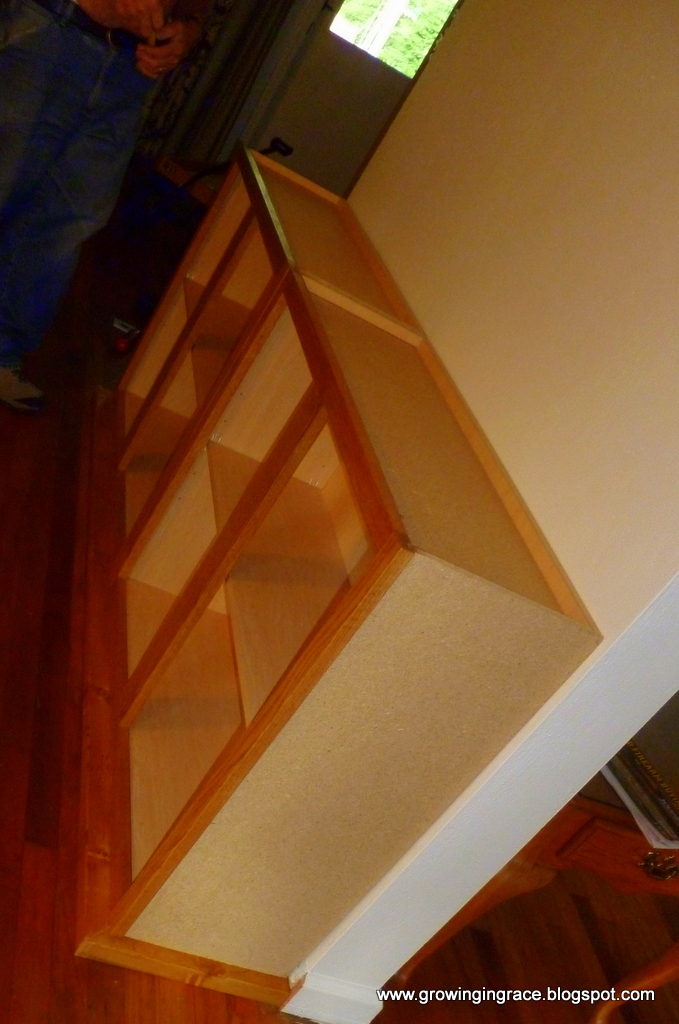
The next step was to clamp the cabinets together, so as the fronts are flush with each other. Then drill 1/4″ holes through the framework (2 at the top and 2 at the bottom), then we used four 1/4 x 1 1/2 inch round head machine screws with nuts and washer and bolted the cabinets together.
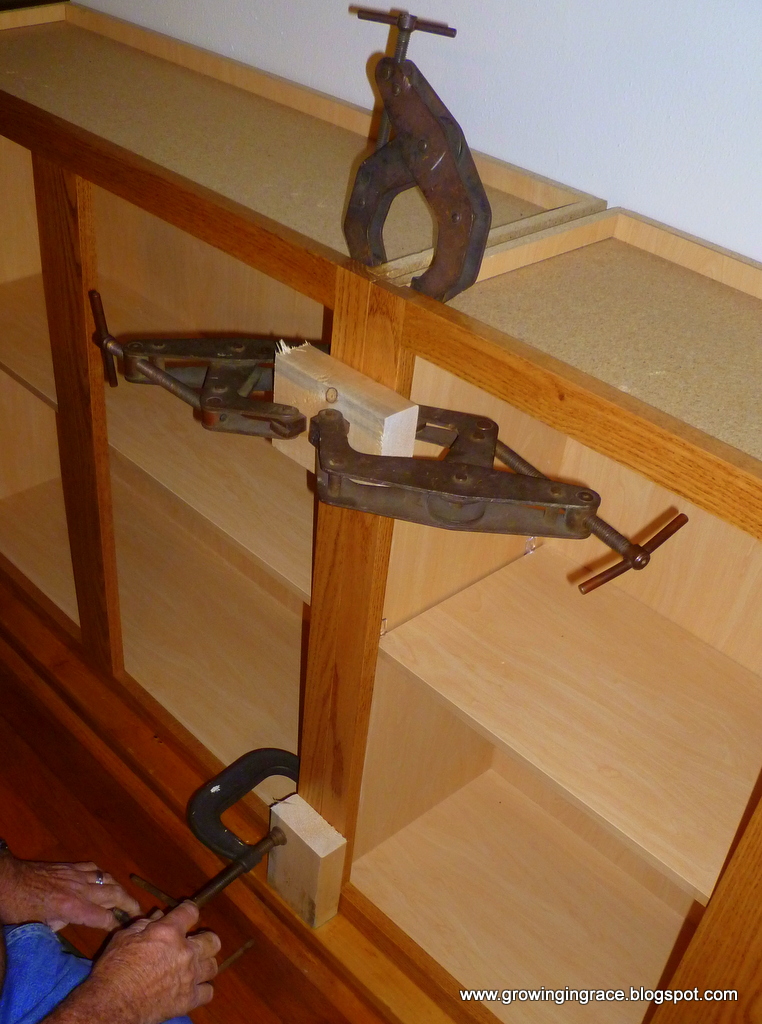
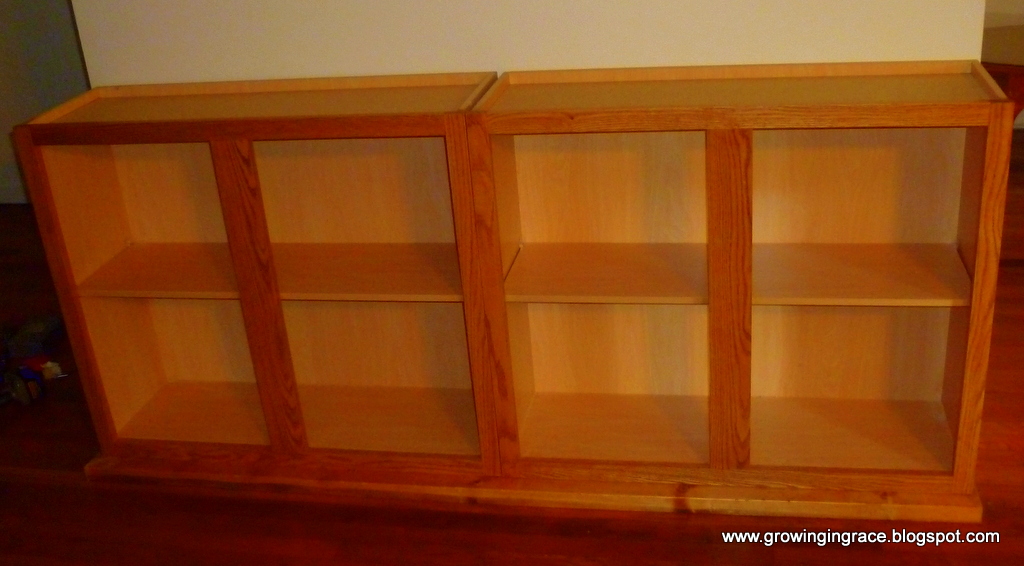
Next screw cabinets to floor framework.
Then reattach the doors to the cabinets.
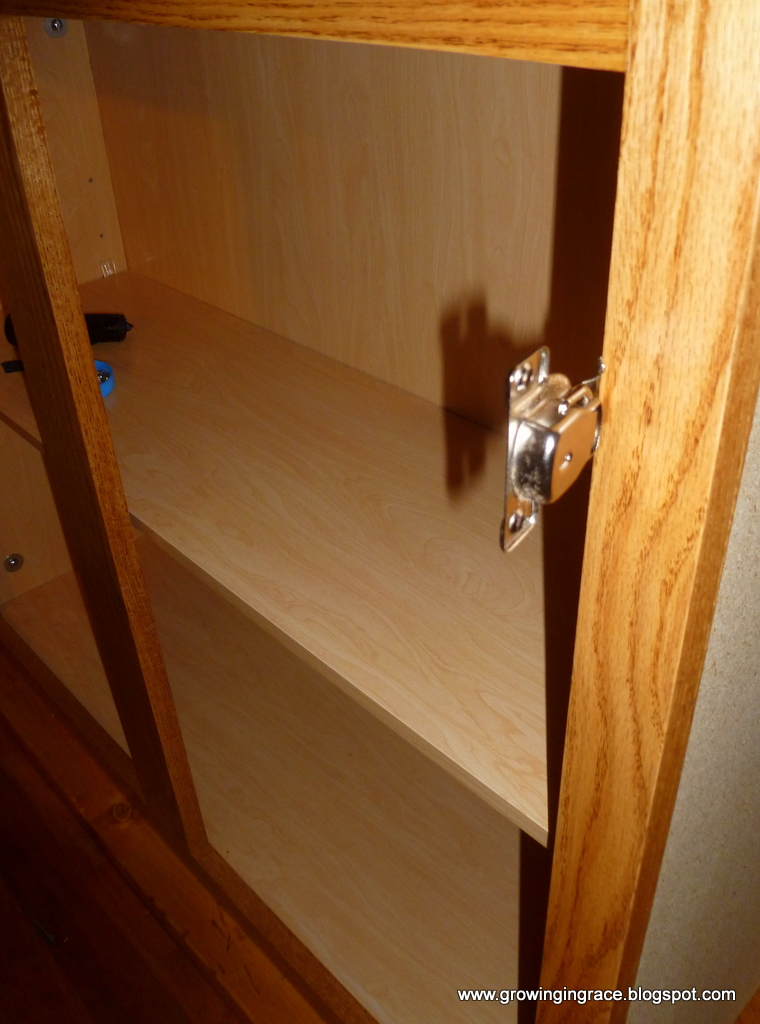
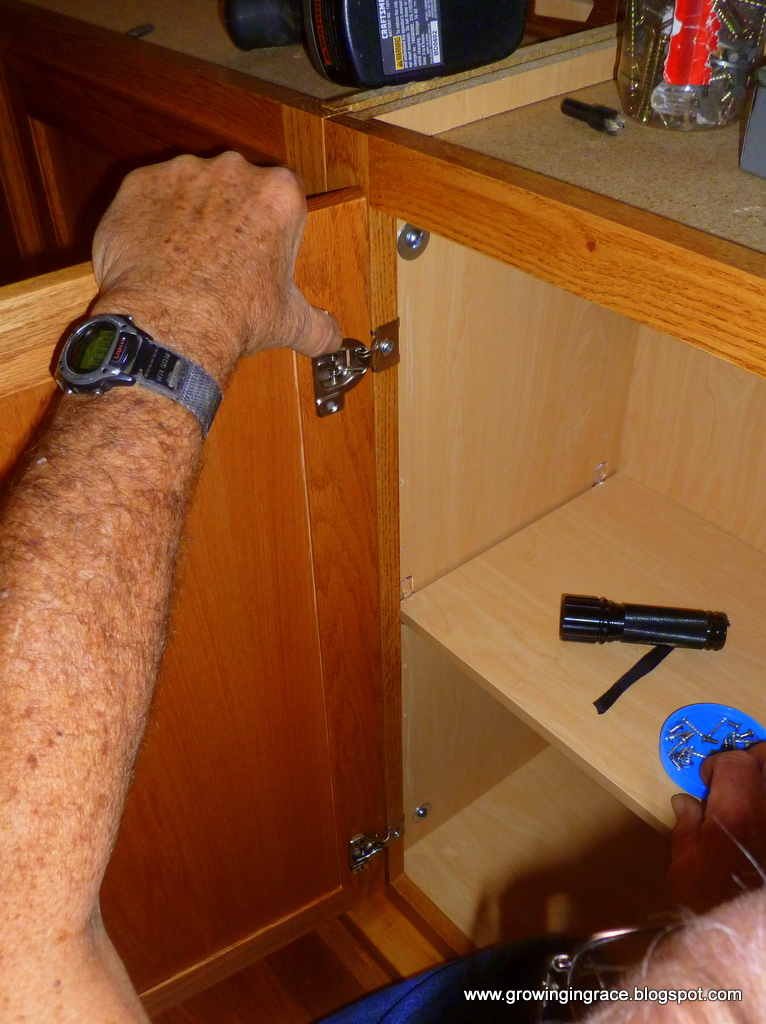
Next I used 3/16 thick oak veneer panel to cover the ends of the cabinets.
Measure and cut panels to fit the sides
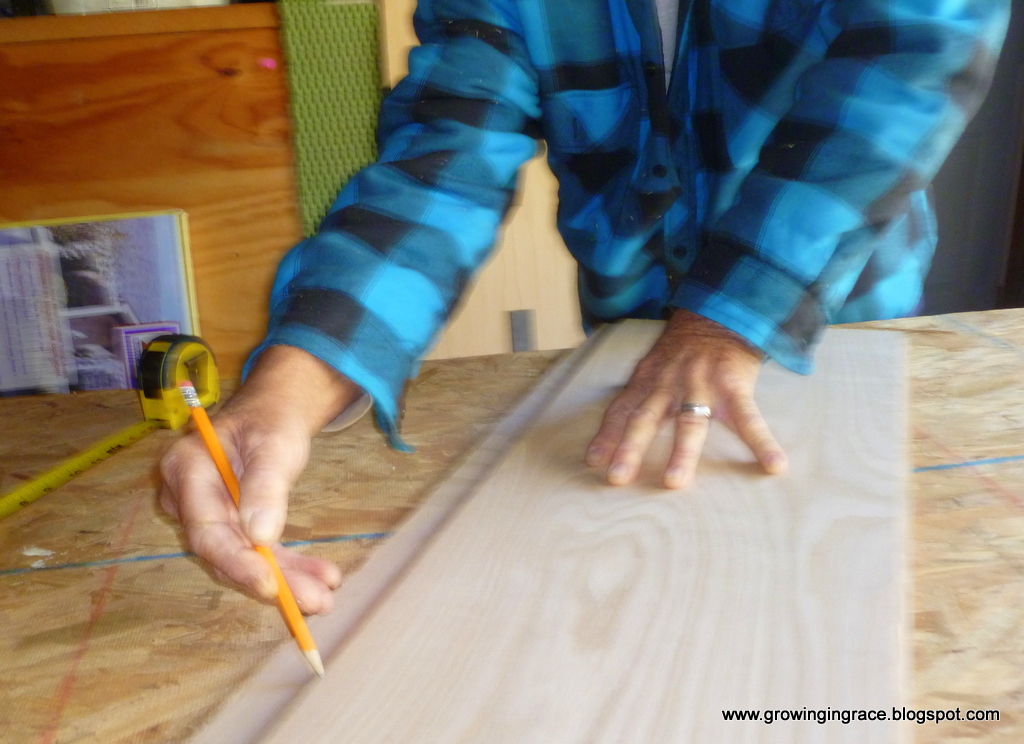
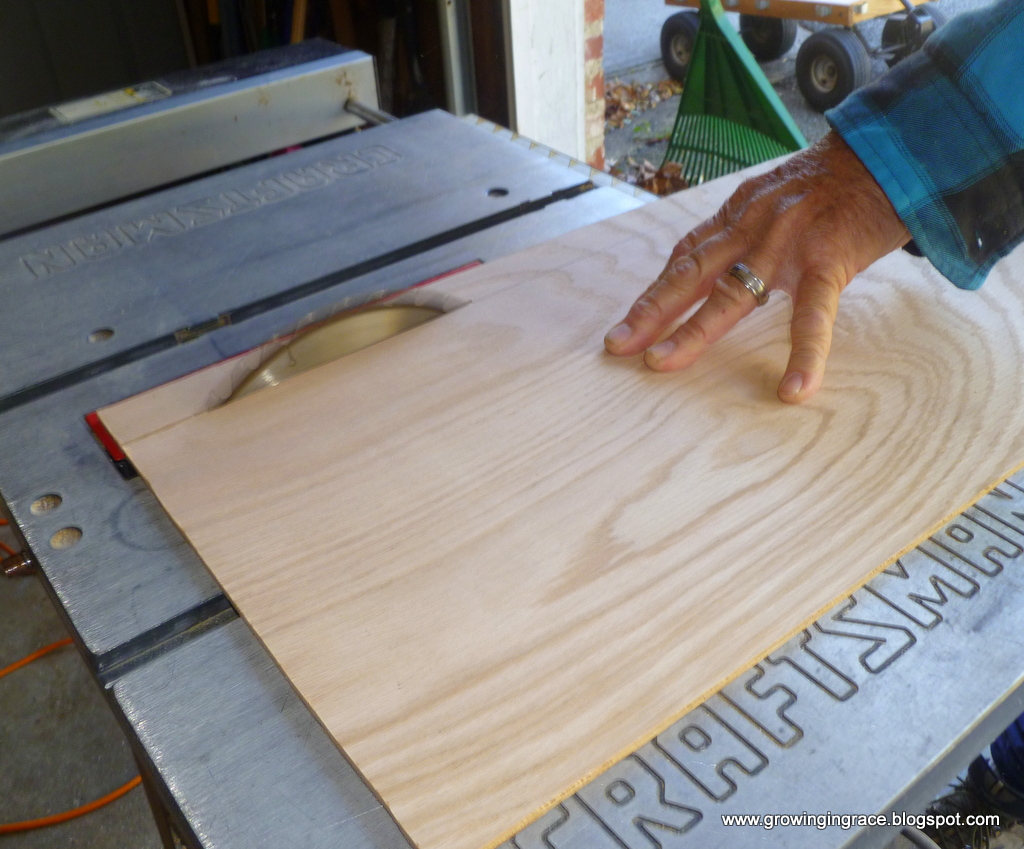
Sand and finish the panels the same as the cabinet doors and framework.
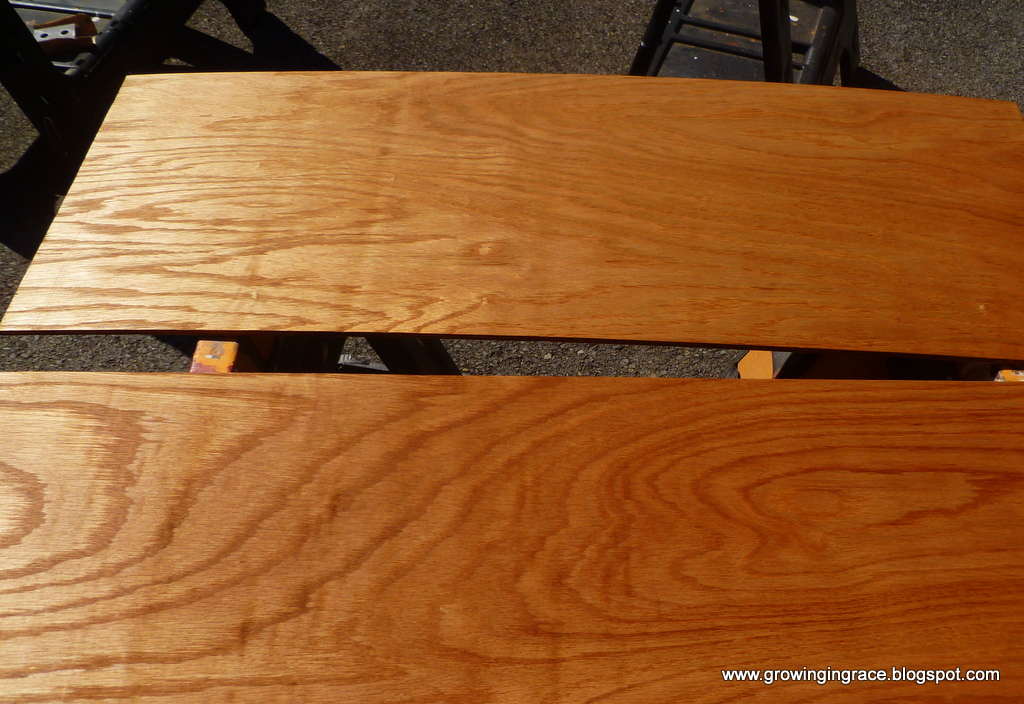
Attach panels to the sides of the cabinets as seen below.
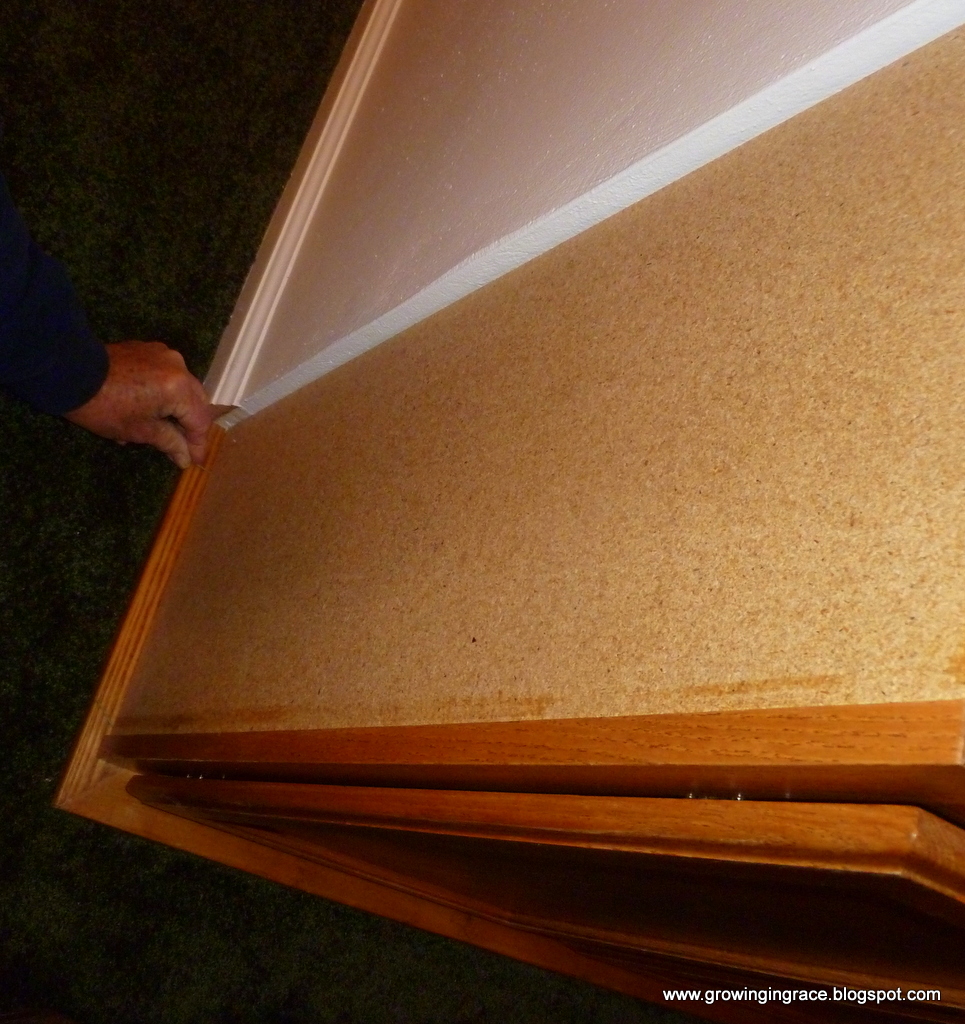
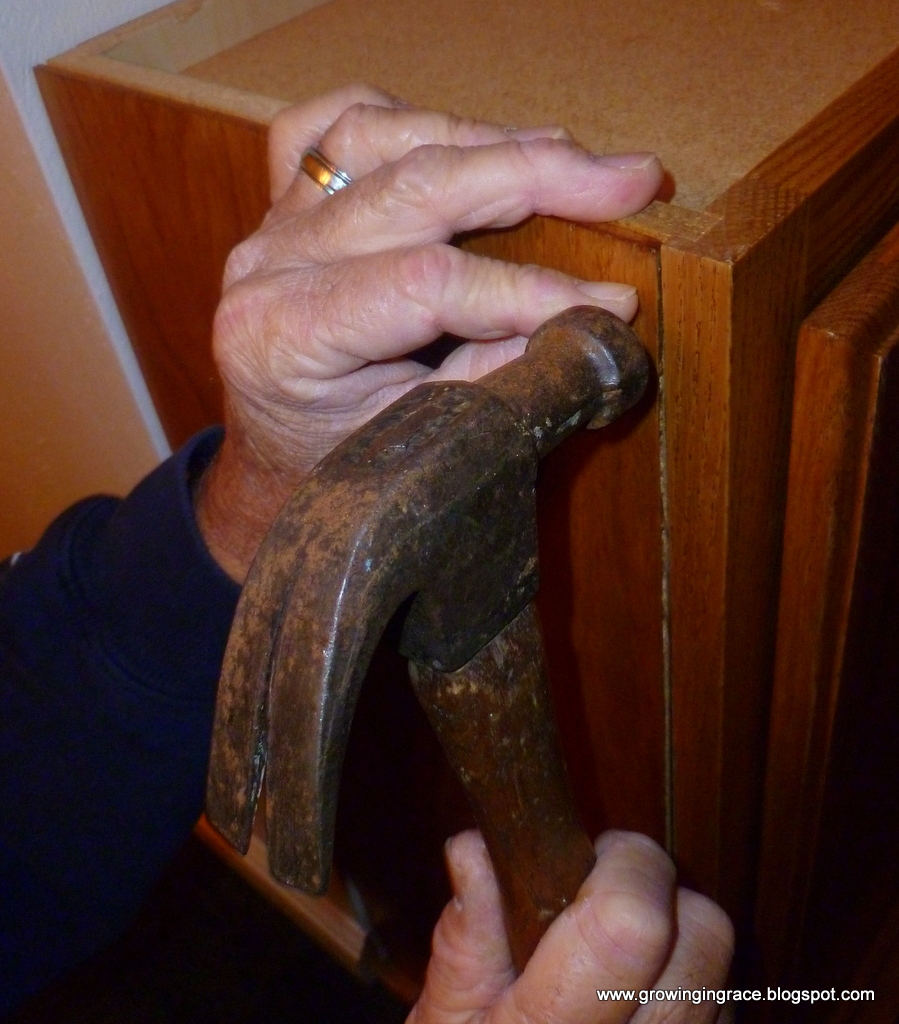
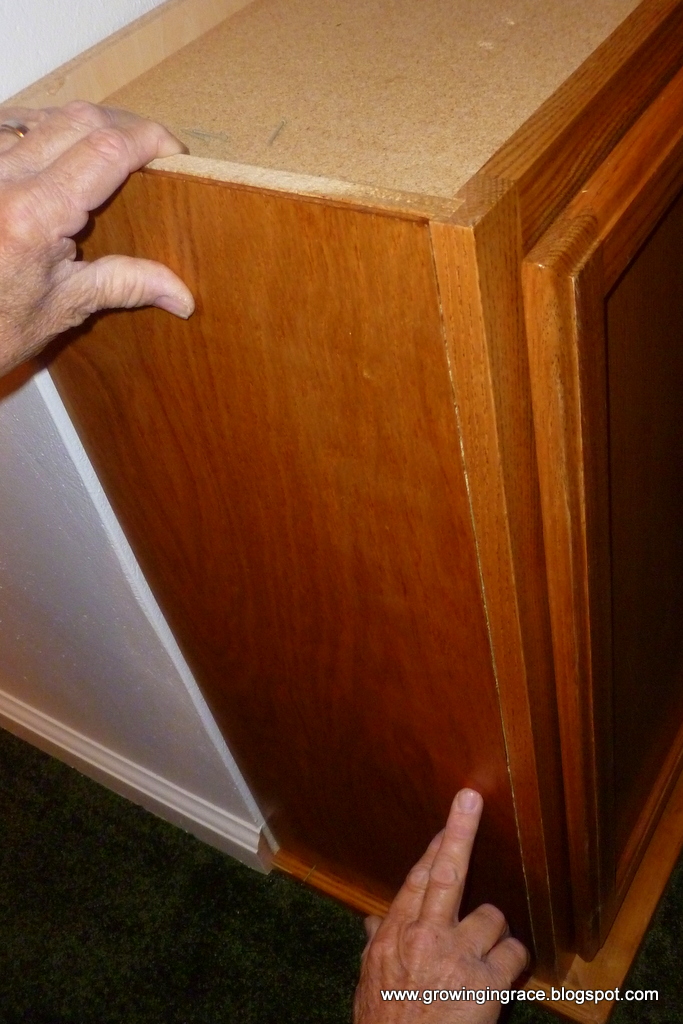
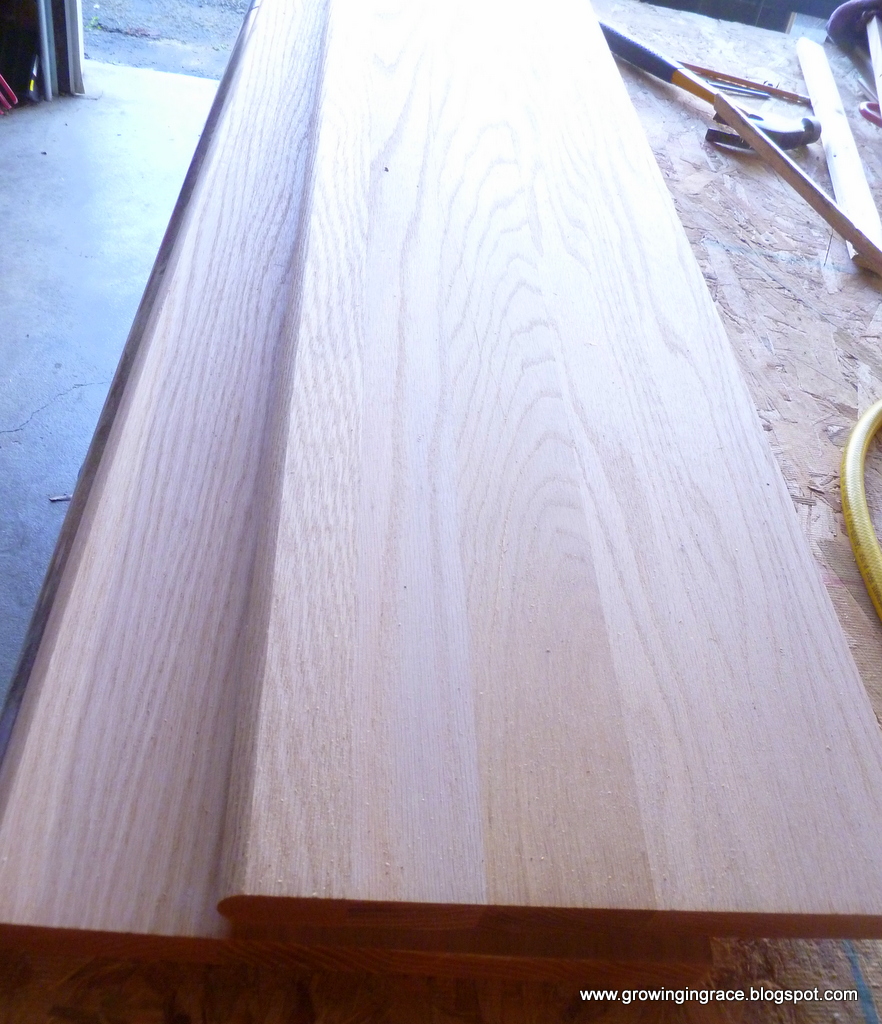
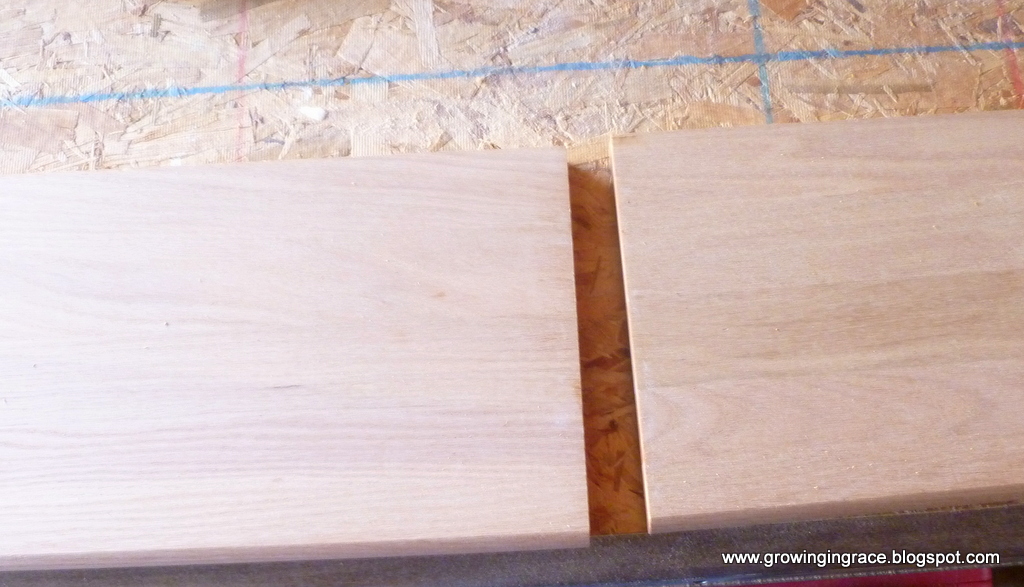
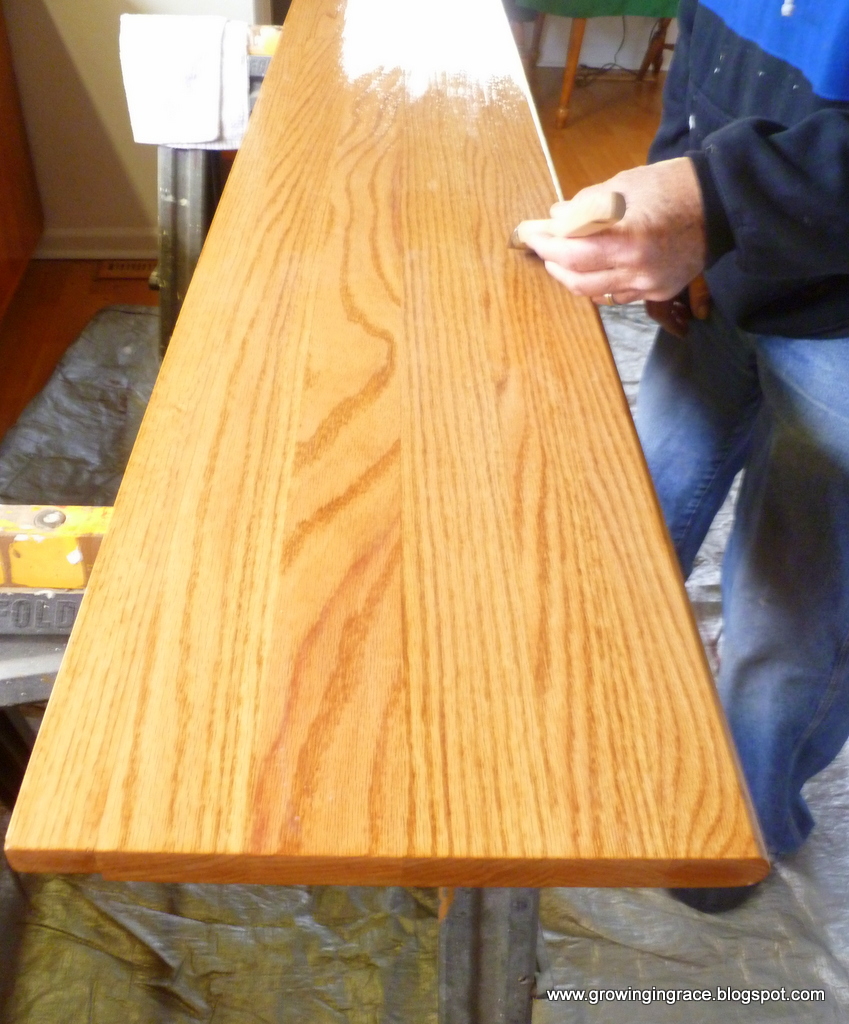
I purchased 2 finished oak boards 1 x 12 x 4 foot long. The board was rounded on one side.
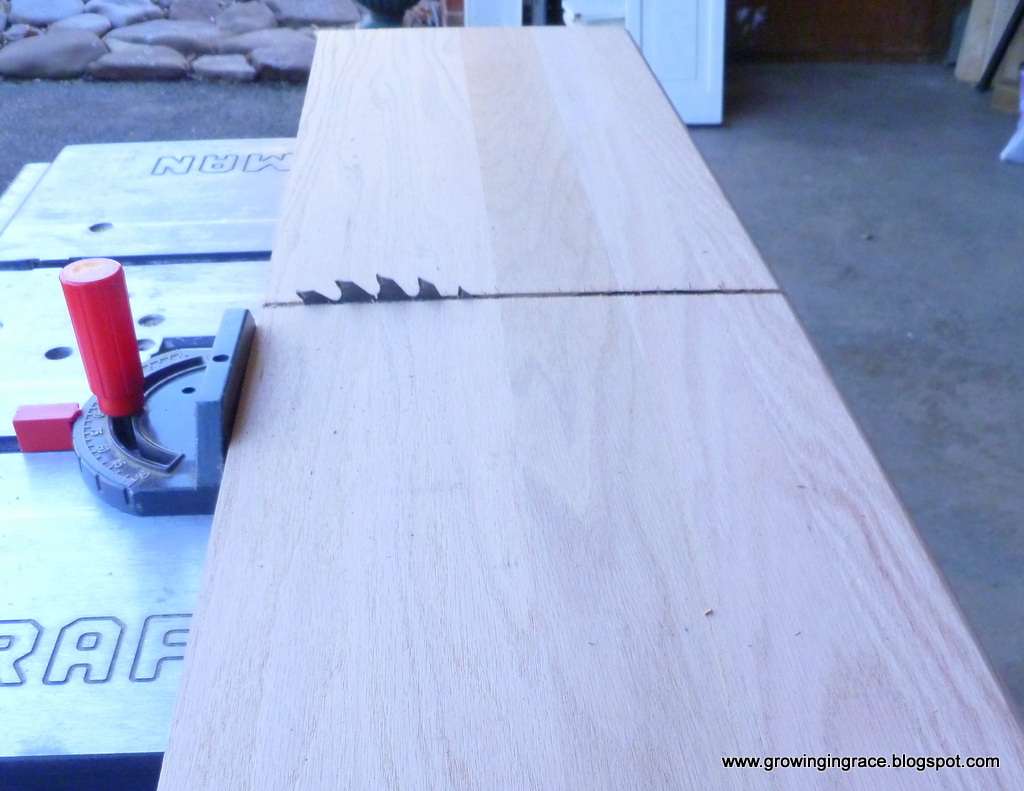
It was just what I wanted to finish the top of the cabinets, but the board only came in
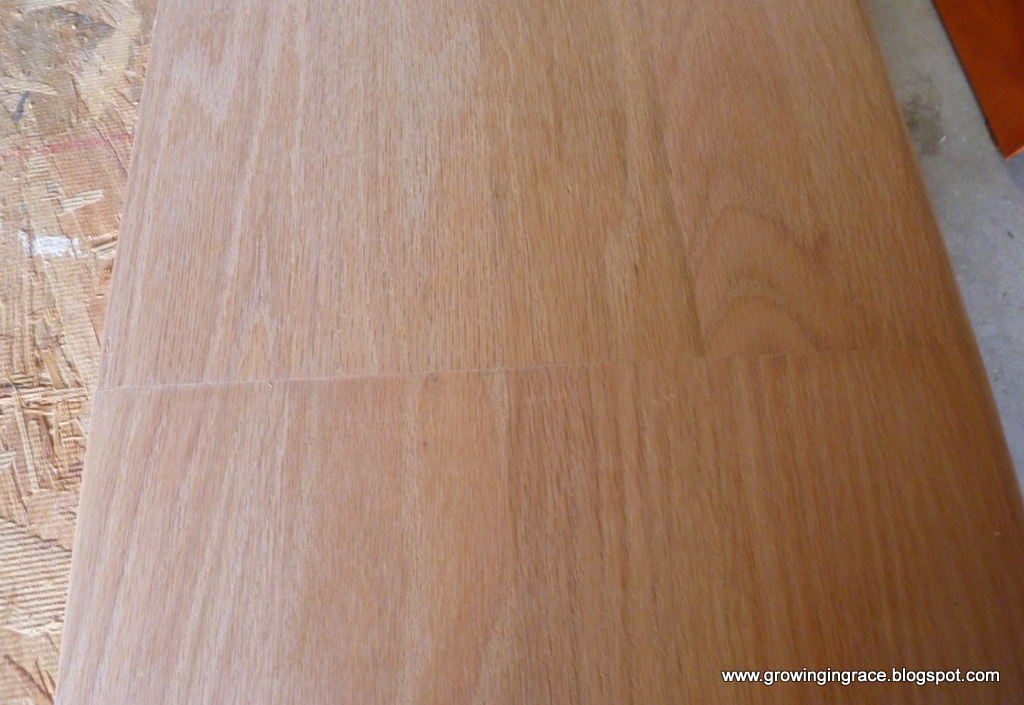
four foot lengths. I needed six foot, so I had to splice two foot of one on to the other four foot board.
I glued and bolted the two together. Then sanded, stained and finish it with approximately five coats of Minwax Polycrylic protective finish. After it dried thoroughly it was ready to be attached to the cabinets.
Before we got the cabinet finished, our carpet arrived so we had to wait to finish
the top until the carpet was laid. But we finally finished it.
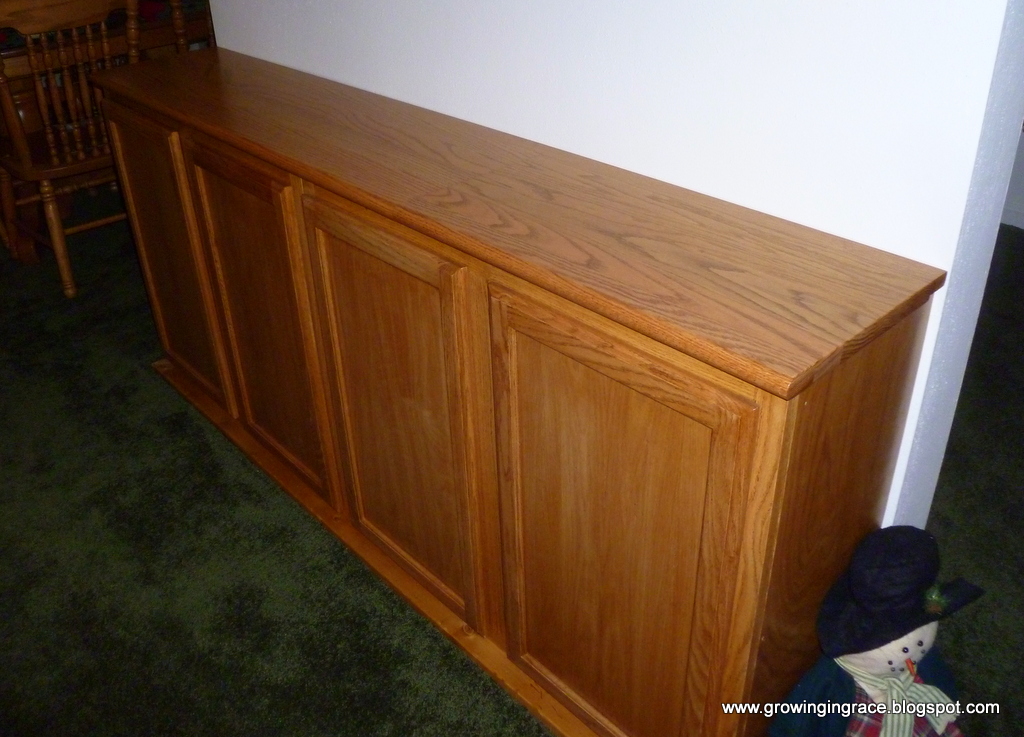
I used one side of the cabinet for storage of odds and end dishes.
The other side I used to store cook books and other books that were tall.
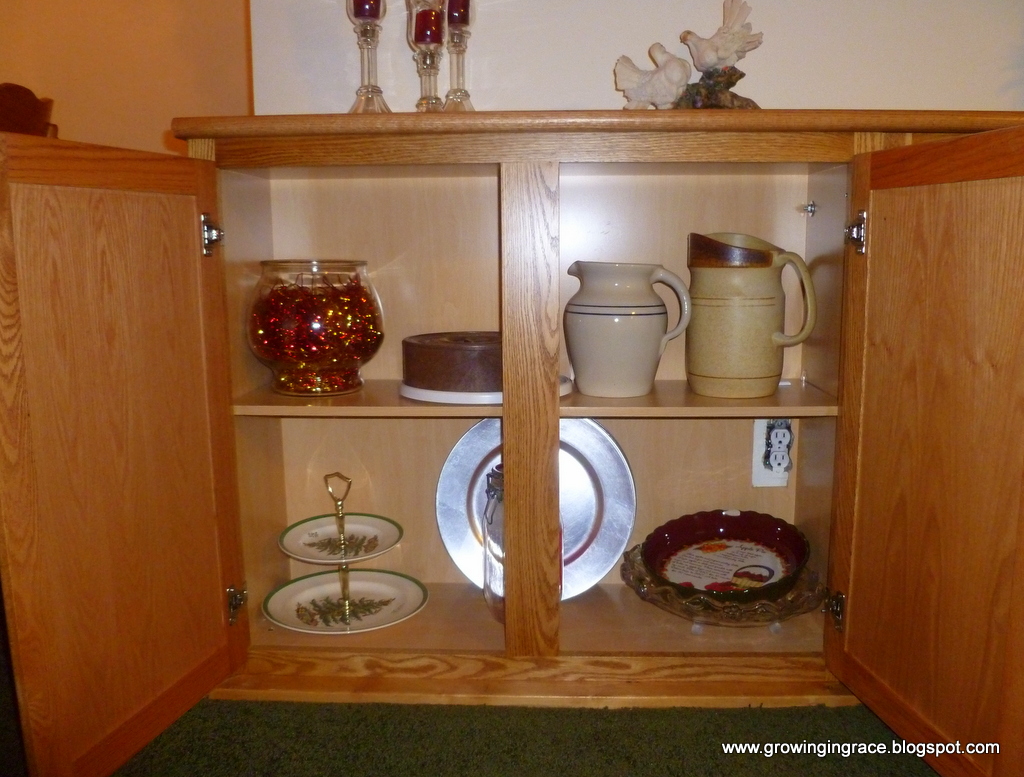
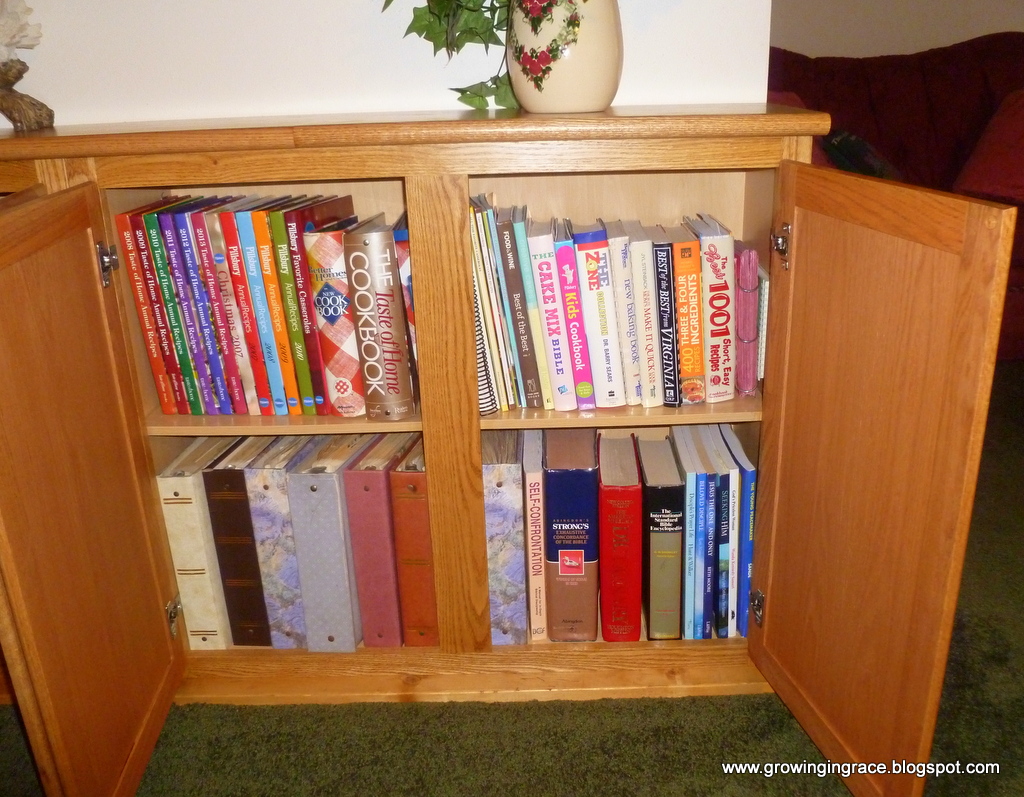
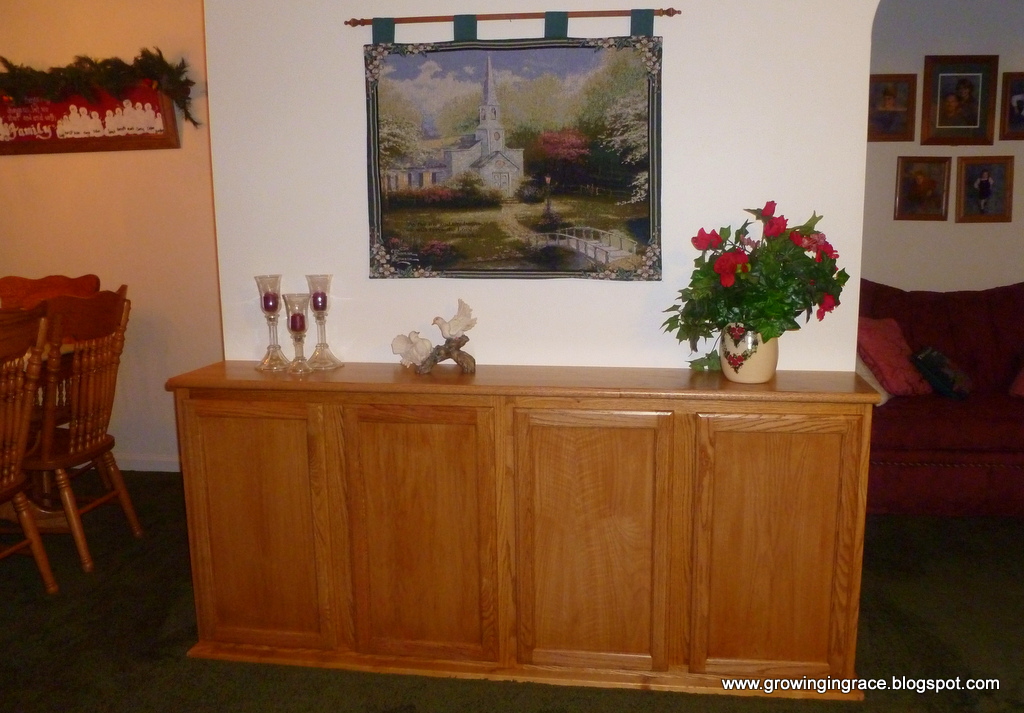
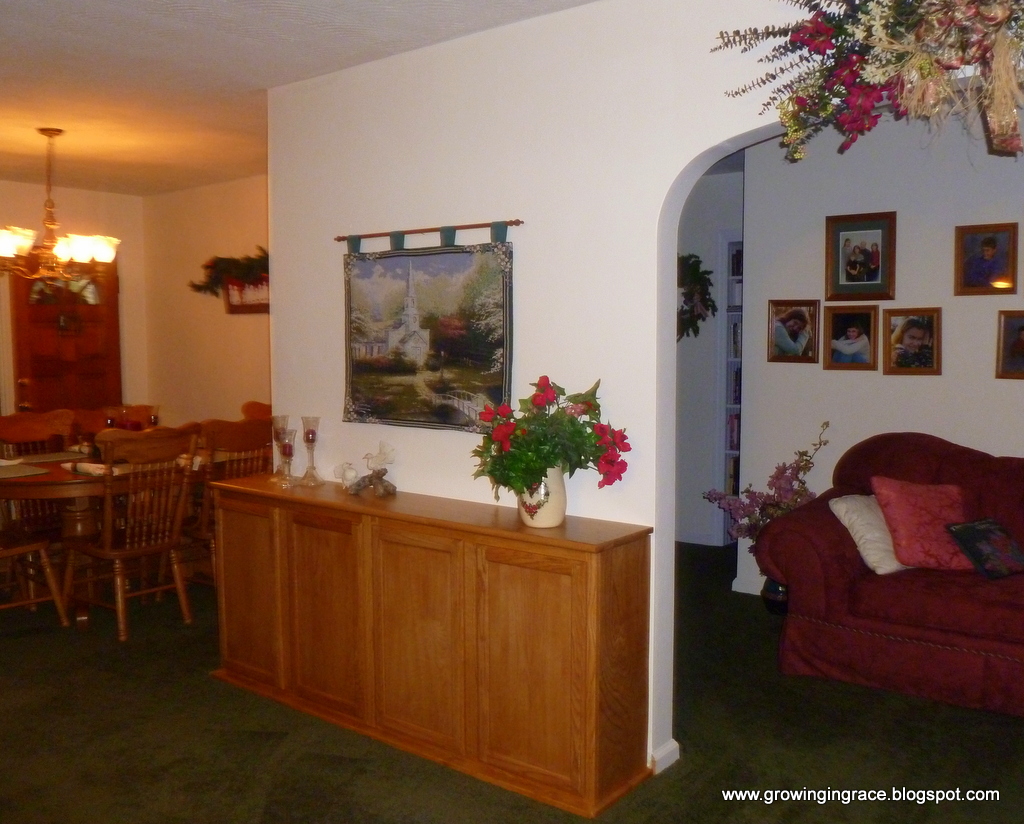
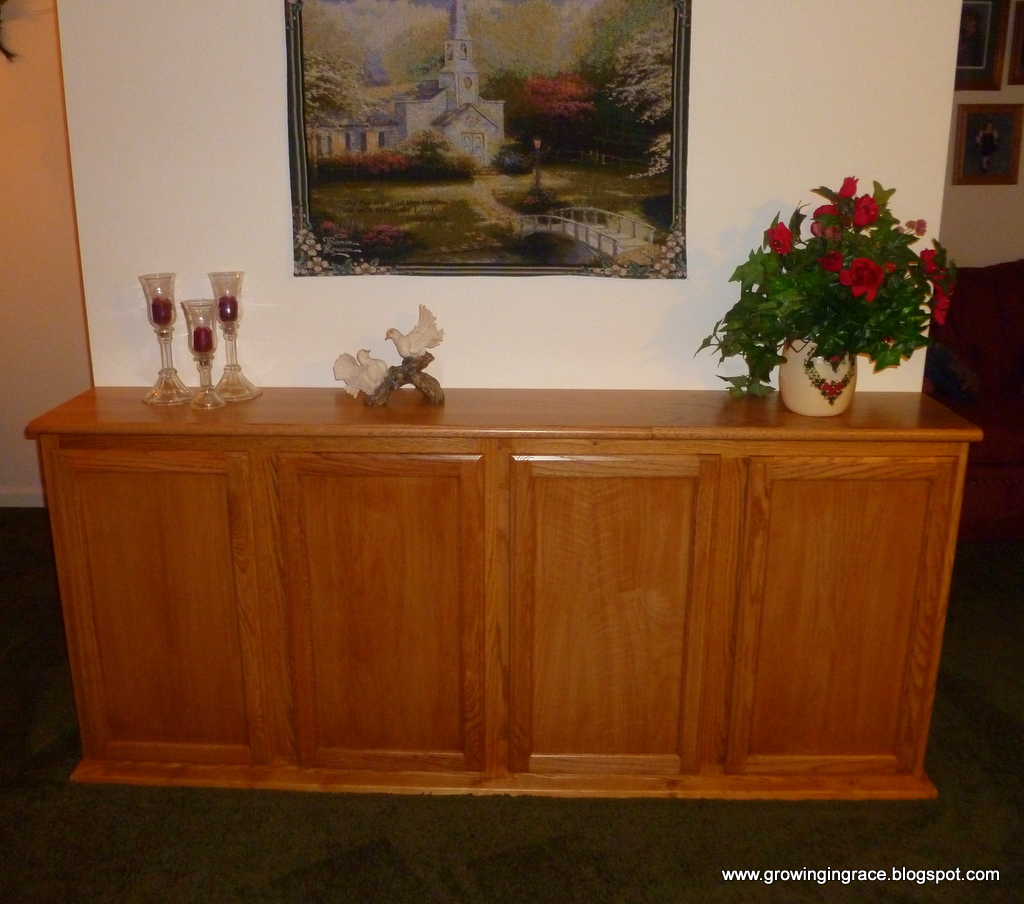
I am so glad we could do it ourselves. I had a coupon for 10% off the cost of the materials which was a pretty good saving off the entire cost. We made this buffet for approximate $250.00. The buffet is red oak and is six foot long. I am so thankful for the extra storage. So if you need an extra push to try something like this. You can do it, you know how I know?
Because we did.
Blessings,

Parties I Link Up To:
Adorned from Above – Wednesday
Southern Lovely – Wednesday
Mandatory Mooch – Thursday
Think Tank – Thursday
Or So Shoe Says – Monday
If It’s Not Baroque – Tuesday
Between naps on the Porch,penny-pinching-party;I’m an Organizing Junkie;The Dedicated House; Beauty and Bedlam;Ginger Snap CraftsIt”s So Cheri
InLinkz.com
that is SUCH a great idea! it looks like you needed that storage, too. i'd love to do something like this, somewhere.
Thank you so much for viewing my post and for your encouraging comment. Blessings to you, Jo-Ann
Beautiful buffet cabinet. What an accomplishment! I can never have too much storage, so I know how much you're lovin' this.
Thanks Laurel, I appreciate your comment and your visit. I am lovin' it. Hope you will visit again soon. Blessings.
Wow Jo-Ann! What a professionally done DIY! Absolutely beautiful!
Jenn
Thank you so much Jenn, glad you like it. Blessings to you, Jo-Ann
This is really cool!! I’m a new follower of your blog from the Monday Mingle Blog Hop! Would love if you could stop by mine. Thanks :0)
The Three Whiskateers
http://thethreewhiskateers.blogspot.com/
Rachael, thank you so much for viewing my blog and for becoming a new follower. I appreciate it so much. I am looking forward to viewing your blog as well. Blessings to you and have a great weekend.
Wow that looks wonderful! Great job!
My tackle is up for this week: http://tc-twistedfairytale.blogspot.ca/2013/01/tackle-it-tuesday.html
Thank you so much for your encouraging comment and for viewing my post. Have a great weekend.
Very nice job. I am impressed. I couldn't build anything like that even if I tried. I am hosting a link party and would love it if you would check it out.
http://www.ifitsnotbaroquedesignblog.blogspot.com/
Thank you Lauren. So kind of you. If we could do it so can you. Thank you for the invitation to check out your link party. Have a great weekend.