Scripture To Live By:
All Scripture is God-breathed and is useful for teaching, rebuking, correcting and training in righteousness, so that the servant of God may be thoroughly equipped for every good work.
2 Timothy 3:16,17
Home Improvement Post: When my sister-in-law was visiting last month. We were working in the kitchen together and she said,”You need more counter space.” So I mentioned it to my husband. The way the kitchen is laid out, there is no more space around the outer edges. So, I thought of my frugal find kitchen cabinet that we have used to make many things out of that we have used for various projects such as Kitchen Cabinet Island and Garage Sale Kitchen Cabinets Makeover and my Wash Room/Craft Room Organization. I had one cabinet left so we decided to make a Butcher Block Island. The first thing we did was measured the back of the cabinet and cut a piece of paneling to cover the back of the cabinet. We painted it with two coats of white paint.
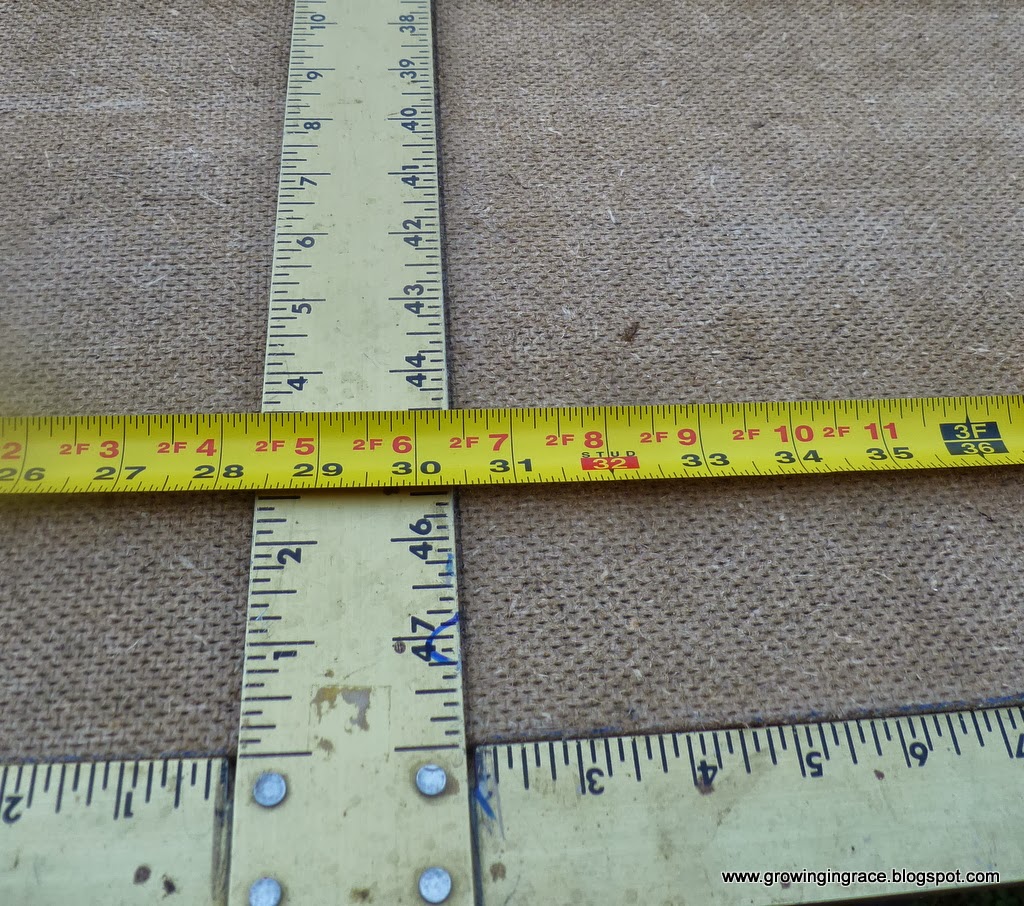
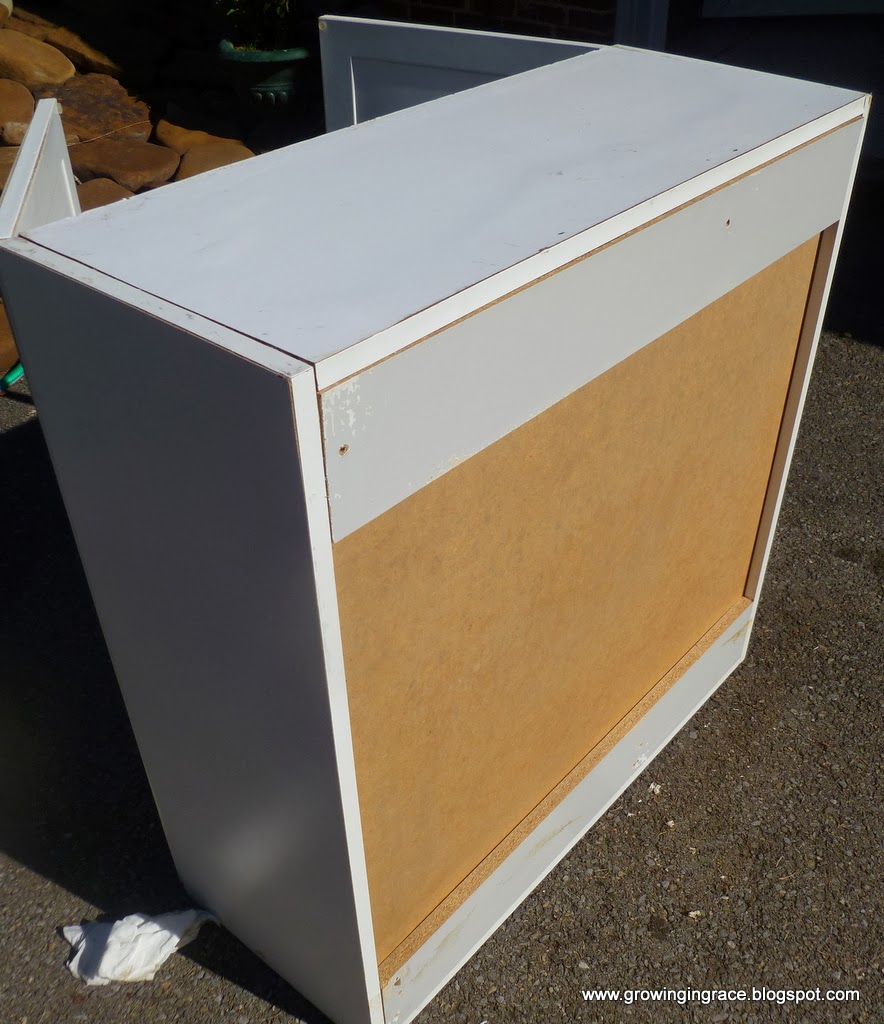
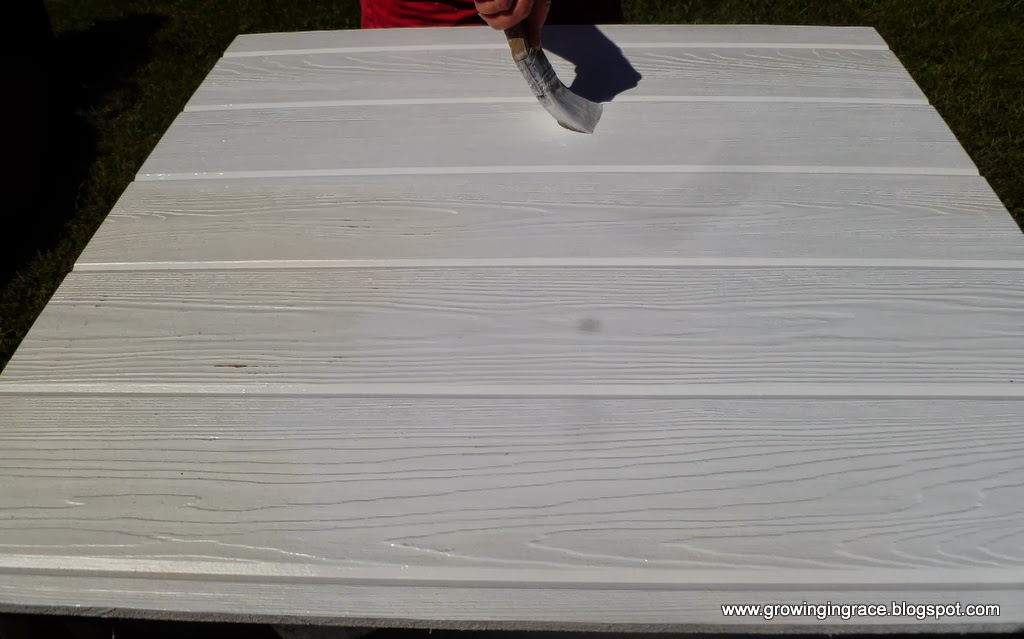
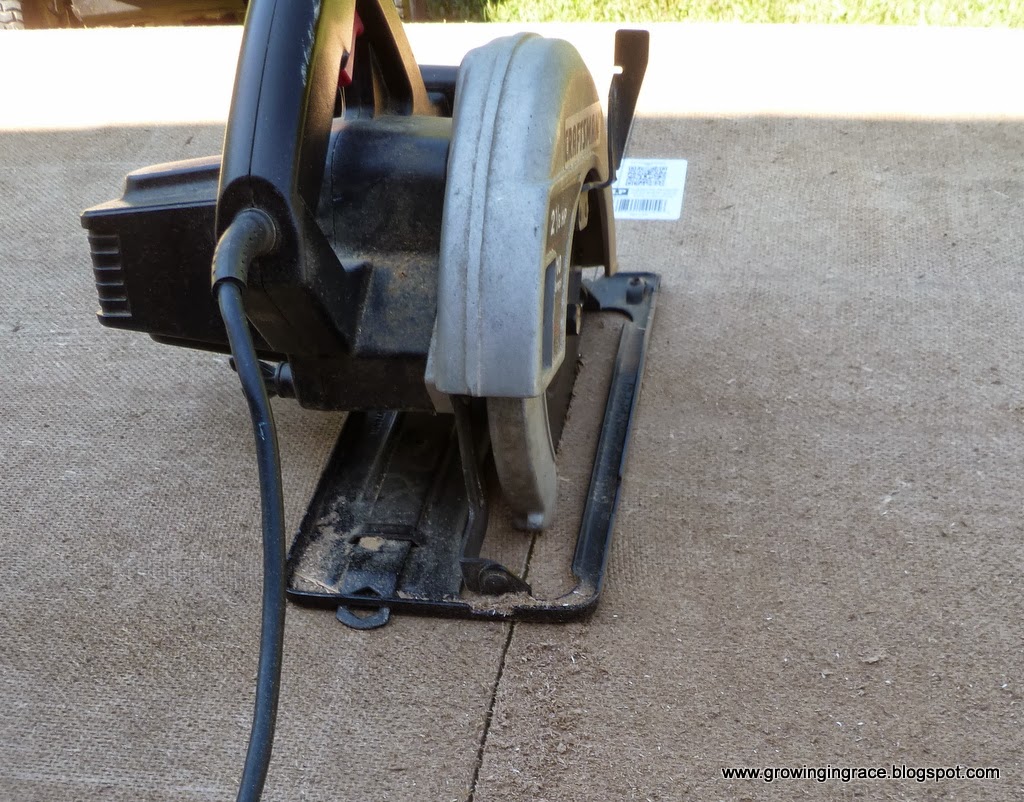
Paint the inside/outside of the cabinet as well. 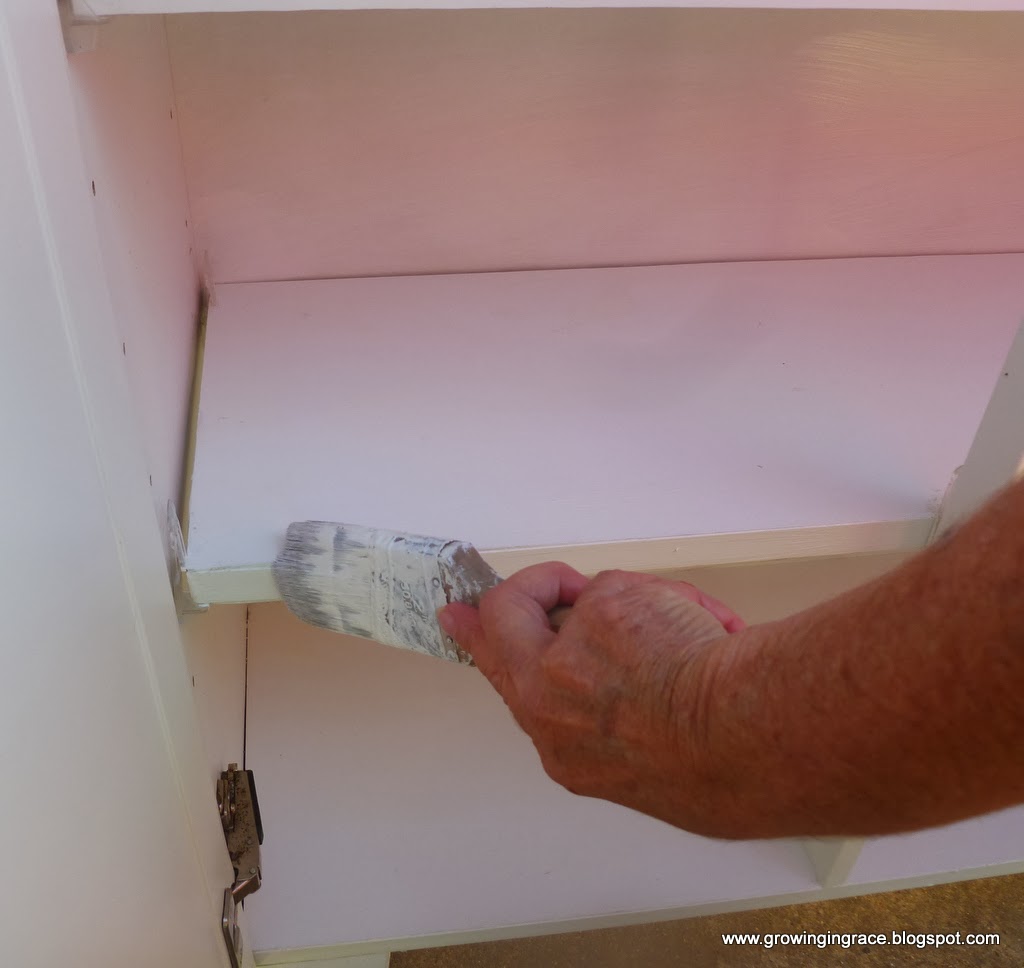
Next the back piece was nailed to the back using a air nailer.
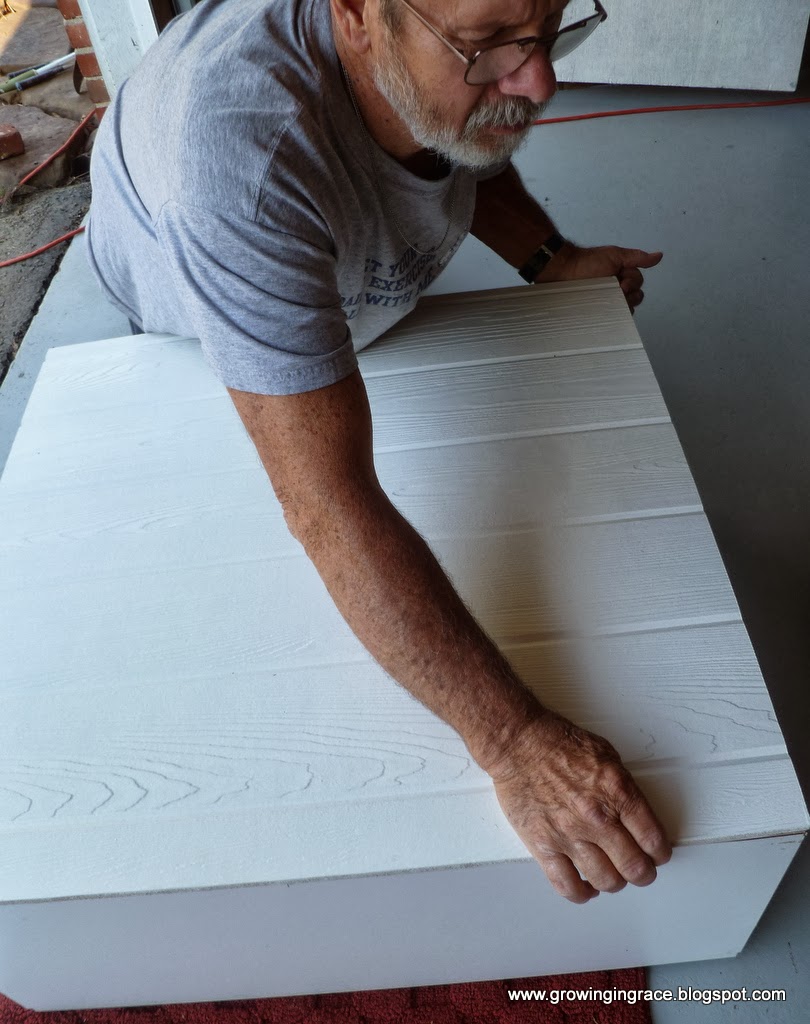
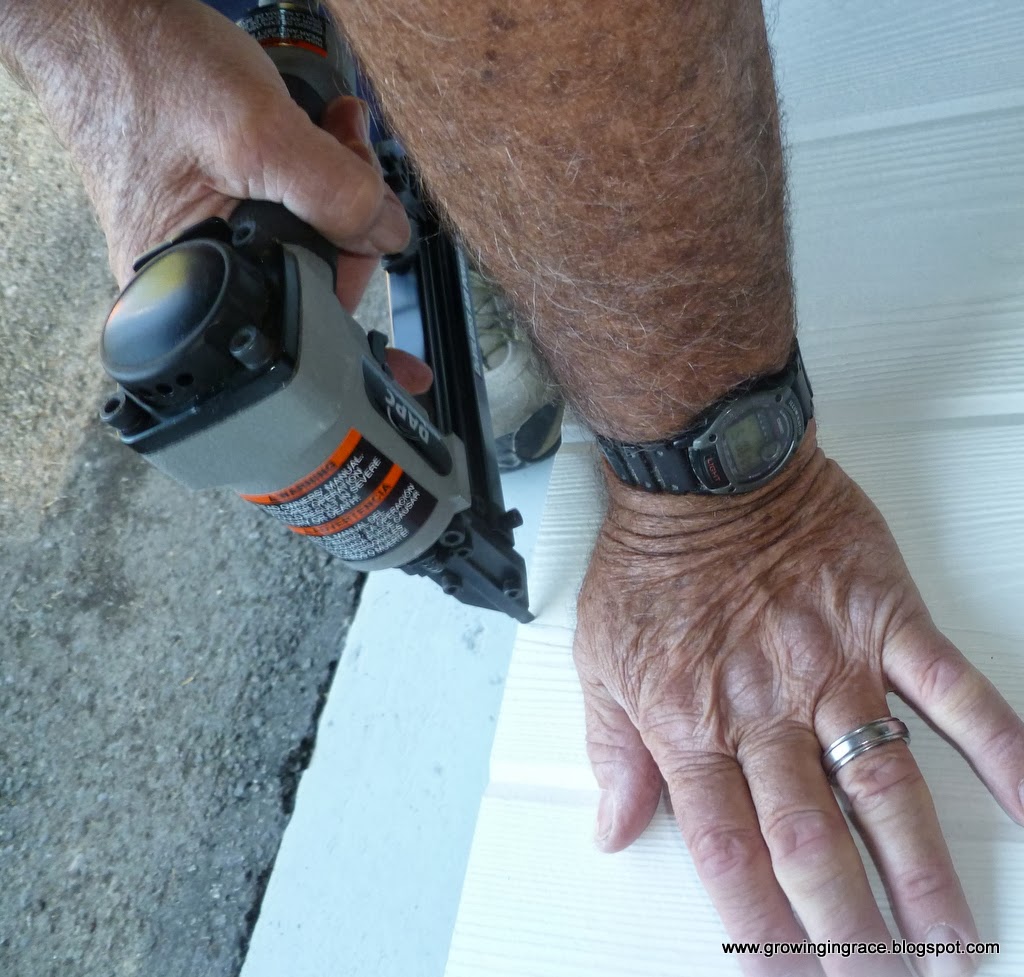
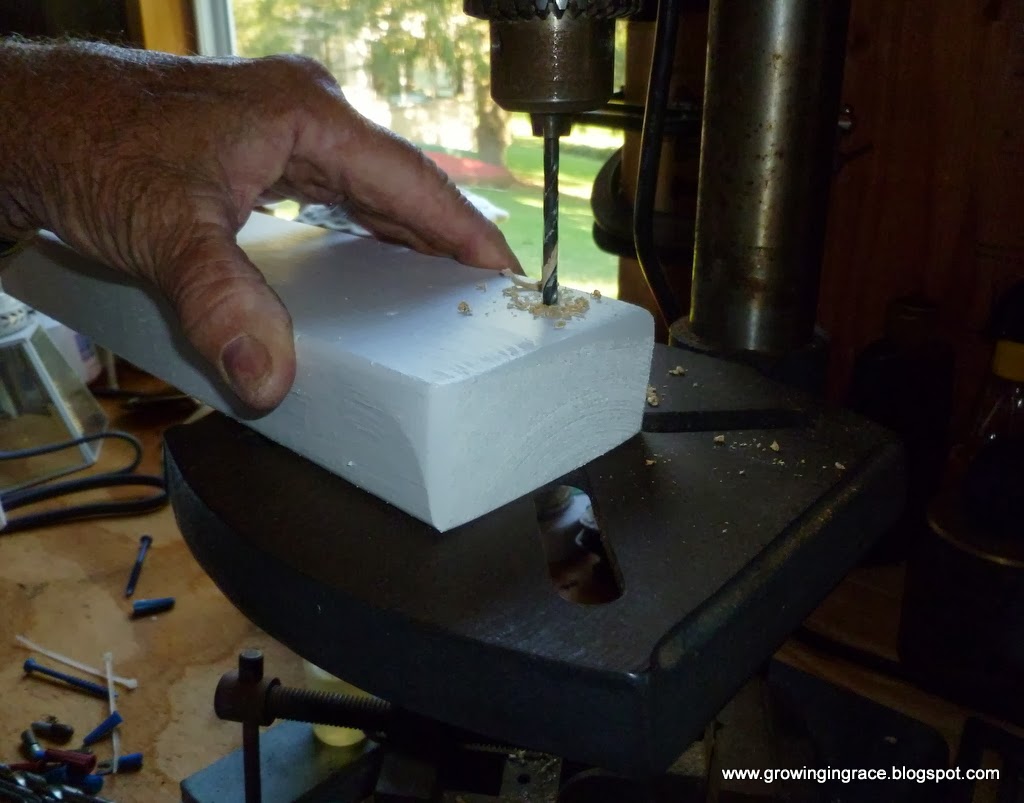
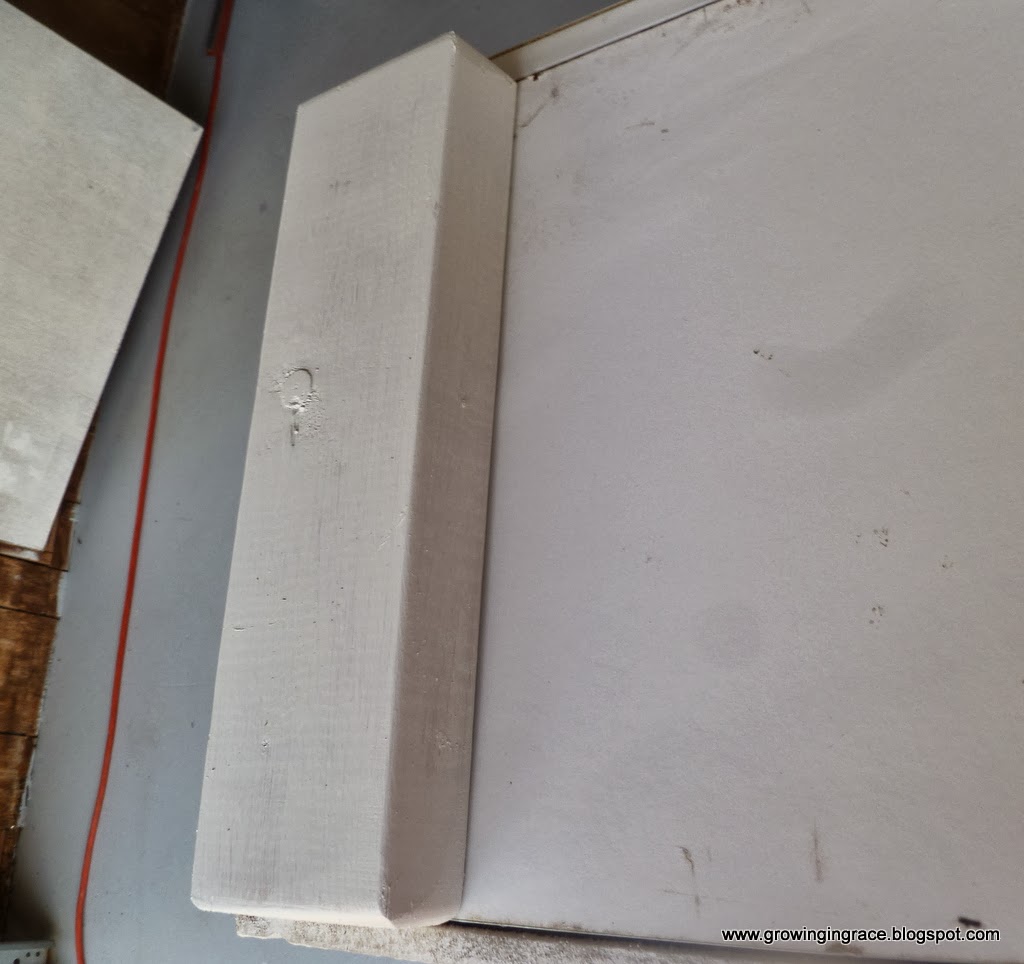 After the back piece was secure, we cut two pieces of a 2 x 4 x 12 inches long and painted and drilled holes to attach them to the bottom of the cabinet using four 2 inch long deck screws.
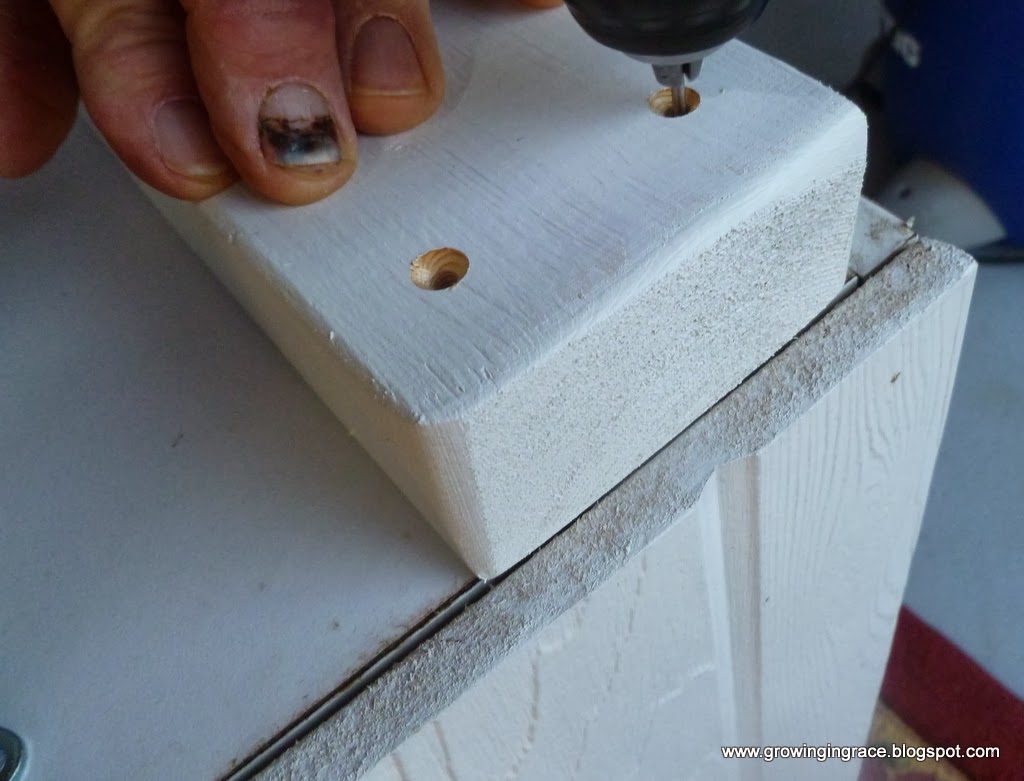
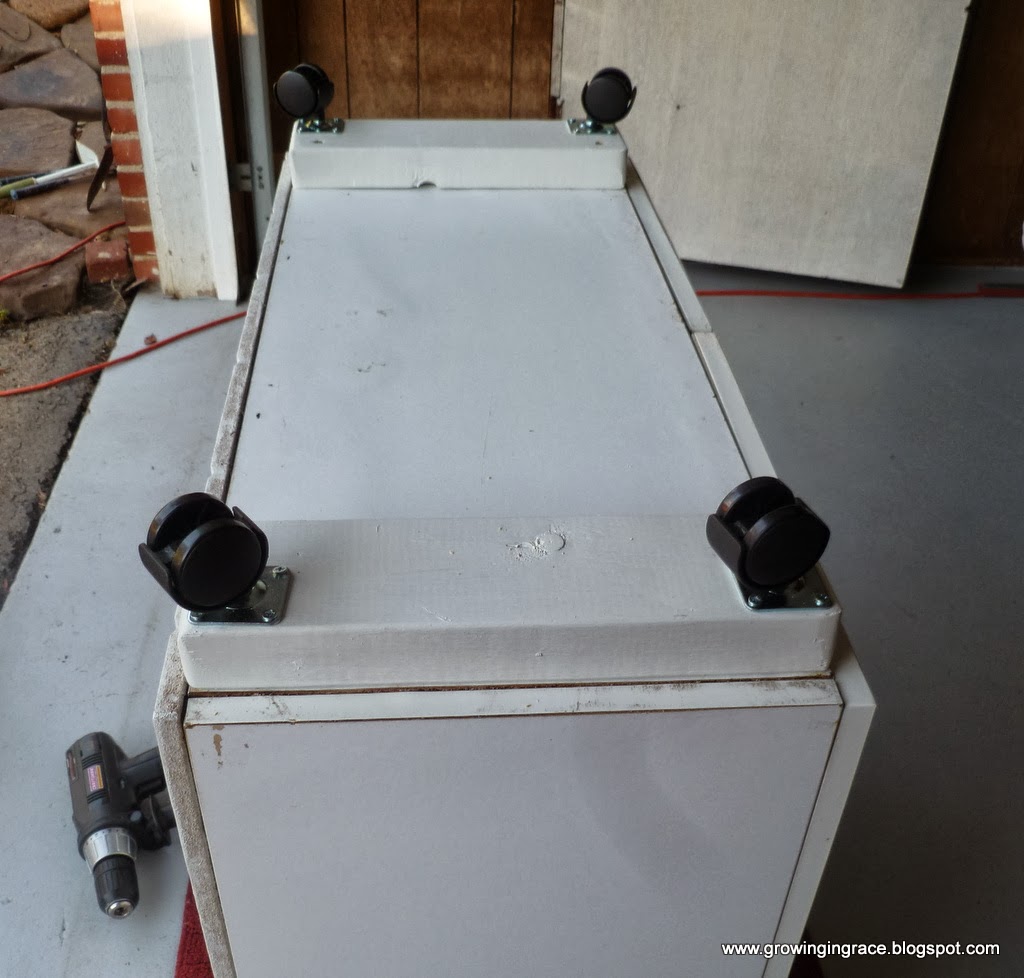
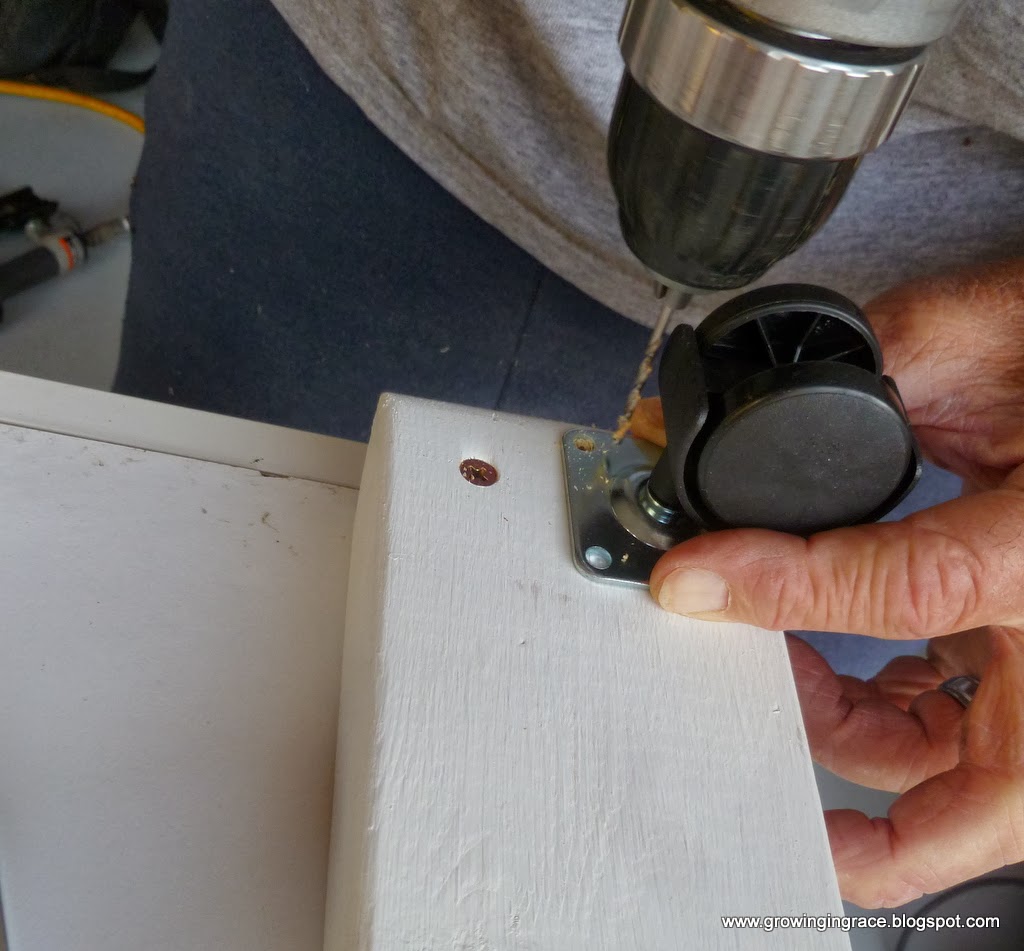 Next the wheels were attached.
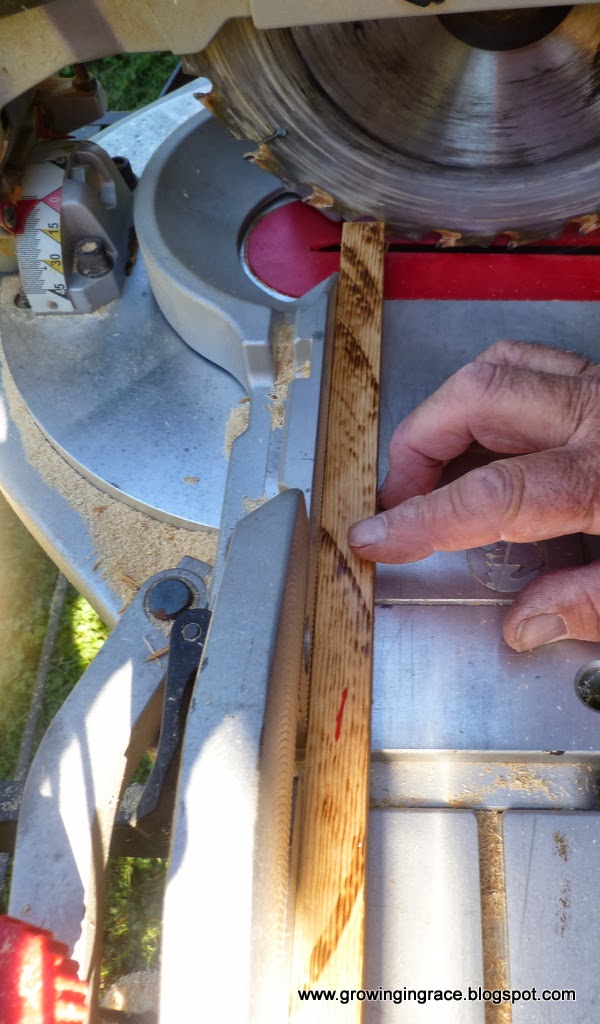
I had two pieces of butcher block that was not being used any longer. This would be perfect for the top of this cabinet. We made some little strips of wood to go around the edges that would be extended over the edge of the cabinet. We numbered each board so we could remember where it was to go.
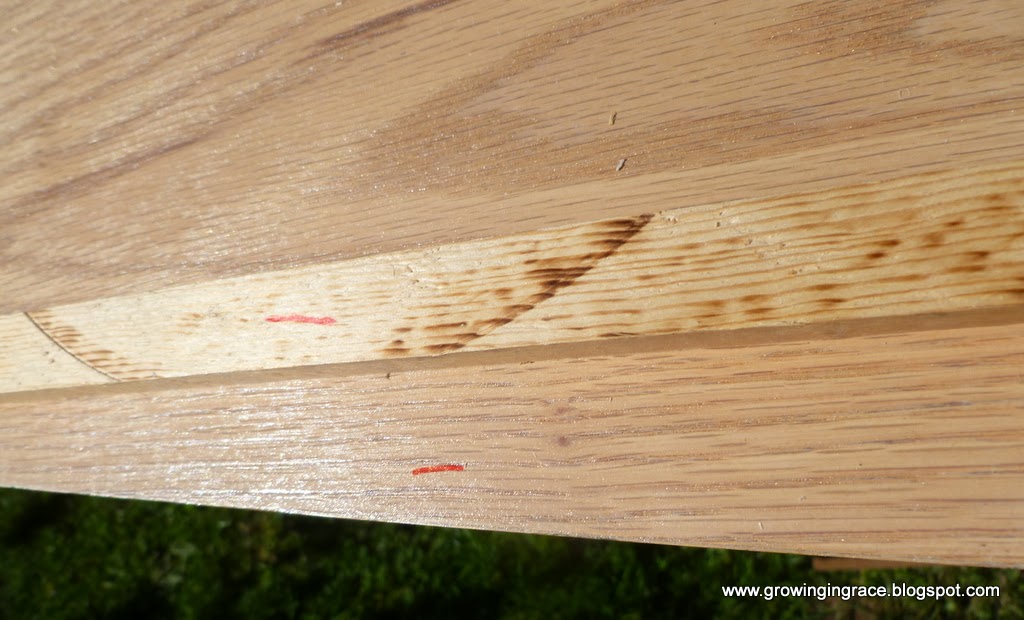
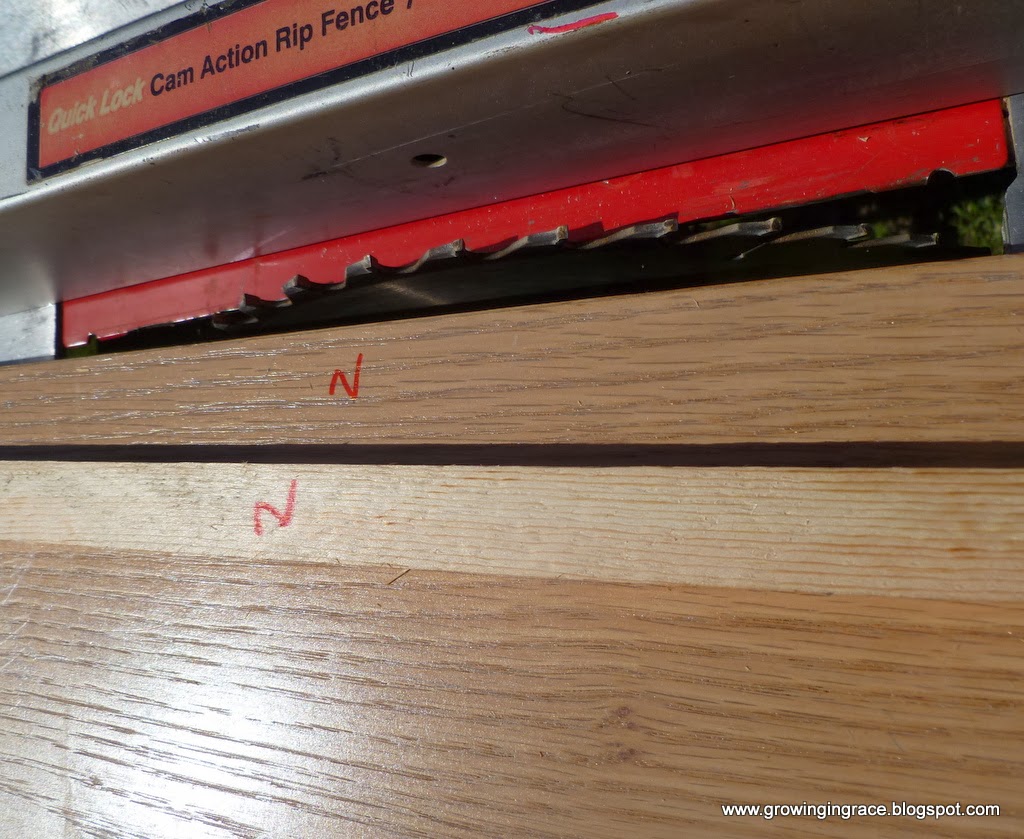
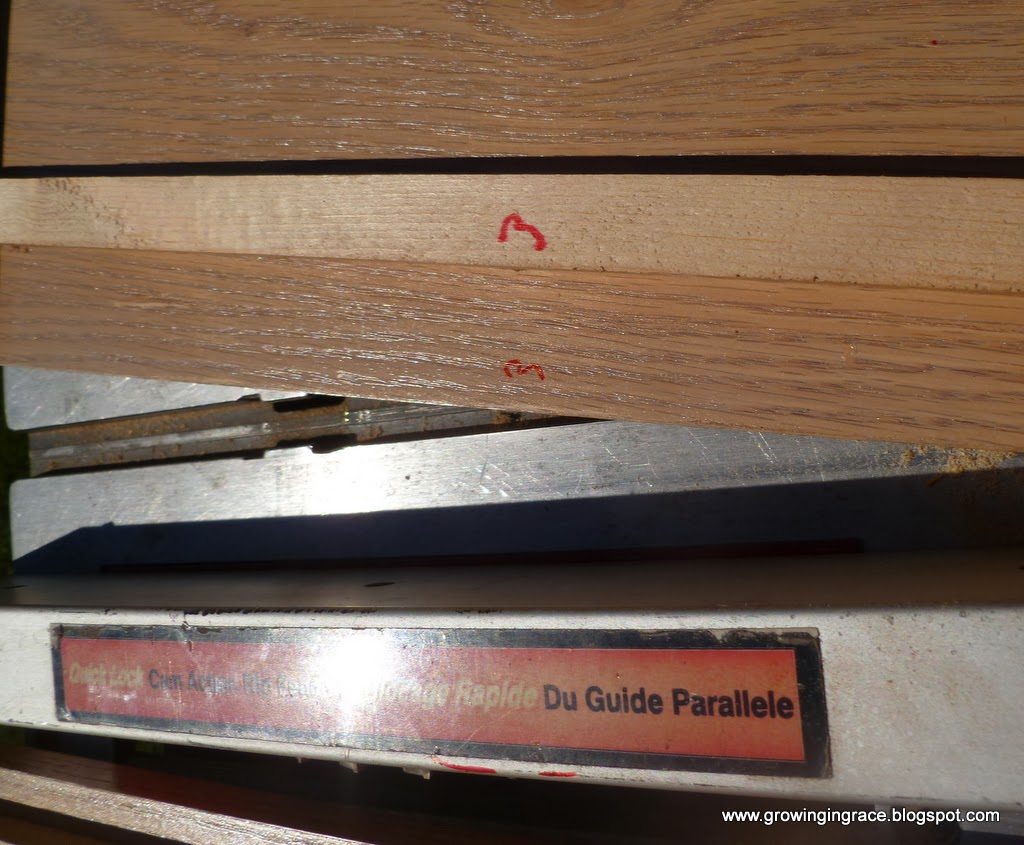
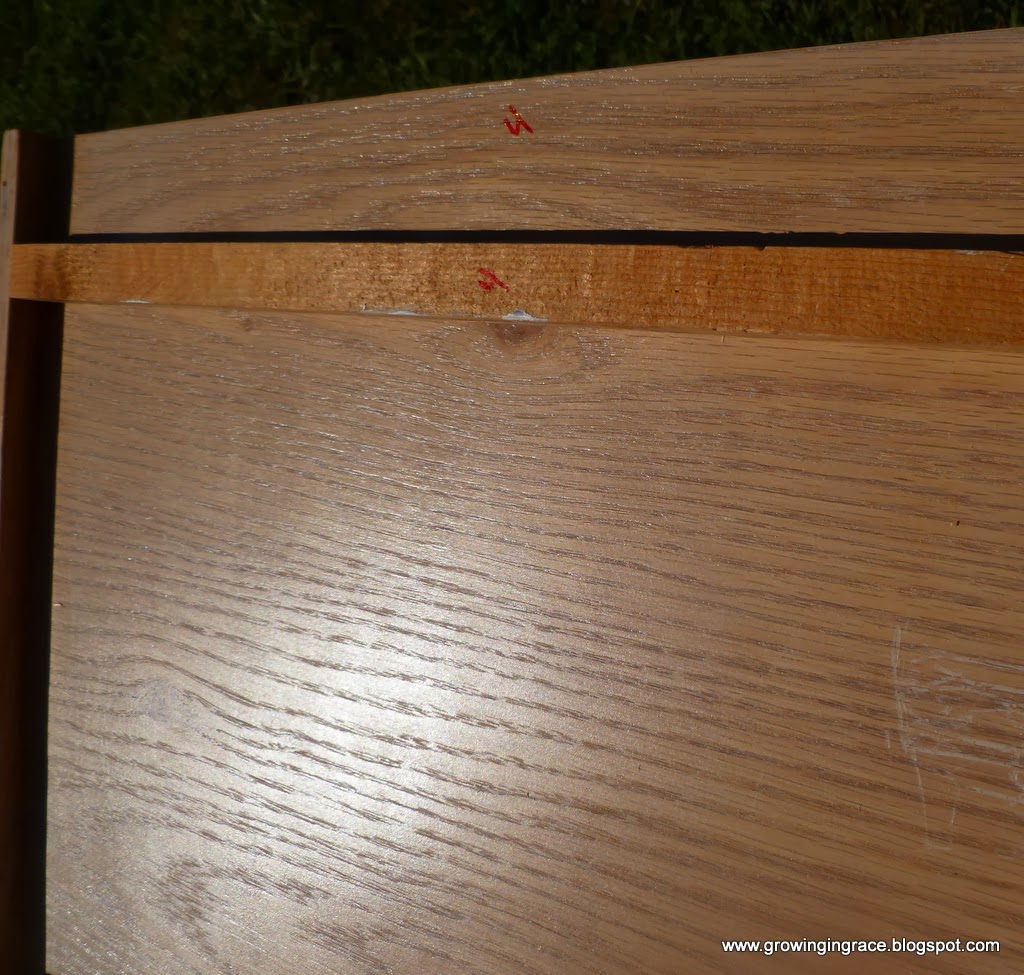
We made a few extra boards to support the butcher block and leveled it on the cabinet.
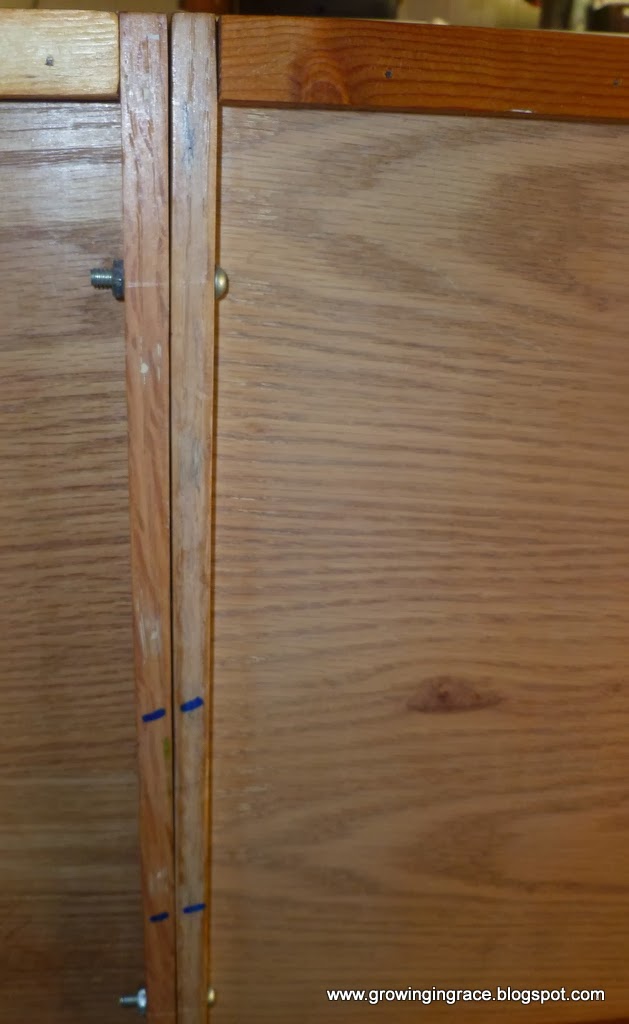 The butcher blocks were screwed together making it one board. Then all the strips of wood were added to the bottom of the butcher block.
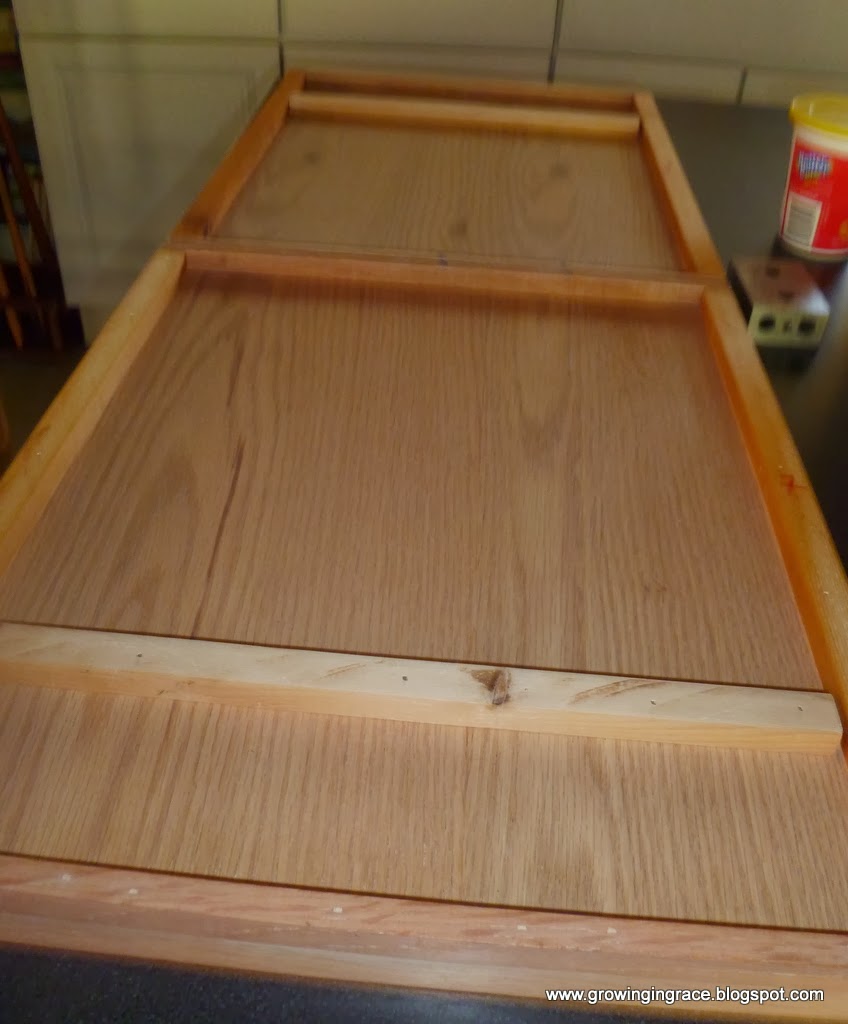
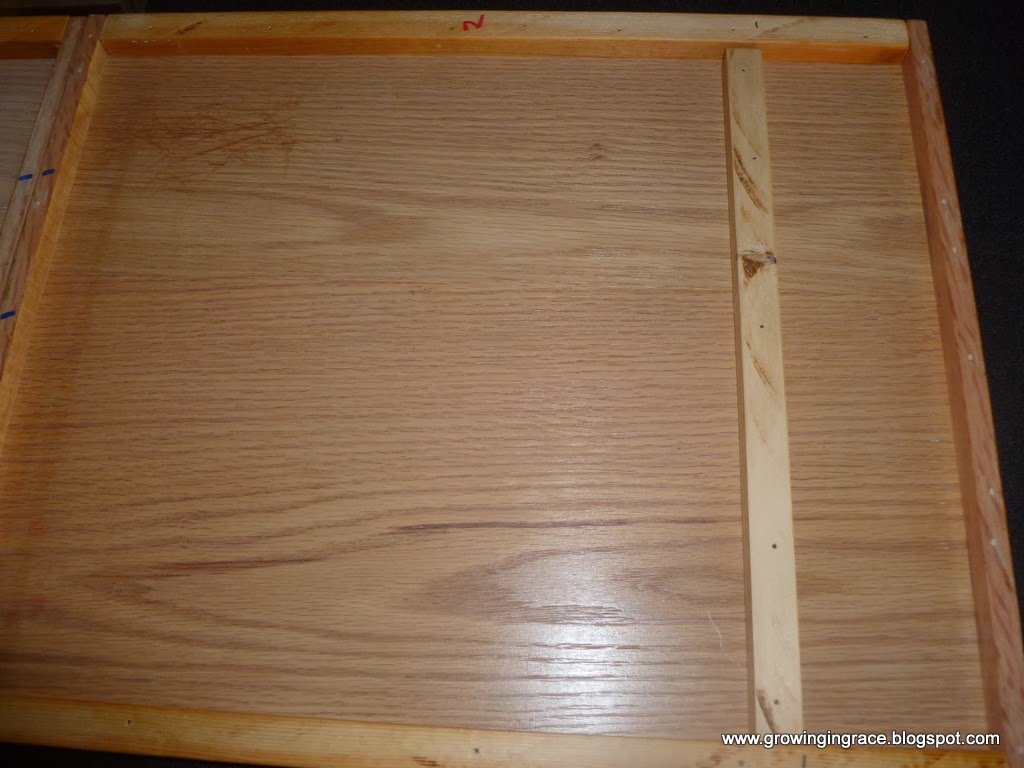
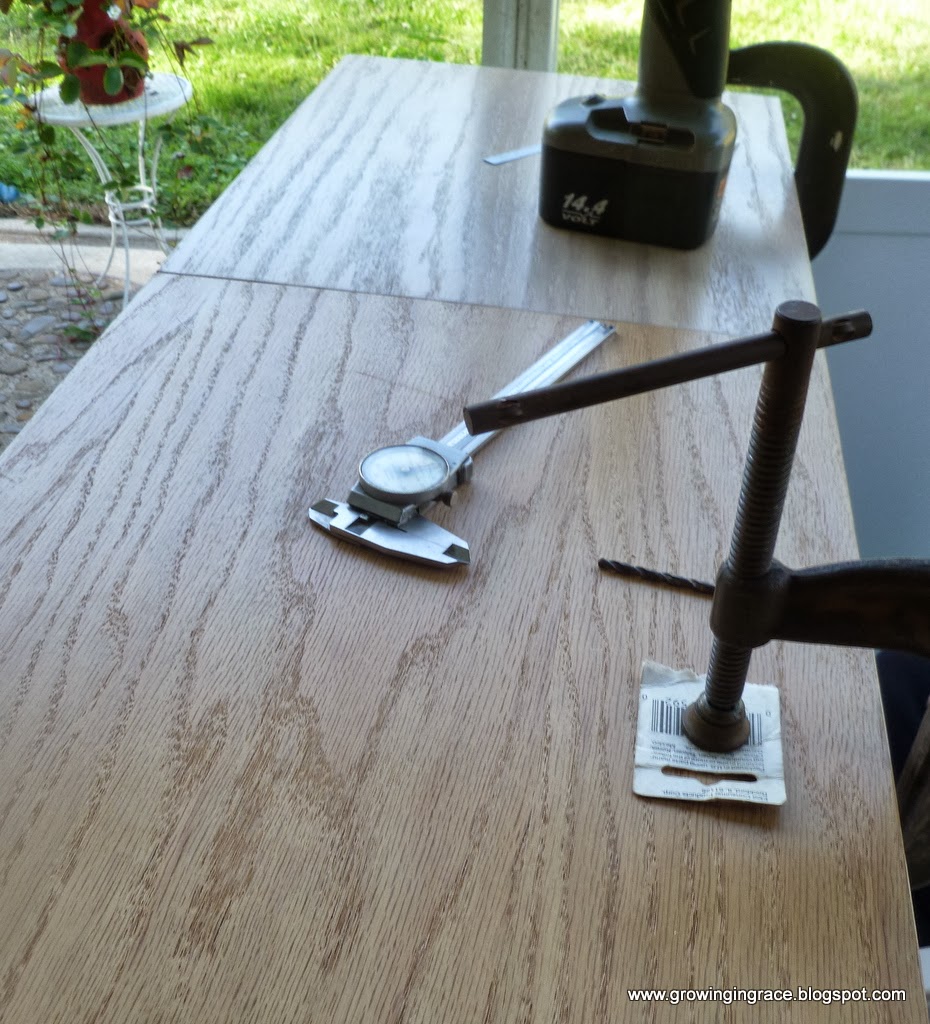 Now it was time to attach the butcher block to the cabinet. Next we clamped the butcher block to the top of the cabinet.
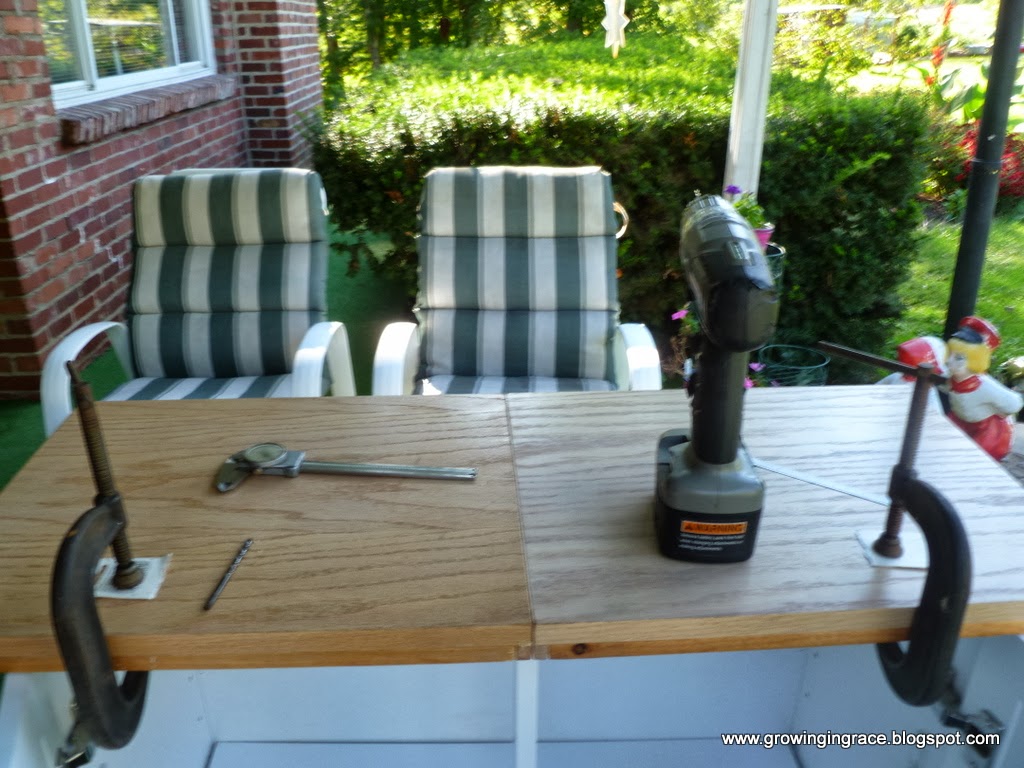
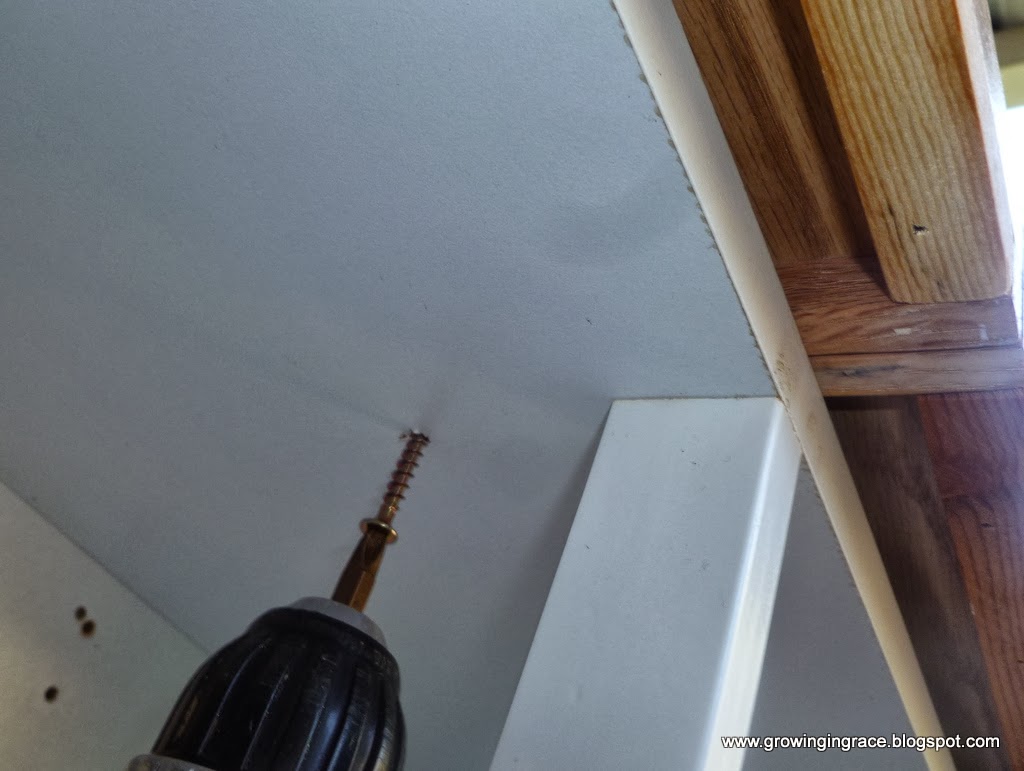
Drill holes from inside of cabinet to attach the butcher block. Put screws in long enough to hold the block but not going through the butcher block. After the butcher block was attached we remove the C-clamps.
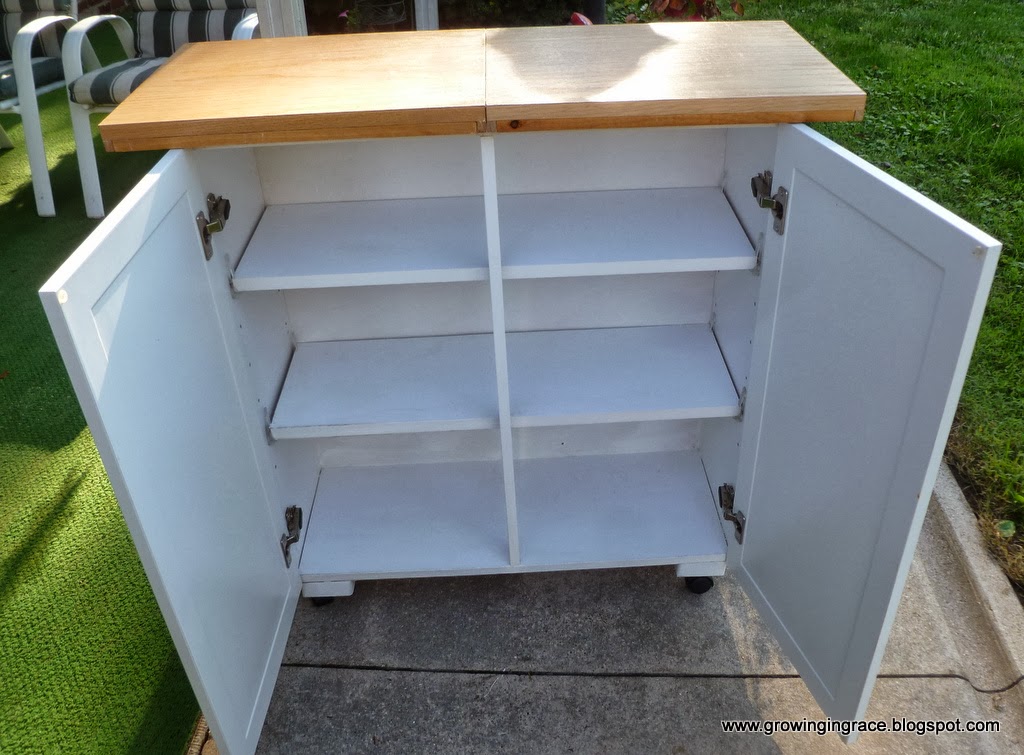
Front of cabinet.
Back of cabinet.
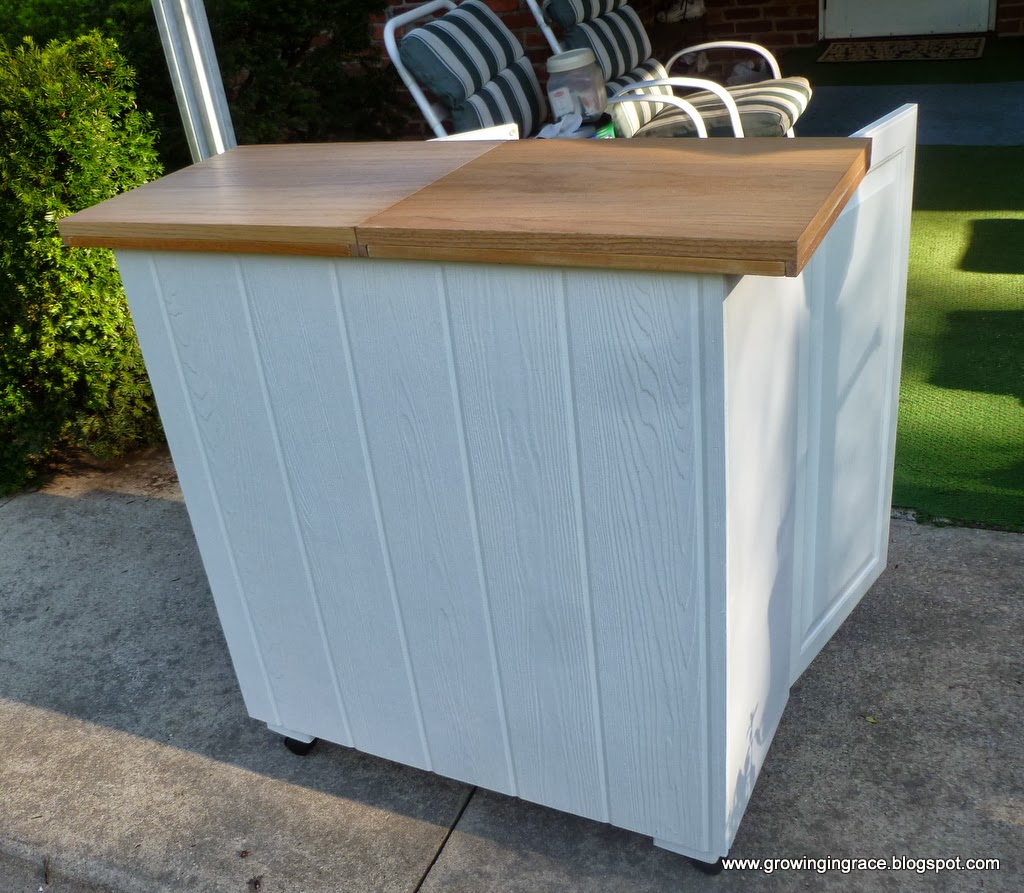
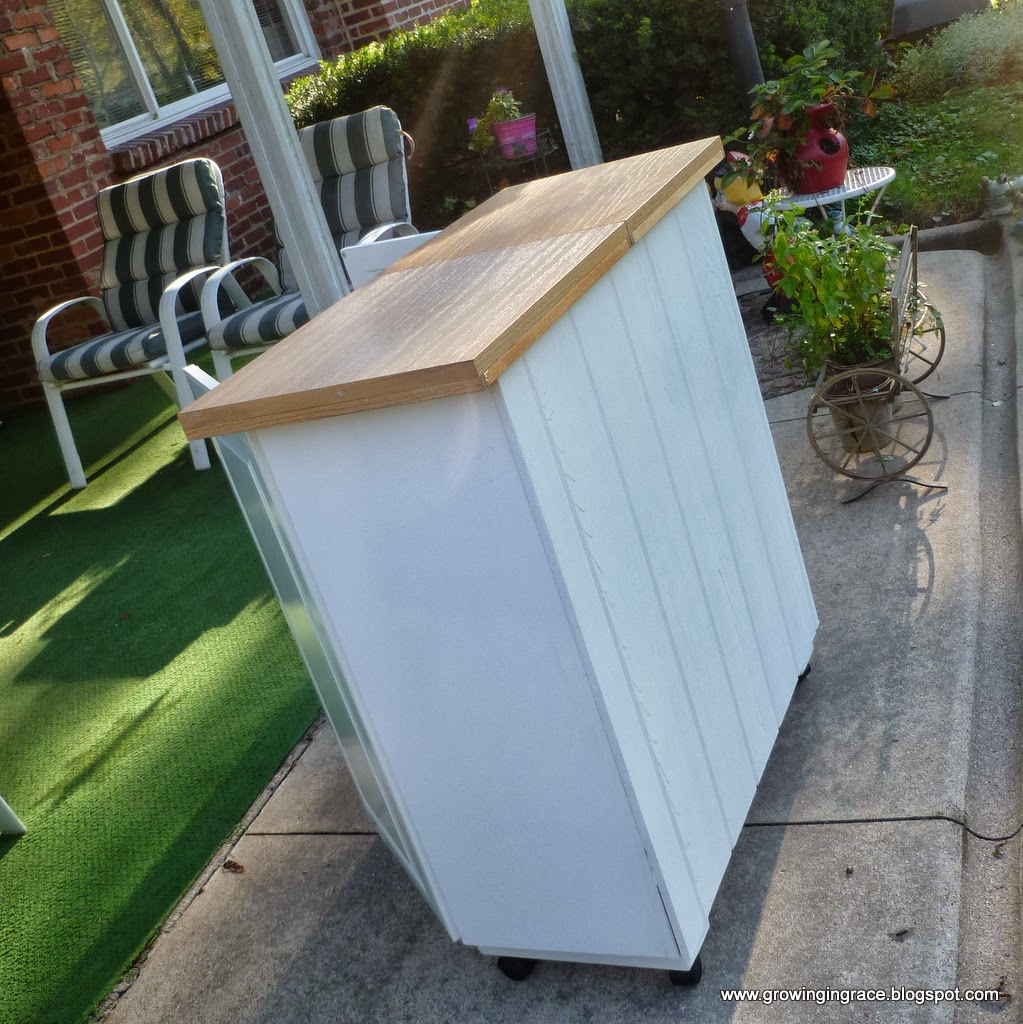
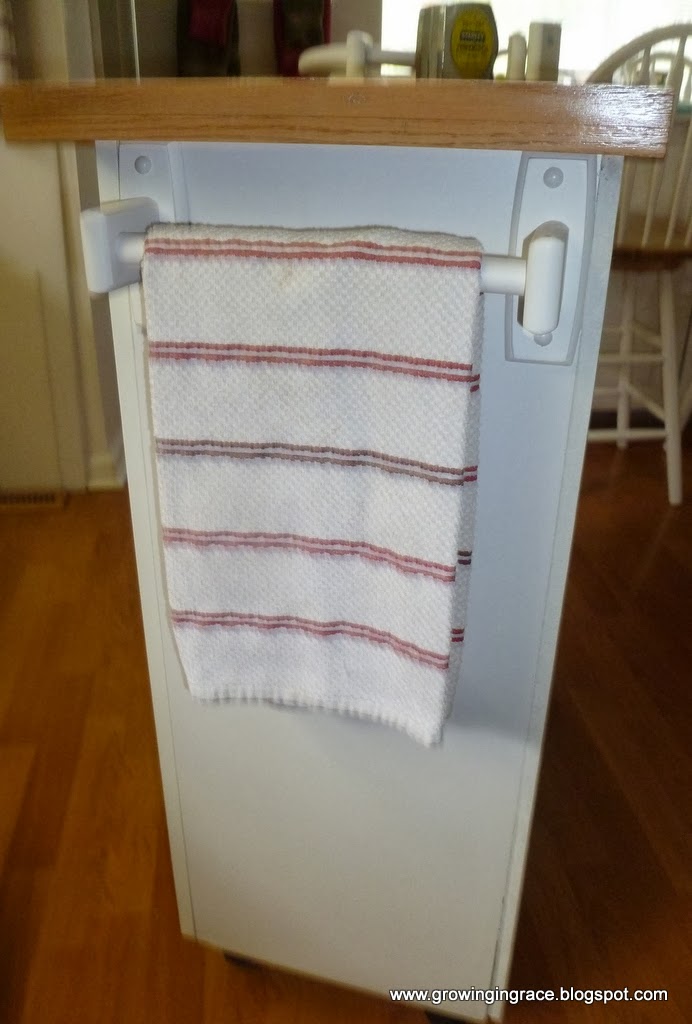
There are a few added touches to go, knobs to open the doors and towel racks on each end. We had some extra knobs so we attached them and we purchase a towel rack set and used the four wall brackets and cut the dowel rod that was in the package to fit one end and bought a piece of 5/8 inch dowel rod to make one for the other end. We cut it to size and painted it and attached to the brackets.
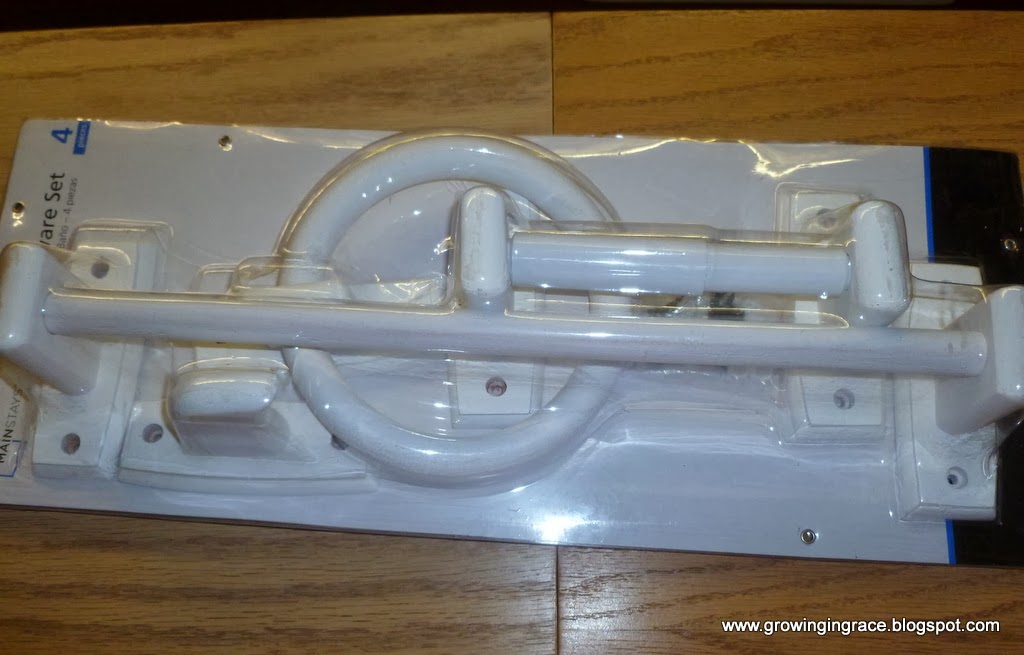
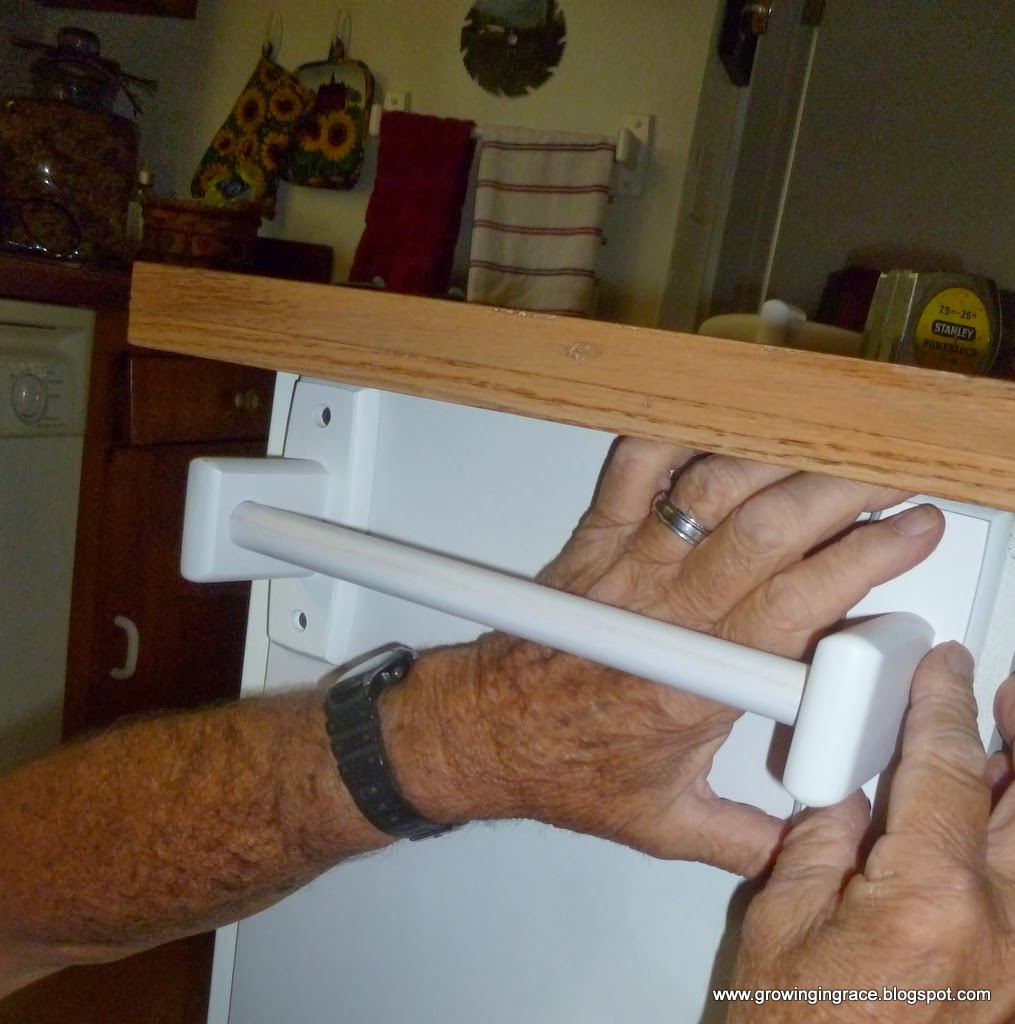
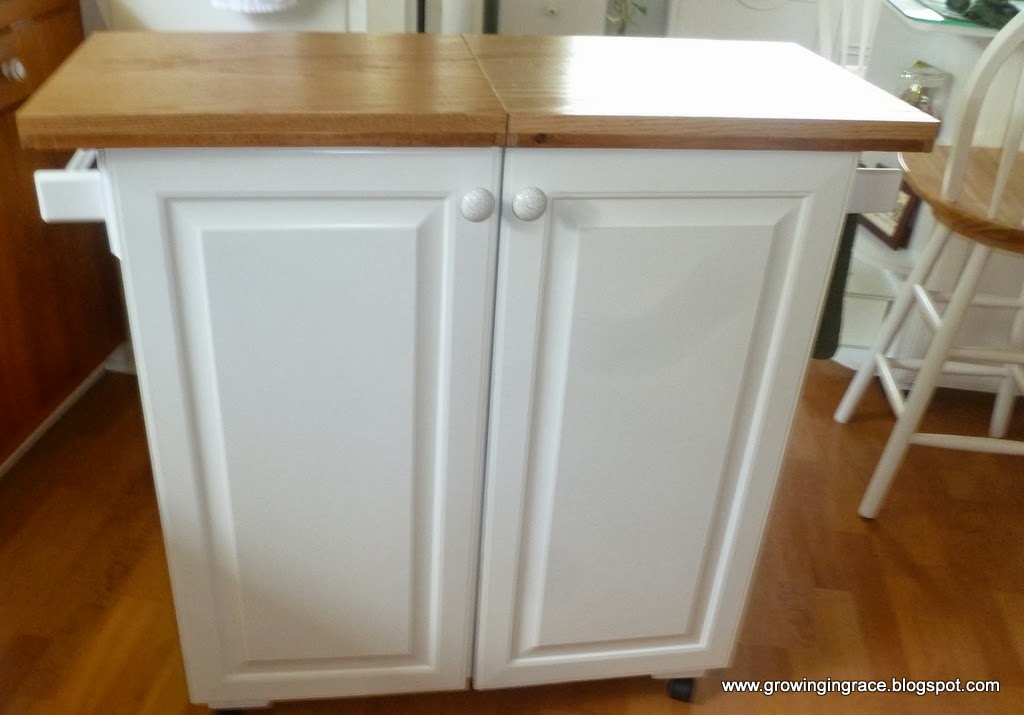
I am very pleased. I have more counter space and more storage.
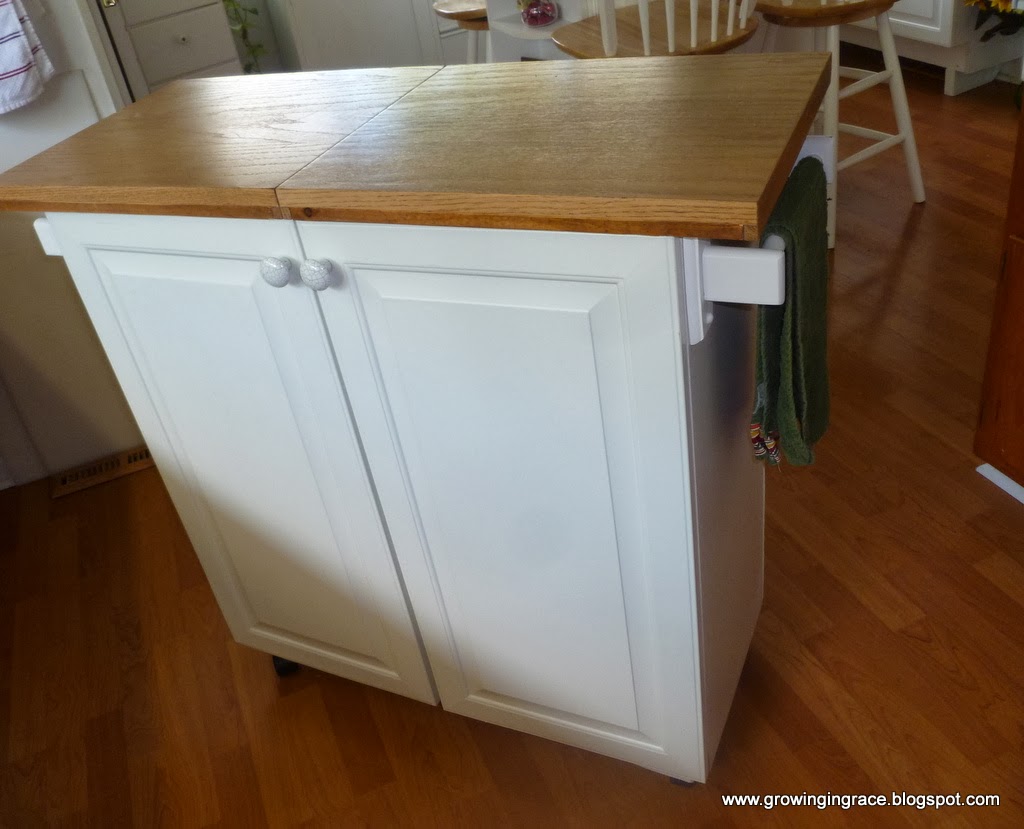
Hope you like it as much as I do. There are so many uses for wall cabinets. This project was very inexpensive. The total cost was around $45.00, that is including the cabinet price.
Doing things yourself can save a lot of money.
Blessings,

Parties I Link Up To:
Monday:
Skip to my Lou , Craft O Maniac, Keeping it Simple, Creating Really Awesome Free Things, Make Ahead Meals for Busy Moms Between Naps on the Porch, The Girl Creative, Mad in Crafts, I’m An Organizing Junkie, Sew Can Do, I Should Be Mopping the Floor, Making the World Cuter, The Gunny Sack, Mrs. Happy Homemaker, Uncommon Designs, DIY Home Sweet Home, The Modest Mom, I Gotta Try That
Tuesday:
Coastal Charm, A Bowl Full of Lemons , Tip Junkie , Sugar Bee Crafts , Not Just a Housewife ,Today’s Creative Blog , Balancing Beauty and Bedlam , 5 Minutes for Mom , Funky Polkadot Giraffe , Hope Studios , Time Warp Wife , Chef in Training Home Stories A to Z, My Uncommon Slice of Suburbia, Vintage Wanna Bee, The Blackberry Vine, Carolyn’s Homework, The Kurtz Corner, Growing Home, Cornerstone Confessions, Mercy Ink, Ginger Jamboree,A Diamond in the Stuff, ,A Stroll Thru Life,From the Farm, Mad Cap FrenzyThe Girl Creative, The Gunny Sack,Elisabeth PollockHome Maker On A Dime
Wednesday:
Raising Homemakers , Crystal & Co. , We AreThat Family , Women Living Well, The Trendy Treehouse , Handy Man, Crafty Woman Someday Crafts , This Chick Cooks , Seven Thirty Three, Sugar & Dots A Creative Princess , Creations by Kara, Gingersnap Crafts , My Girlish Whims, DIY Crafty Projects, Southern Lovely, Adorned from Above Fabric Bows and More, Twin Dragonfly Designs, The Thrifty Home, Semi Homemade Mom,Two Girls and a Party
Thursday:
Shabby Creek Cottage, Delightful Order House of Hepworths, The Frugal Girls , Miz Helen’s Country Cottage , The Thirty Sixth Avenue, Thrifty 101, Diary of a Stay at Home Mom, Beyond the Picket Fence, A Glimpse Inside, Mandatory Mooch, Think Tank, The Real Thing with the Coake Family,Life we Live 4,Somewhat Simple, Reasons to Skip the Housework
Friday:
The Shabby Nest , Fingerprints on the Fridge , Chic on a Shoestring, Life as Mom , Miss Mustard Seed , Tidy Mom , Whipperberry, French Country Cottage 30 Handmade Days , Finding Fabulous , Naptime Crafters Tatertots and Jello,My Romantic Home , While He was Napping , Comfy in the Kitchen, Bacon Time with the Hungry, Hungry Hippo, The Country Cook, Six Sister’s Stuff, Kitchen Fun With My Three Sons, Ann Kroeker Writer,, Simply Sweet Home, Craft Junkie Too, Simply Designing, Happy Hour Projects, A Little Knick Knack, Young and Crafty, Five Days Five Ways, At Home With Bobi,
A Peek into ParadiseThe Dedicated House,If It’s Not Baroque DesignSaturday:
Funky Junk Interiors, Young and Crafty , Be Different, Act Normal , A Vision to Remember, Sweet as Sugar Cookies, Positively Splendid, It’s Overflowing, Too Much Time On My Hands, Tutus and Tea Parties, DIY Vintage Chic Friday’s Practically Functional ,Six Sisters Stuff – Strutt Your Stuff Saturdays, Cherios and Lattes – Saturday Show and Tell,Your Home Based Mom
Sunday:
Nifty Thrifty Things, Sumo’s Sweet Stuff, Who Needs A Cape, It’s Overflowing – Overflowing with Creativity Link Party, Flamingo Toes – Think Pink Sundays,The Sasse Life – Sunday Social,Twigg Studios -Sunday Showoff Party,Elephants and Ivy link Party Sunday Funday Blog Hop at WTFAB Share the Love Sunday with BB’s Link Party