Have you not known? Have you not heard? The Lord is the everlasting God, the Creator of the ends of the earth. He does not faint or grow weary; his understanding is unsearchable.
He gives power to the faint, and to him who has no might he increases strength.
Even youths shall faint and be weary, and young men shall fall exhausted; but they who wait for the Lord shall renew their strength; they shall mount up with wings like eagles; they shall run and not be weary; they shall walk and not faint.
Isaiah 40:28-31
This passage of Scripture is so precious to me. I love focusing on who my God is and how powerful He is, that he never faints or grows weary. Sometimes I do grow weary and my energy is spent. I am so very glad that He gives power to the faint and he has power to increase my strength. God help me to wait before you and renew my mind in your word that you can empower me with your strength that I may soar again like an eagle and run with my hand in yours and walk beside the still refreshing waters. You are unfathomable, Almighty God. Thank you for loving me.
This is my favorite of all our DIY projects.

We went to Lowe’s and purchased the following:
4 – 36 inches wide x 30 inches high
1 – 30 inches wide x 30 inches high
2 – 36 inches wide x 12 inches high
1 – 30 inches wide x 15 inches high
Crown moulding
1 sheet oak veneer paneling
1 3 ft x 4 inch oak board
1 6 ft shelving board
Several 2 x 4’s for the floor framework
Go here andhereto see the process of doing this.
We sanded all doors, frame work of cabinets, veneer paneling and the 2 x 4’s we were using for the floor frame work, and then stained them.
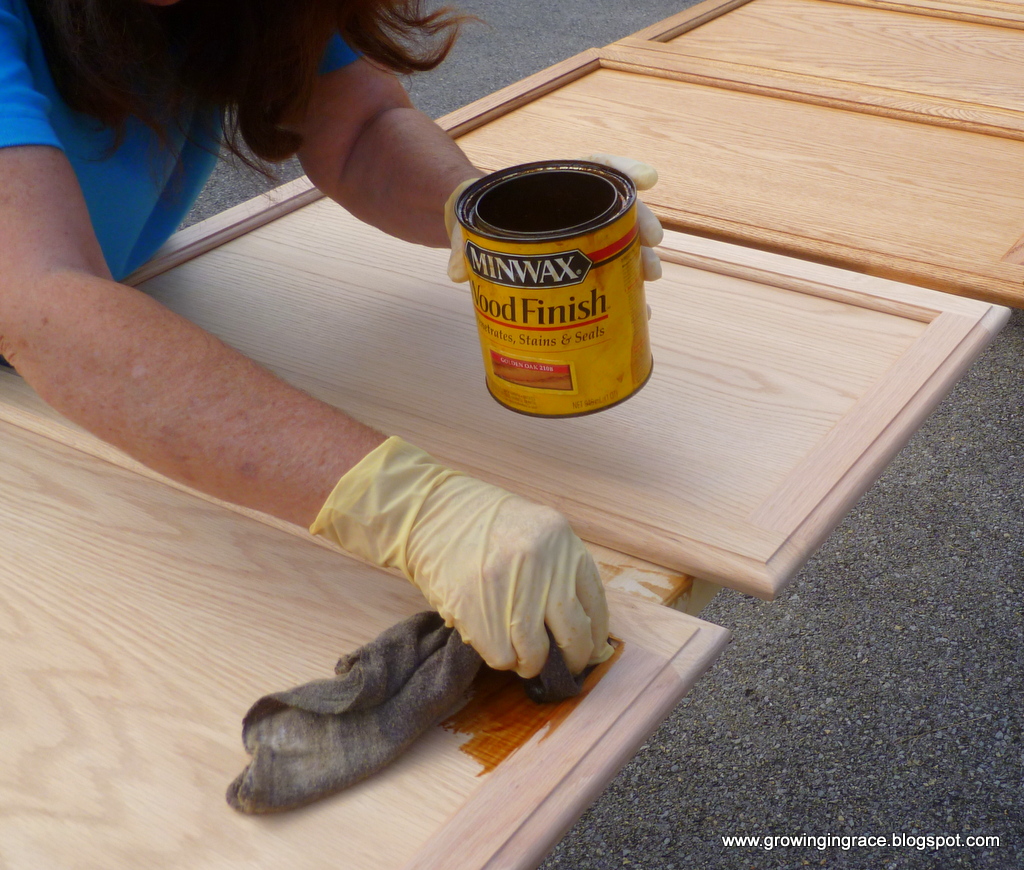
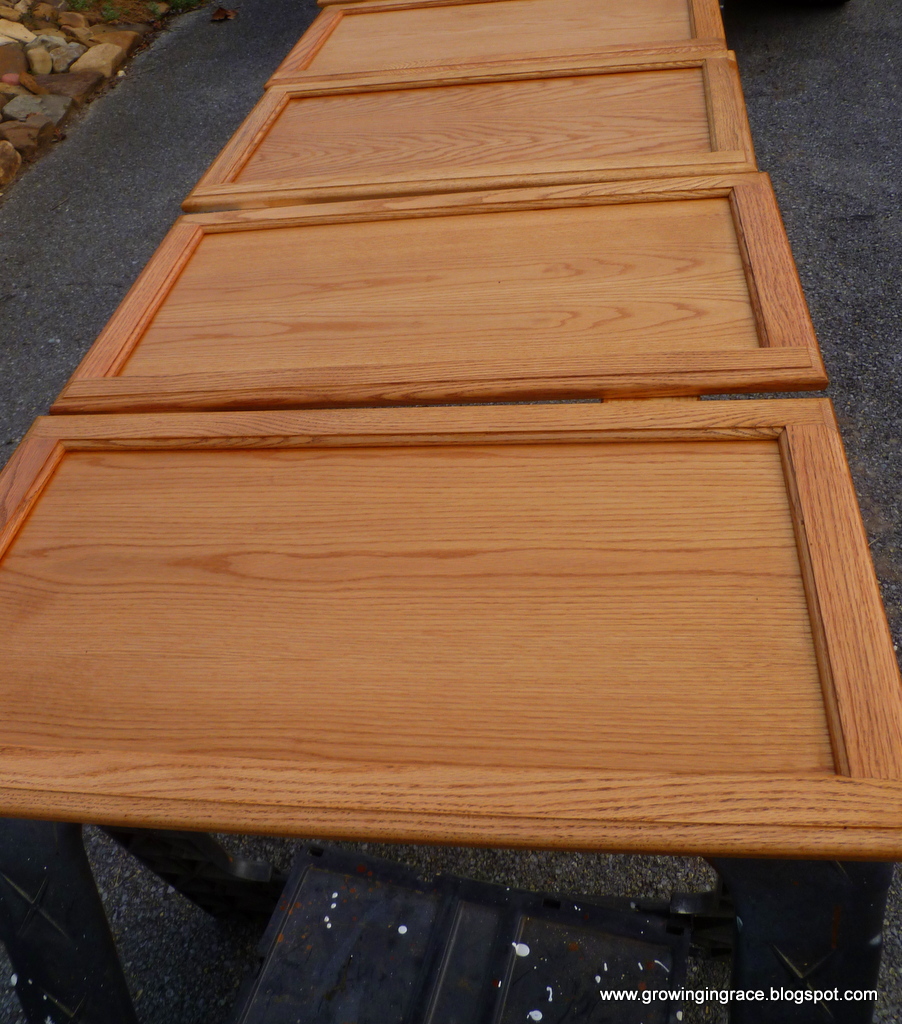
After the stain dried, I put the first of three coats of Minwax Polycrylic protective finish on the doors and the frame work, 2 x 4’s and the veneer paneling.
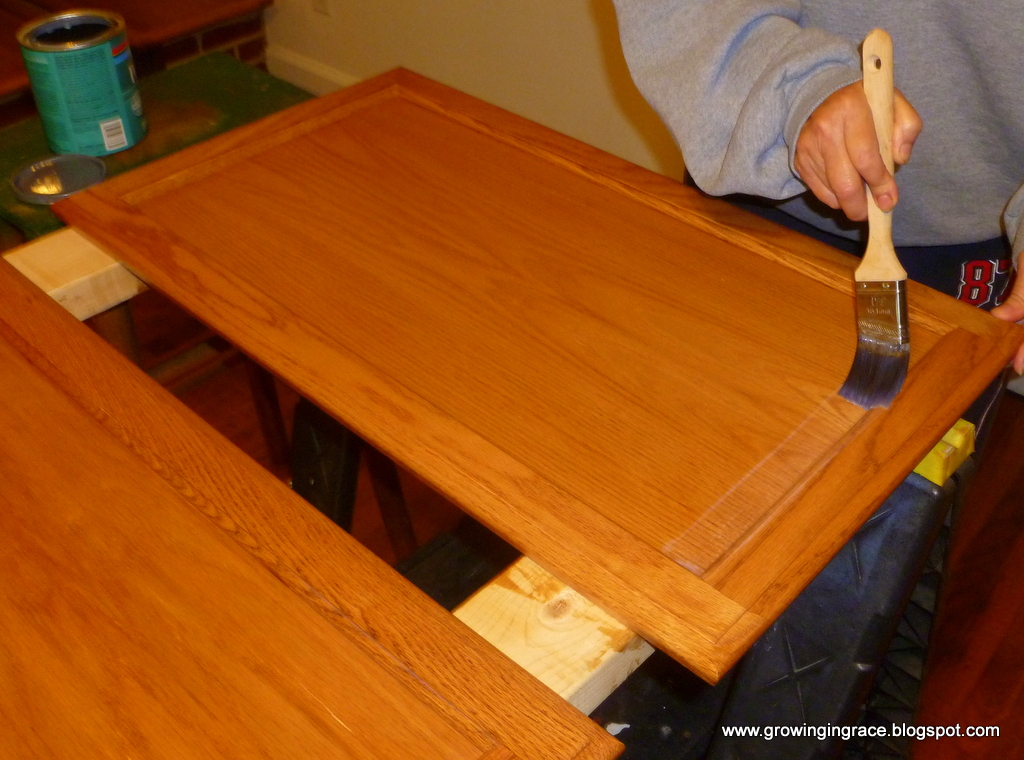
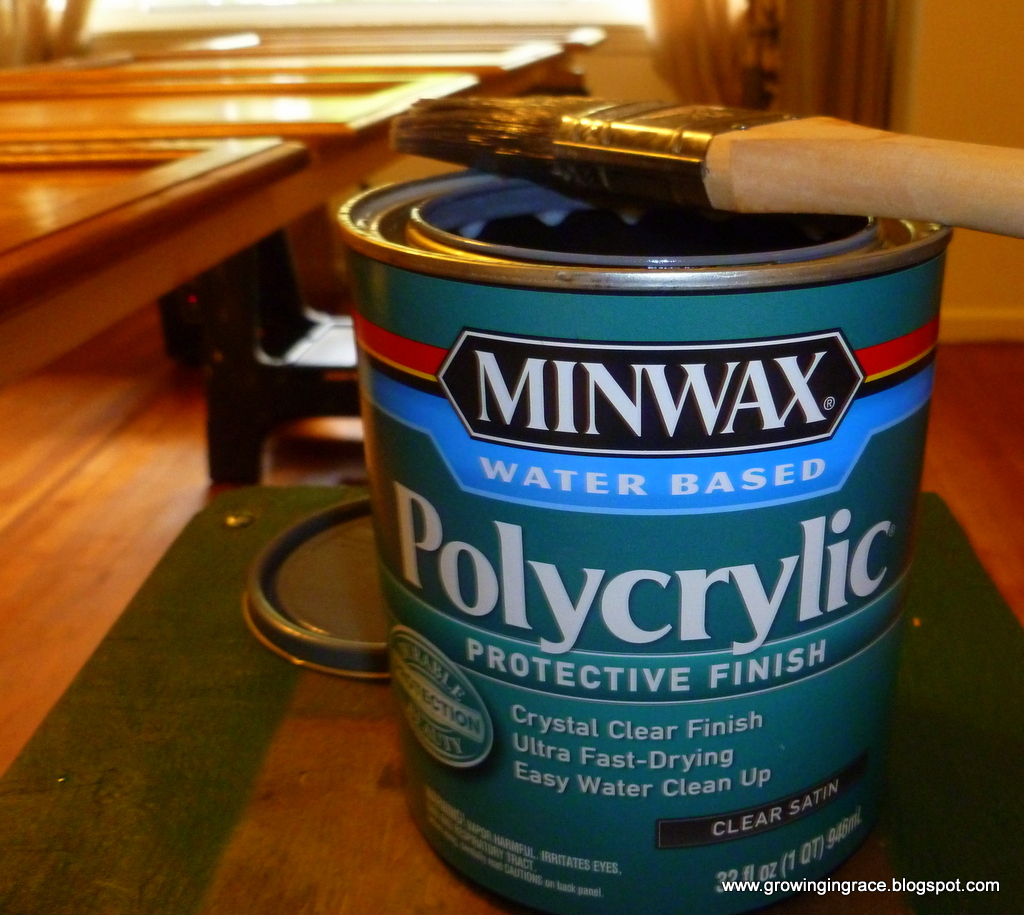
When the first coat of Minwax Polycrylic protective finish dries,
you lightly sand it before adding each additional coat.
We removed the baseboard from the wall so the cabinets would fit up against the wall.
Then we made a frame for the cabinets to sit on. We used 2 x 4’s to do the frame work.
We had stained and Polycrylic finish them as we had the doors and the cabinets.
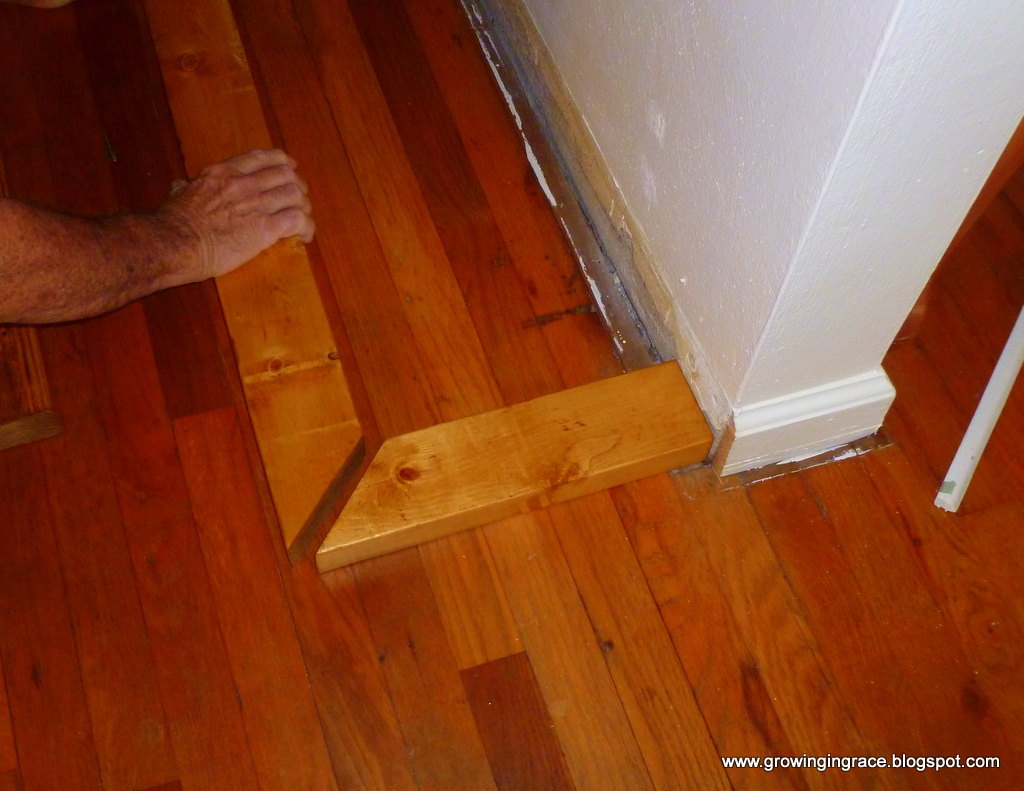
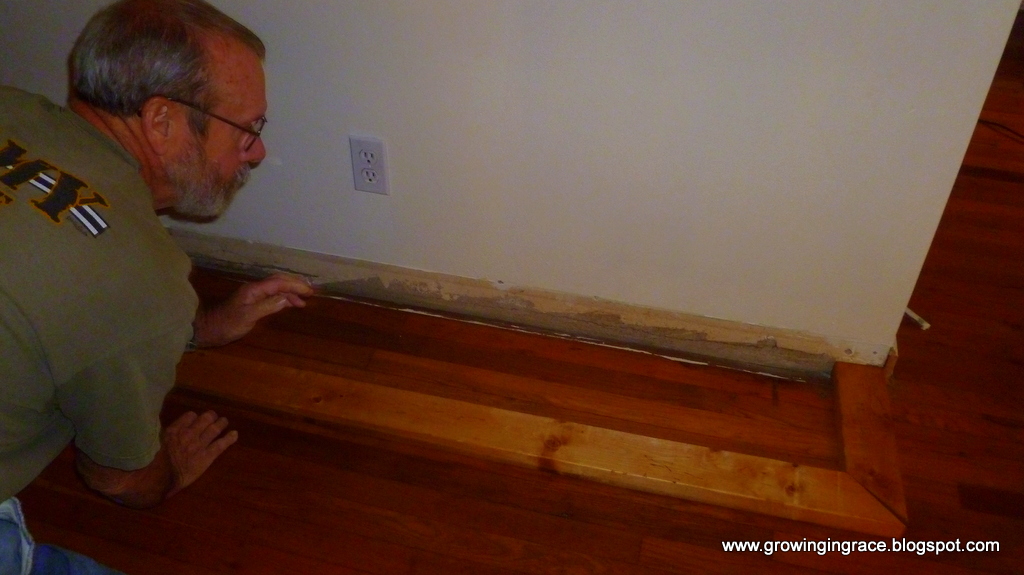
We made framework extend beyond the cabinet itself, one and one quarter inch around the entire perimeter of the cabinets.
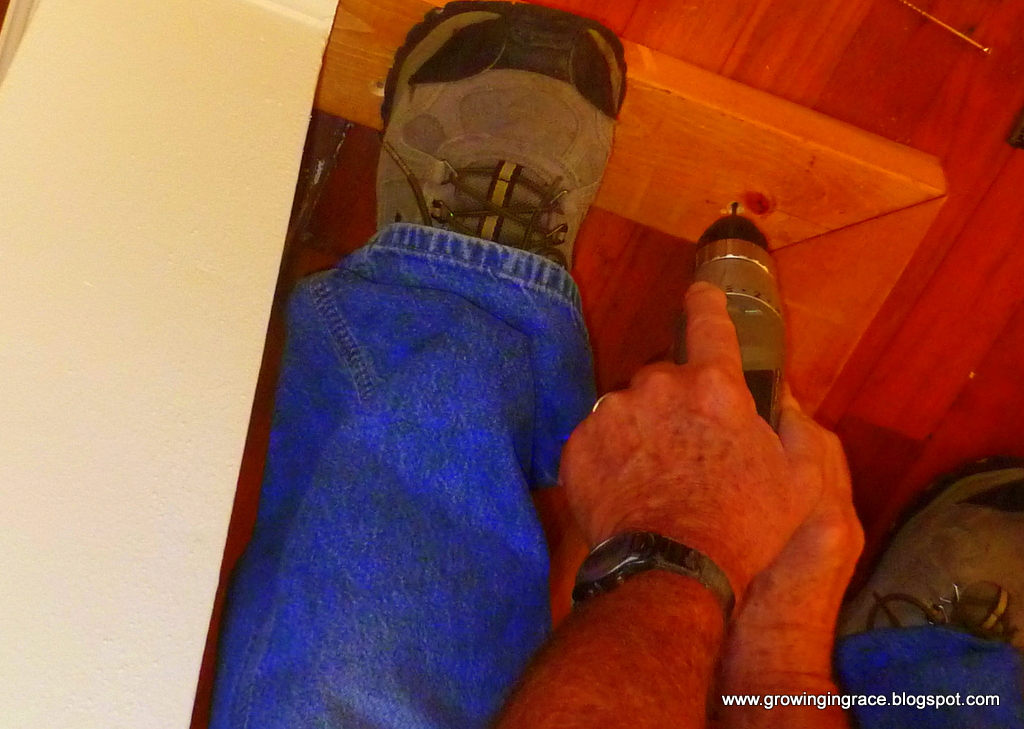
Then we began to assemble the cabinets on the framework. We assembled 1 36 inches wide x 30 inches high Cabinet and secured it to the floor framework. Next we added one 36 inches wide x 12 inches high on top of it and screwed the two together. Then we added another 36 inches wide x 30 inches high cabinet and screwed them together. We did the same with the other side.
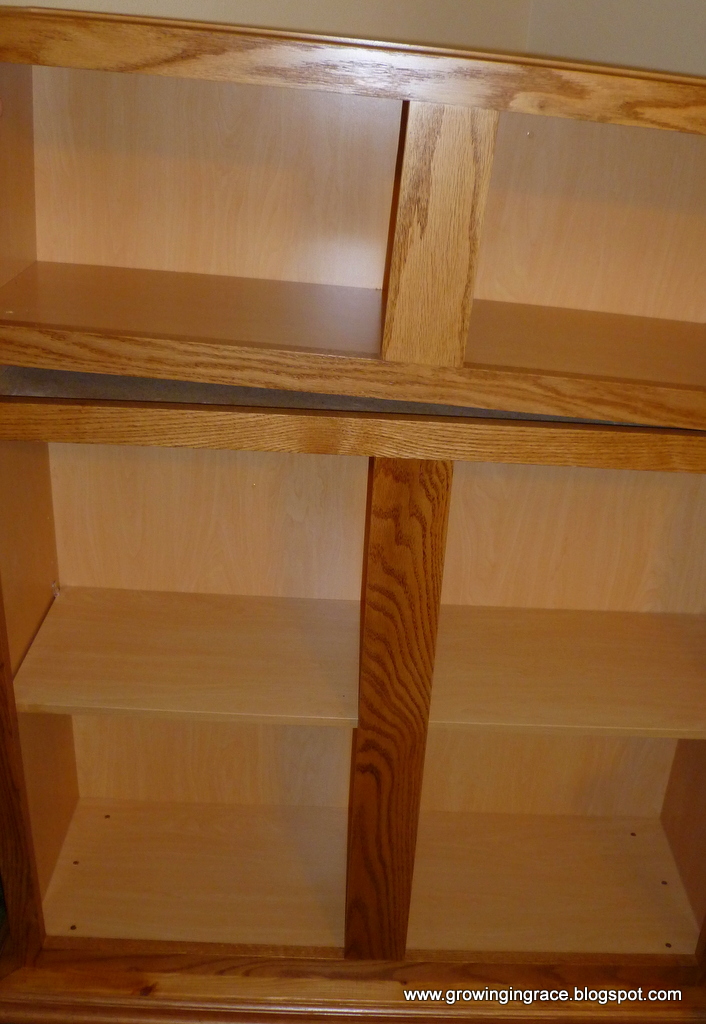
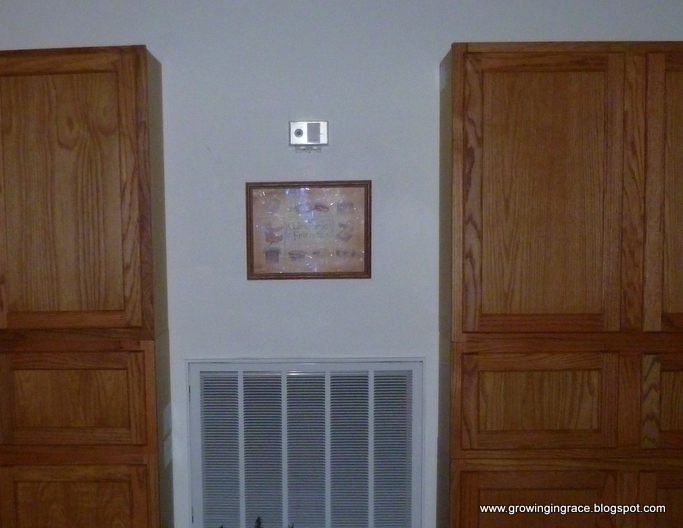
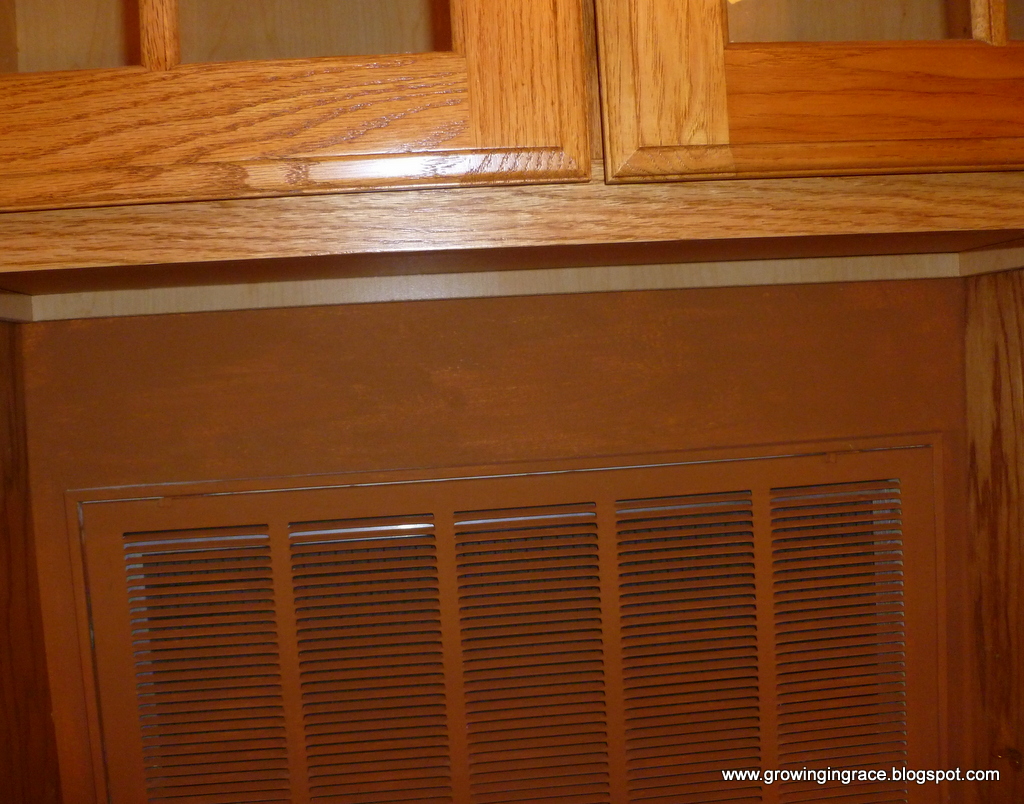
Next we took the screen off and painted it to match the cabinets. We also painted the wall behind the screen to match the cabinets. We had to move the thermostat as well.
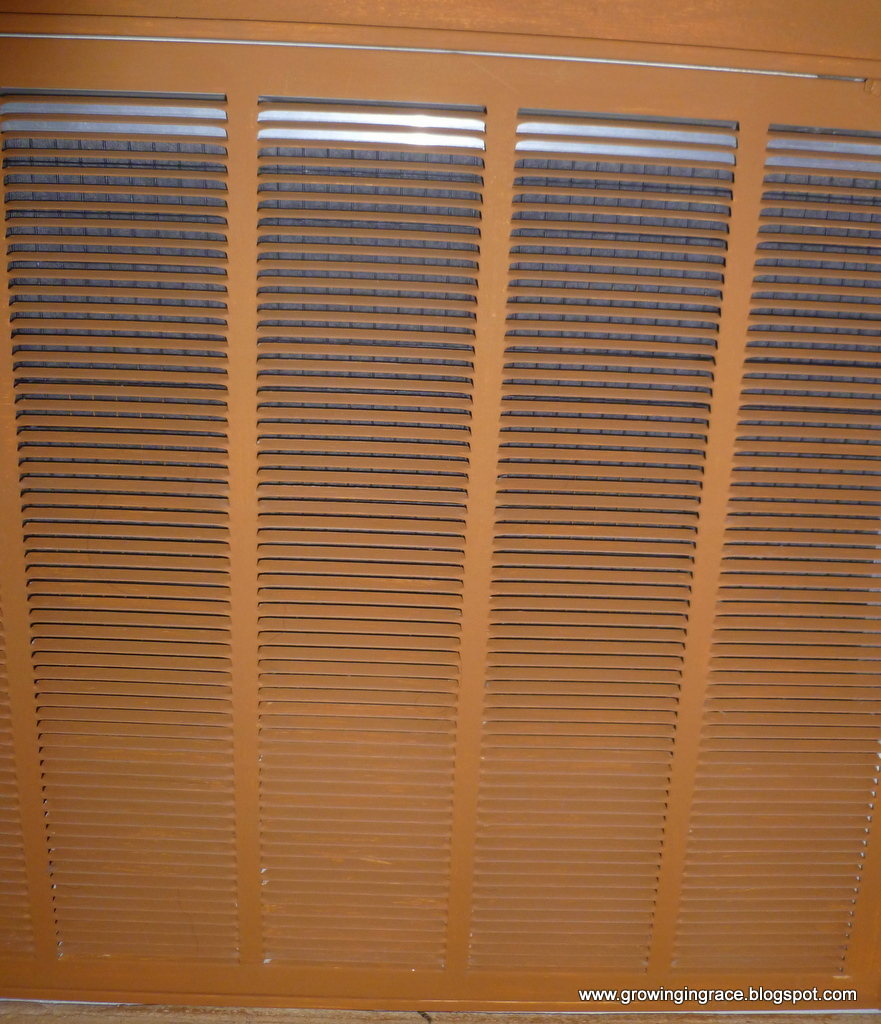
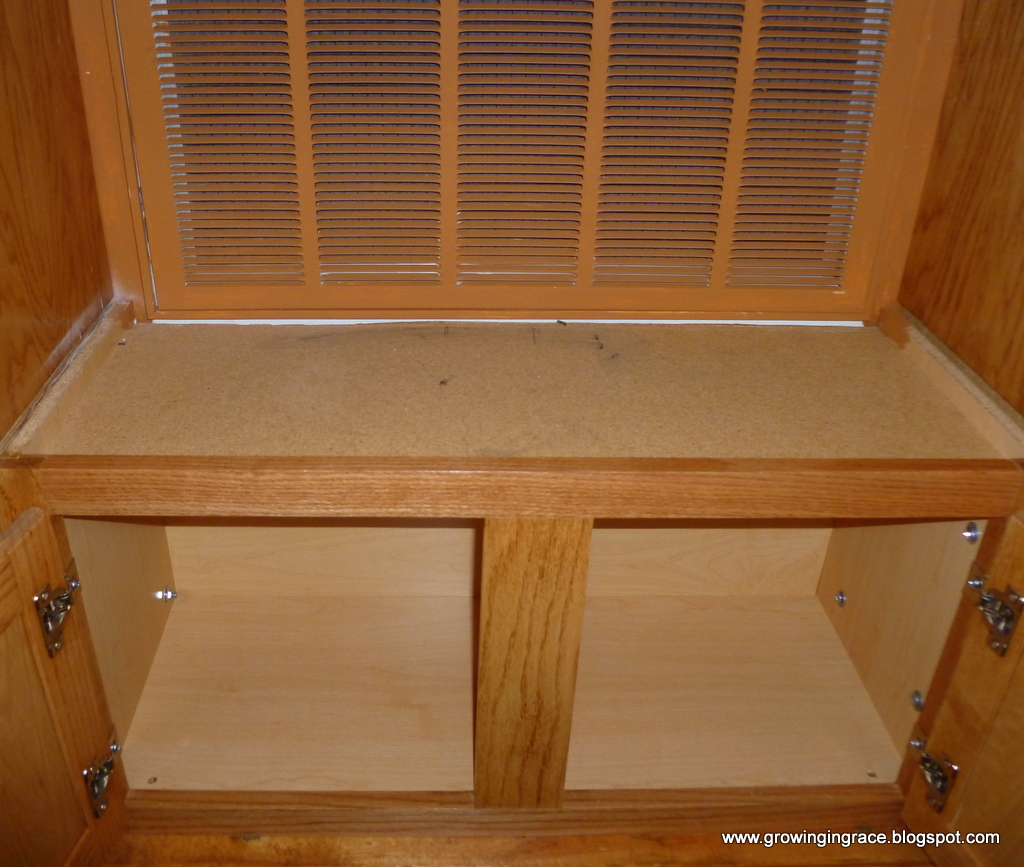
Next we put in the bottom cabinet in the center of the other two cabinets which is 30 inches wide x 15 inches high. This is underneath the vent screen.
Then we put a 30 in x 30 inch cabinet above the screen vent and matched it in the center of the two other top cabinets.
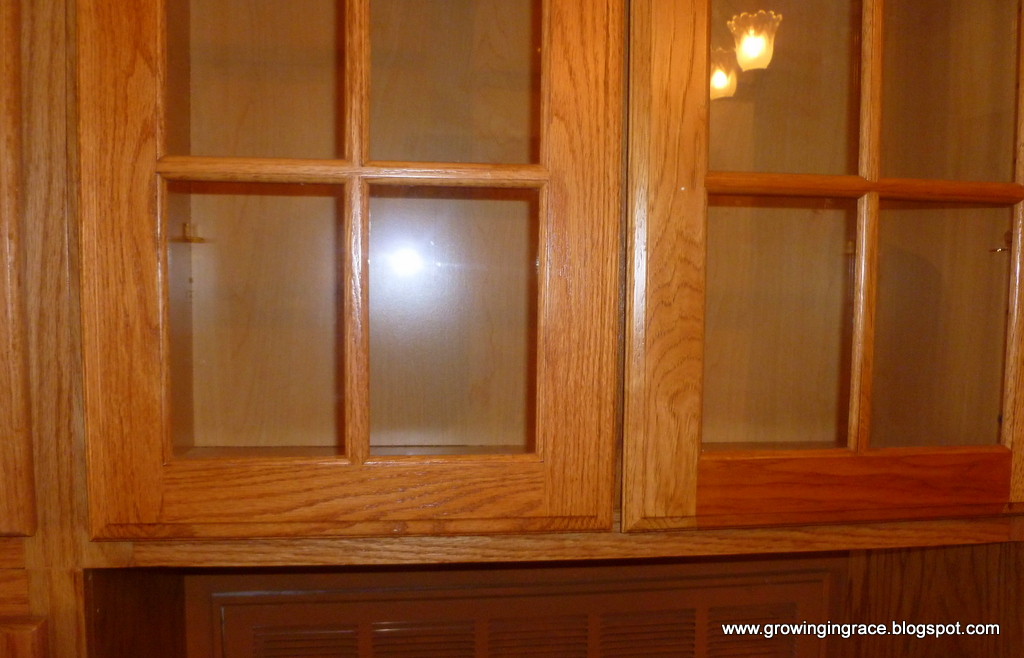
We changed the doors and put the glass doors we had purchased from Kraft maid.
My husband had to cut out a pieces on the framework for the doors to fit properly as seen below.
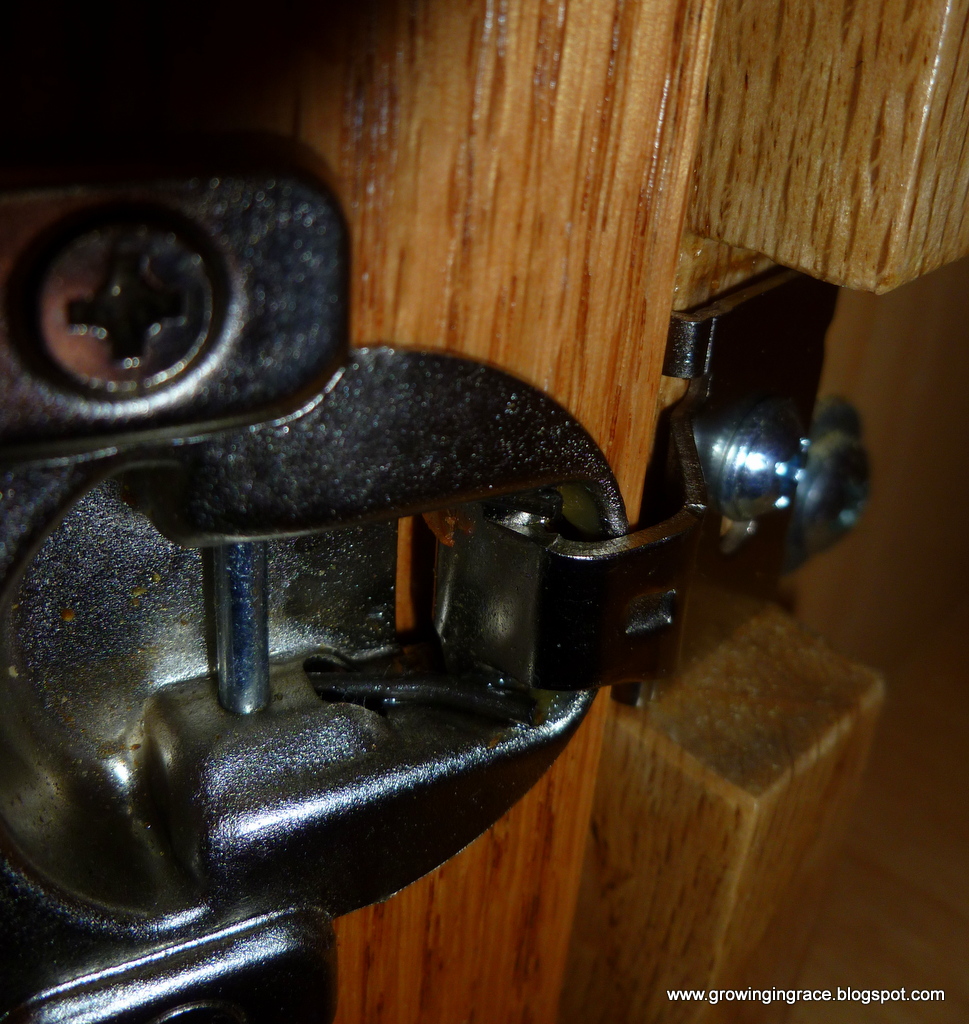
Next we put two shelves in this cabinet.

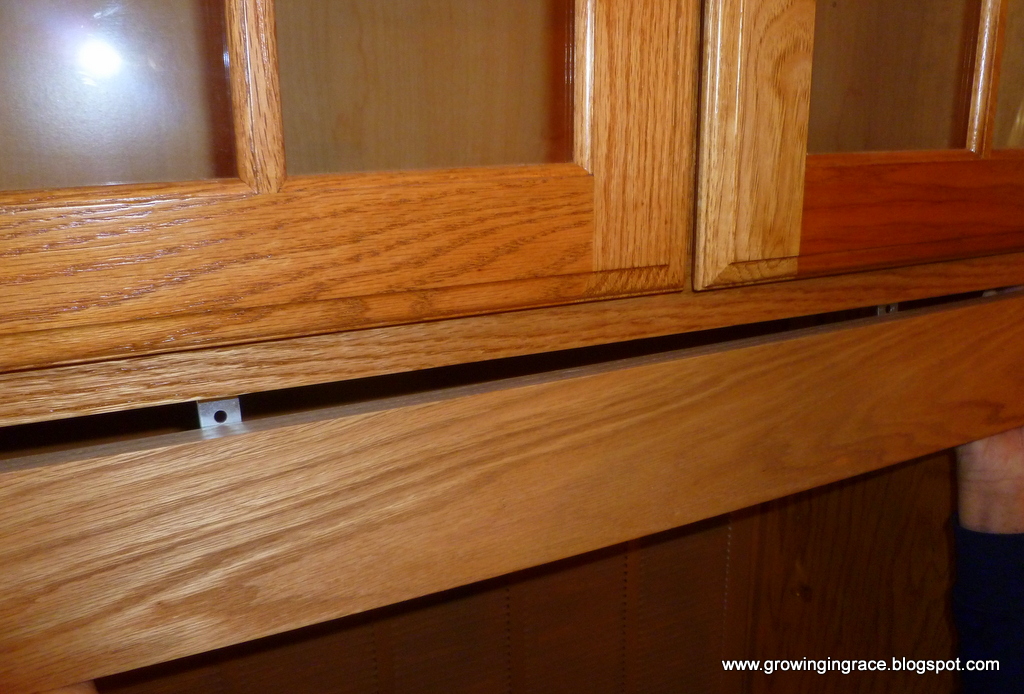
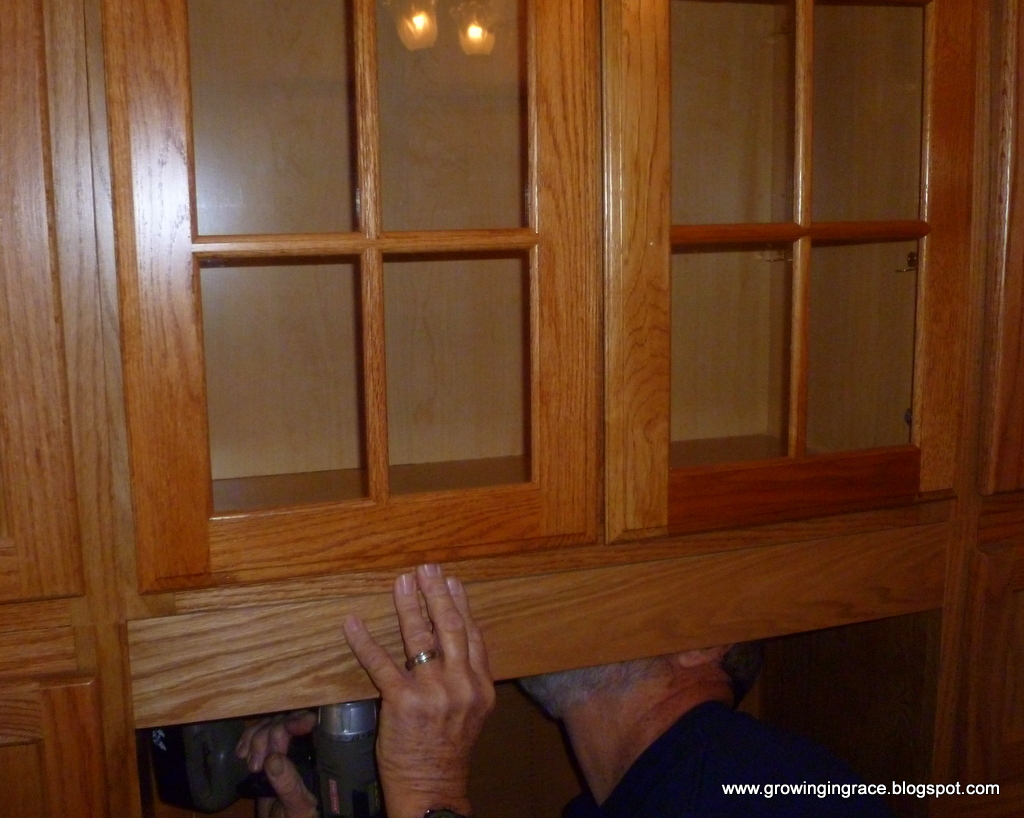
We took a piece of oak wood and cut it to fit underneath that cabinet, to hide some of the wall below the cabinet between the top cabinet and the vent screen.
Then he put angle brackets on it to screw it to the underside of the cabinet.
We put two shelves in that area that would still let the air flow is but we could place decorative items on to further hide the screen.
One shelf covered the top of the cabinet that was on the floor and the other shelf was spaced equally between that shelf and the board above.
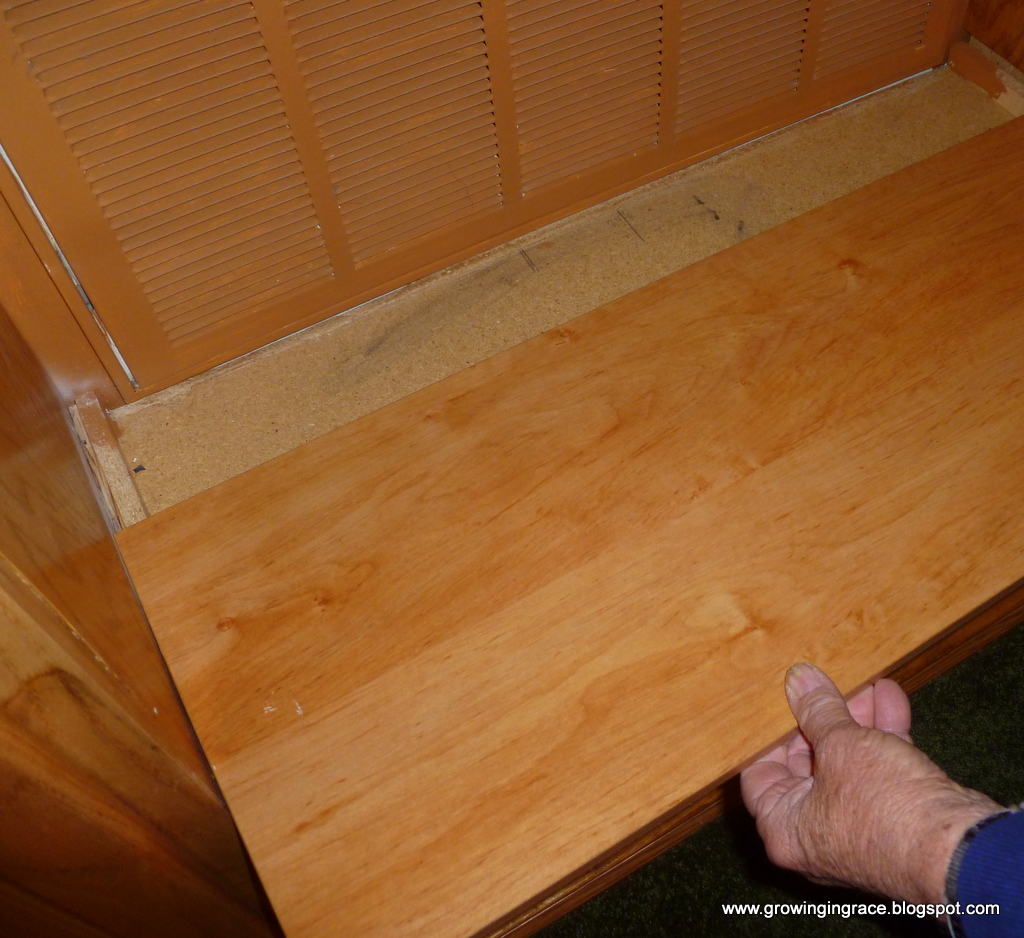
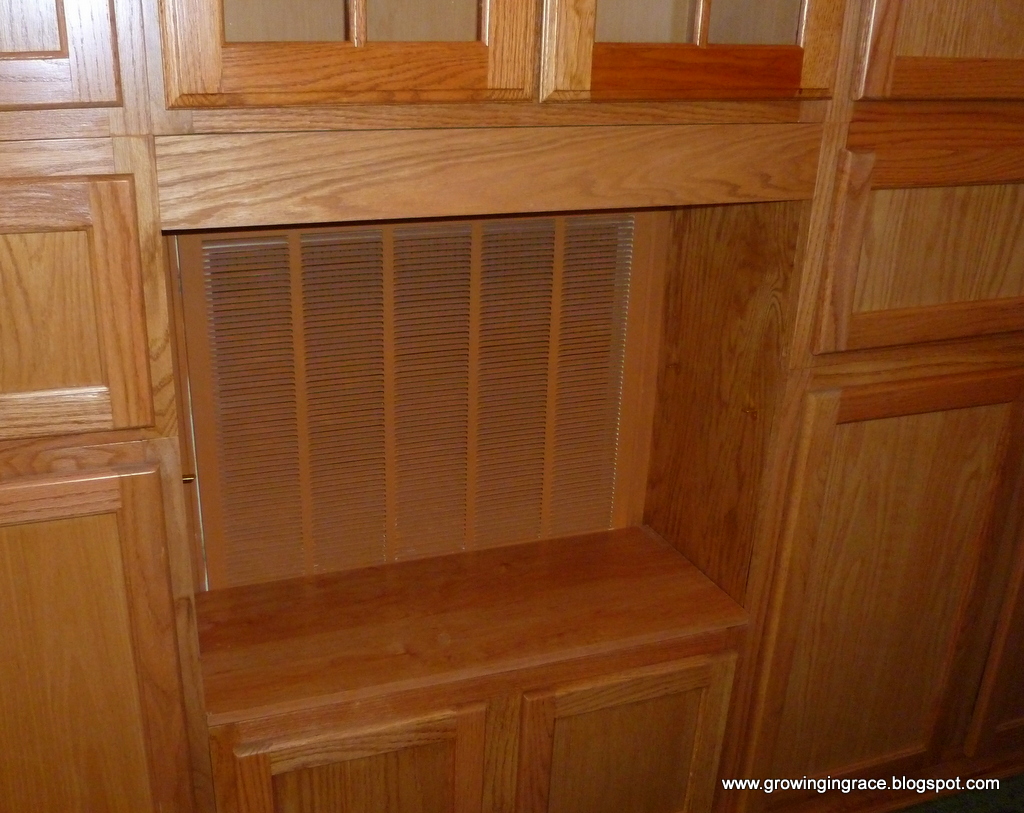
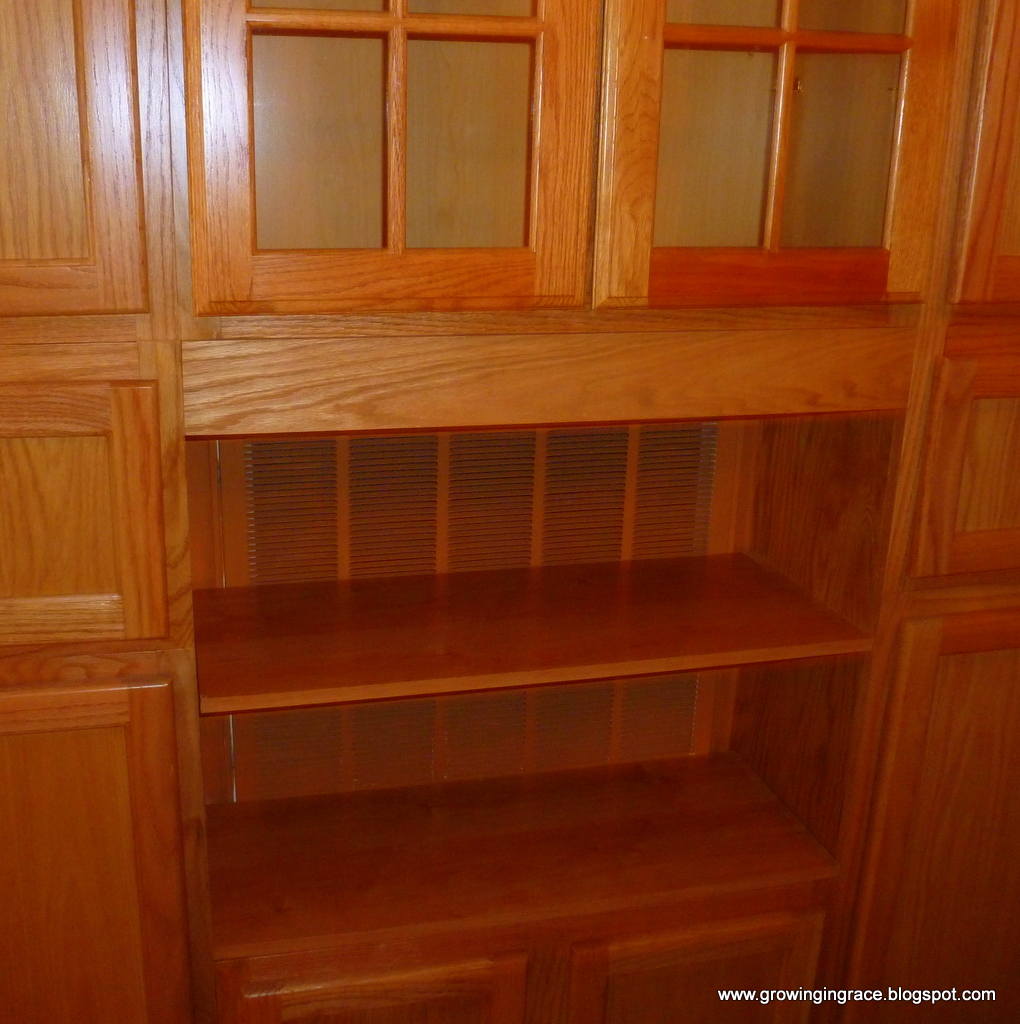
Each end of the cabinet needed the oak veneer paneling put on to finish off the cabinet as seen below.
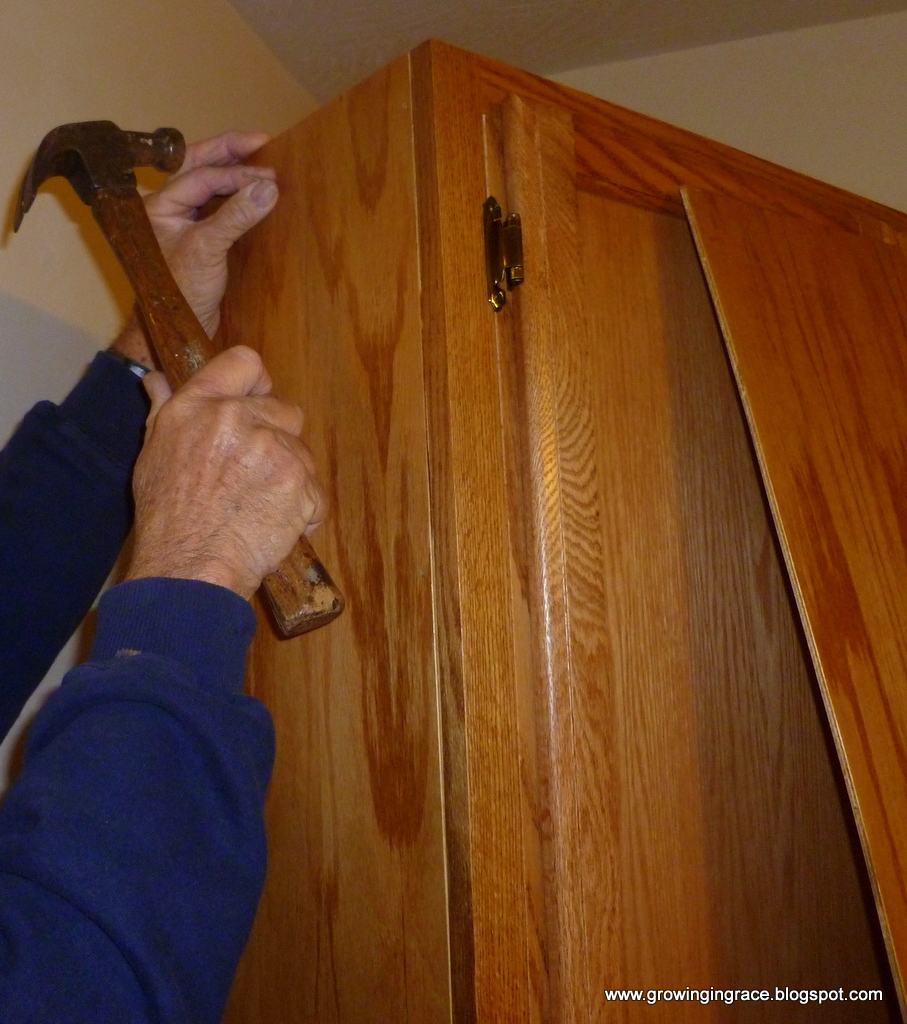

The next step was to put the crown molding trim up around the top edges of the cabinets.
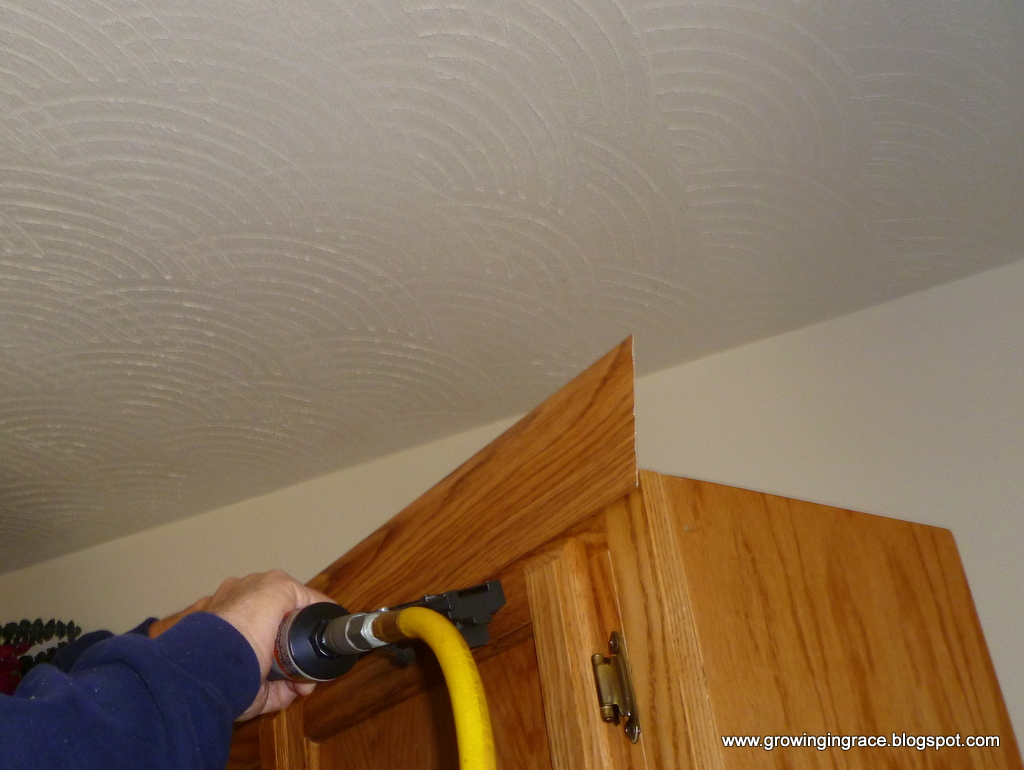
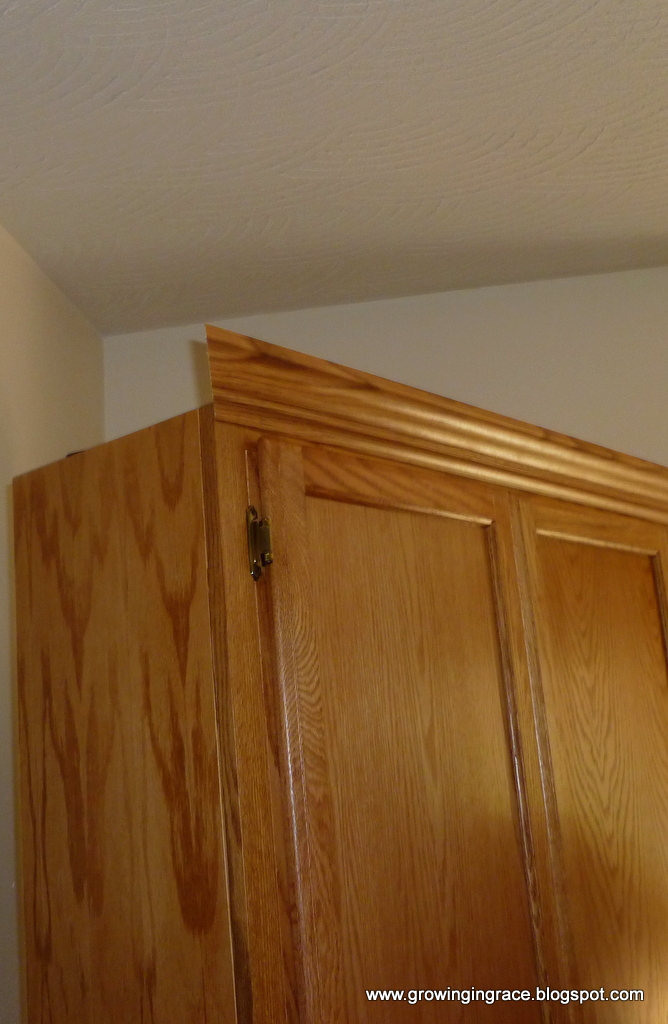
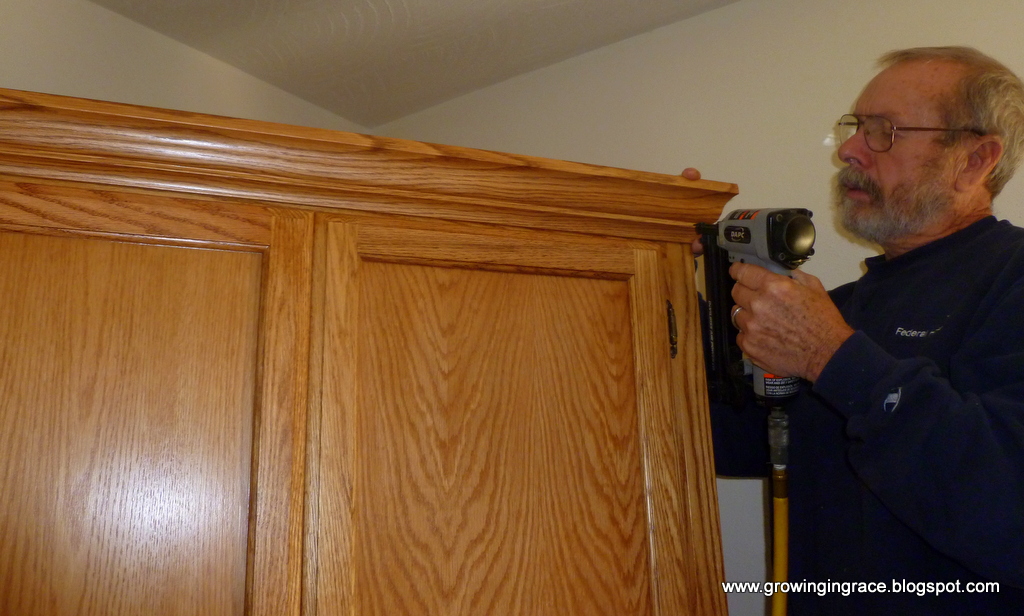
The cabinet is completed and we are very pleased.
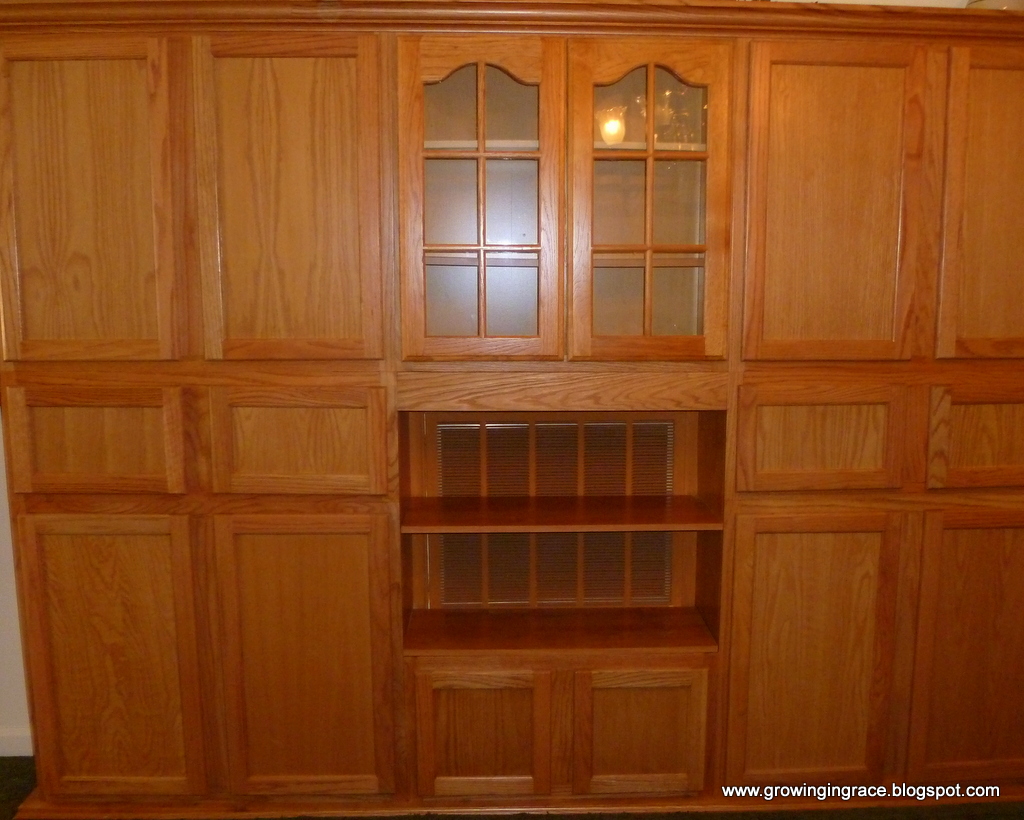
We put a light on top of the cabinet to accentuate the cabinet and the dining room at night.
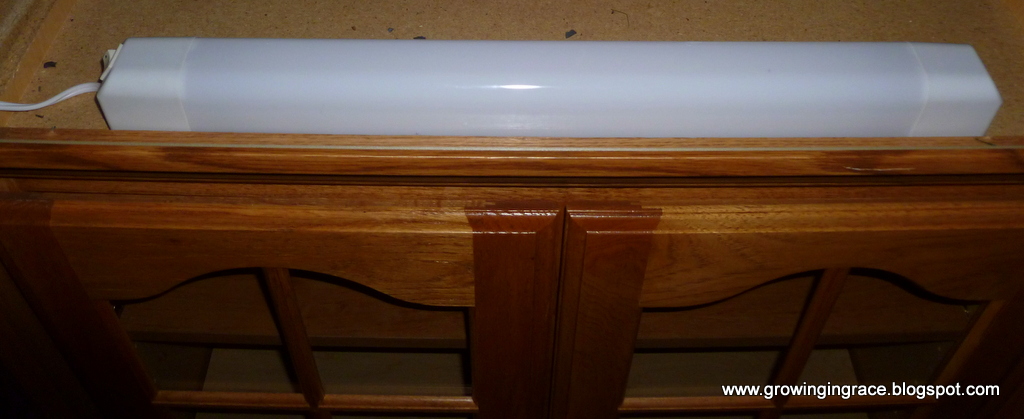
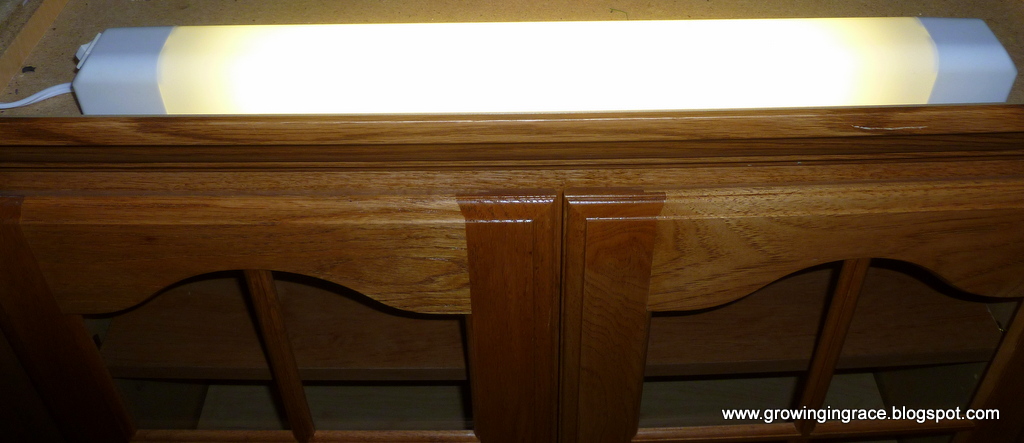
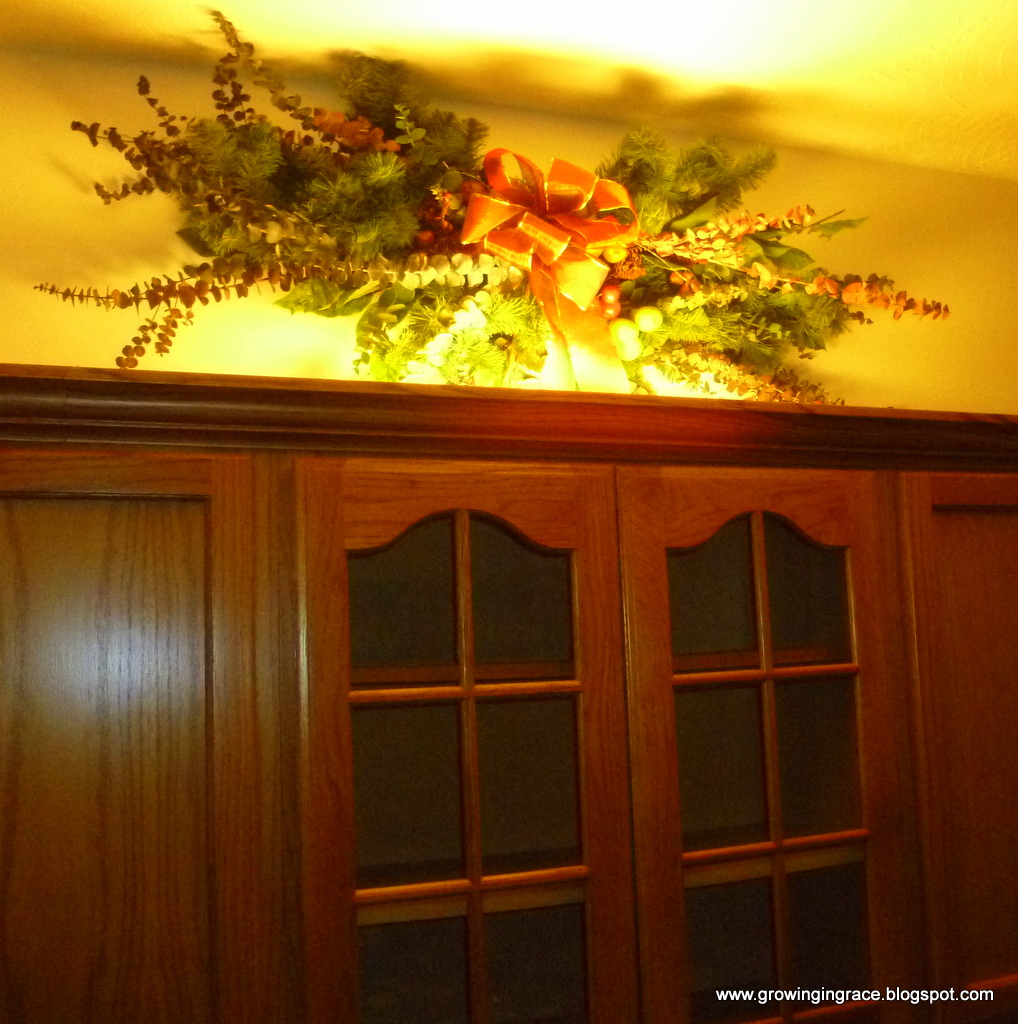
A swag was placed on the wall above the cabinet. We added couple of pitchers to finish it off.

Next I added the glassware and the dishes.
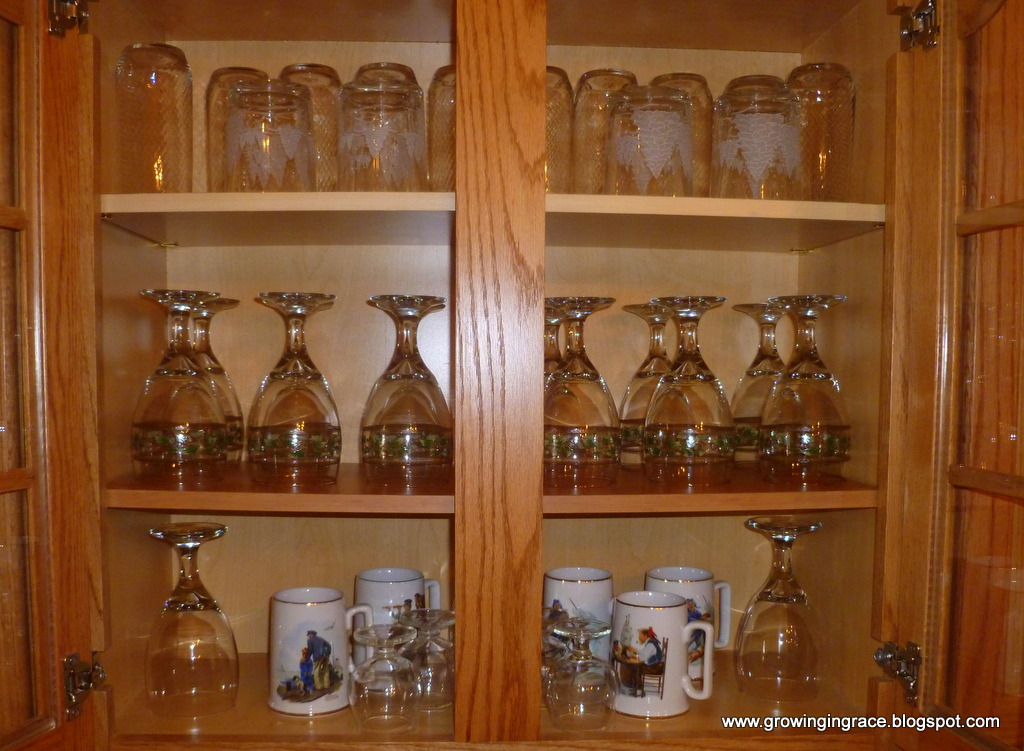
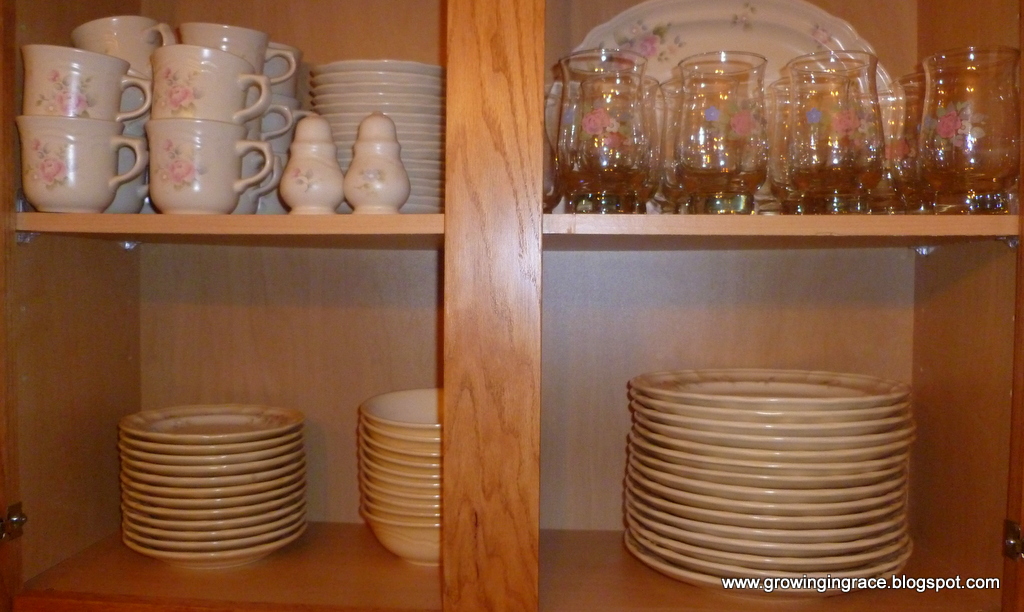
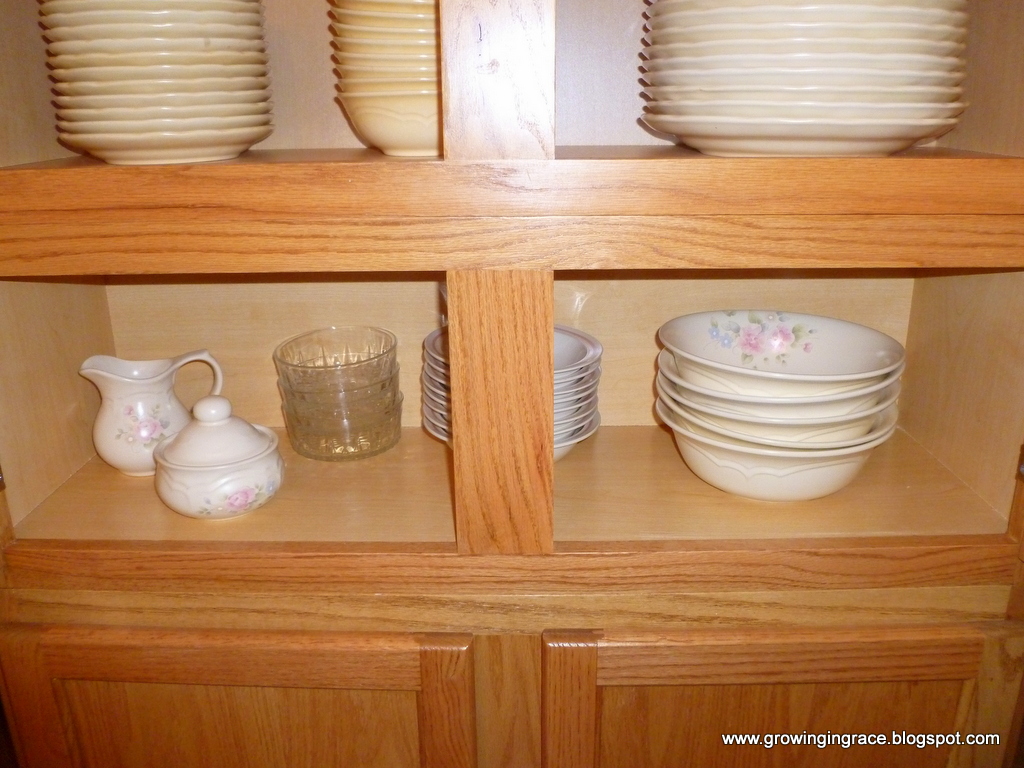
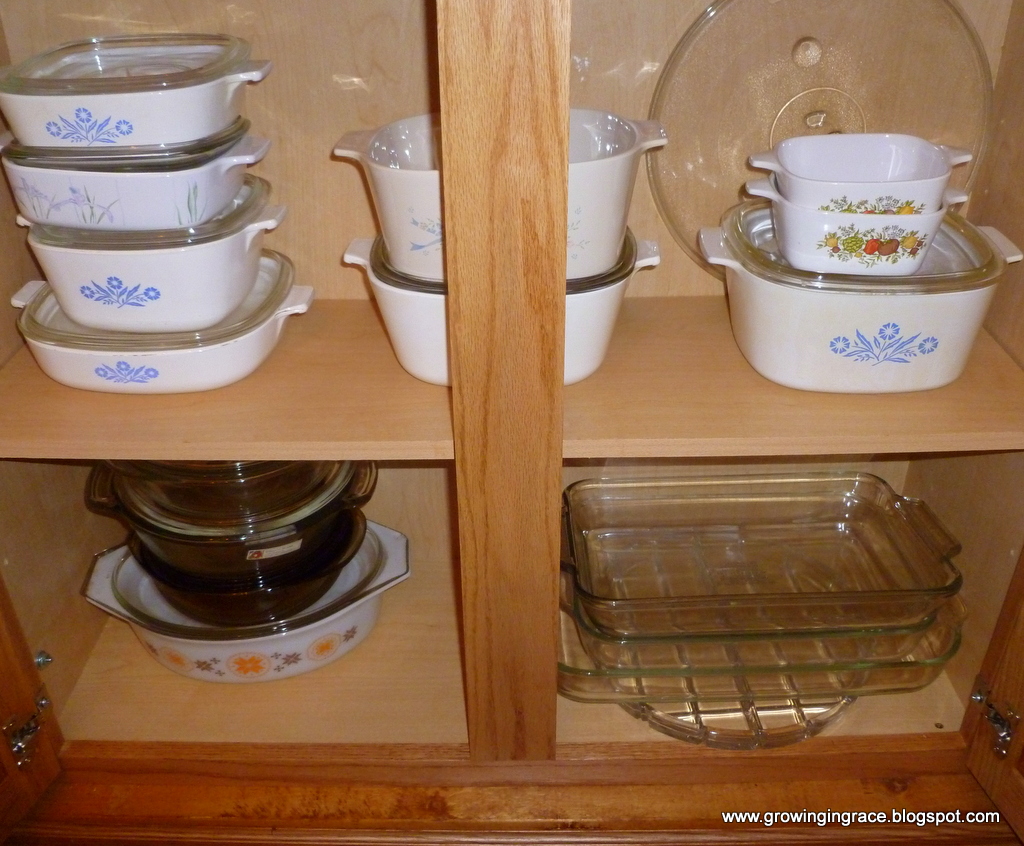
Added a few things to the shelves to decorate and was very pleased how well this once bare wall with only a air return vent turned out. Hope you agree.
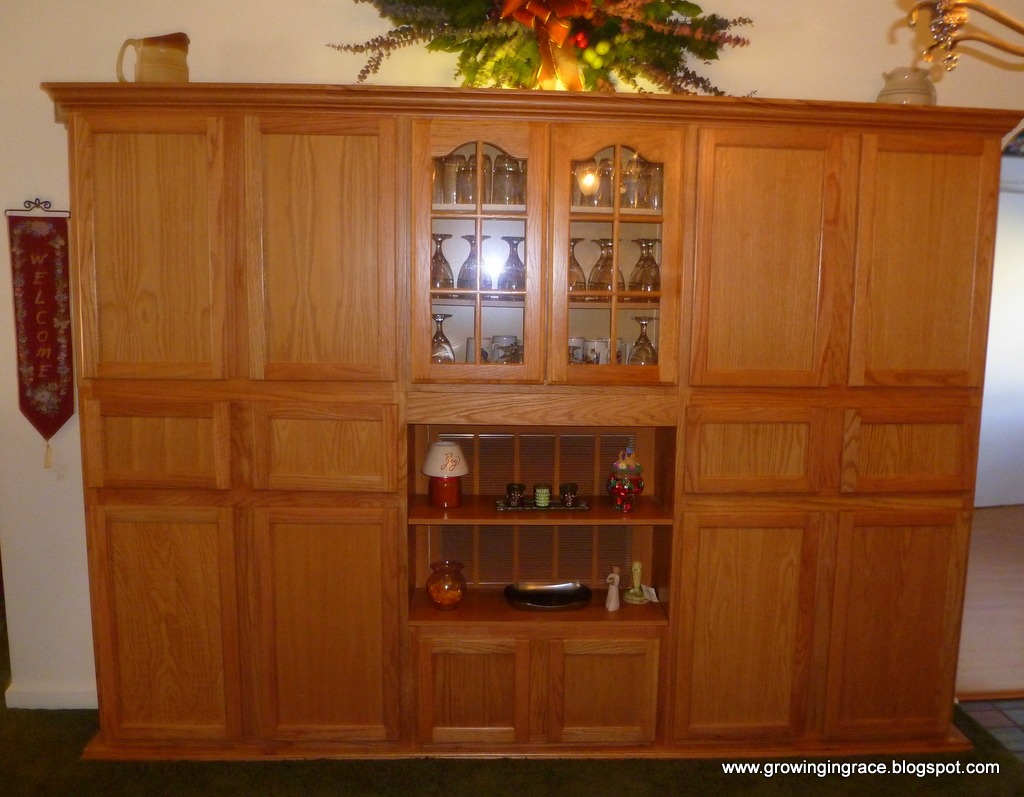
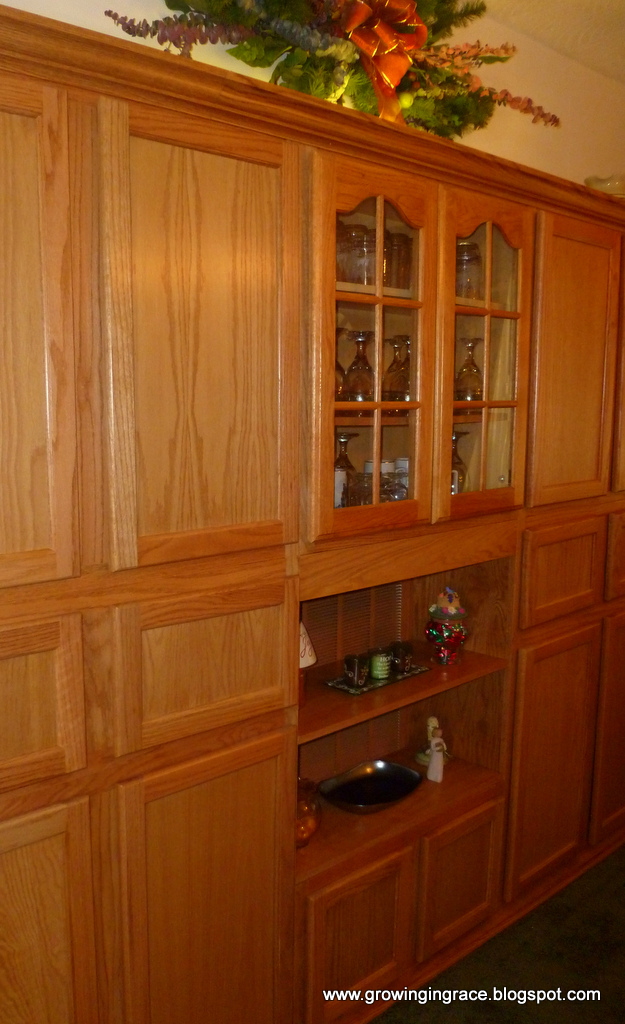
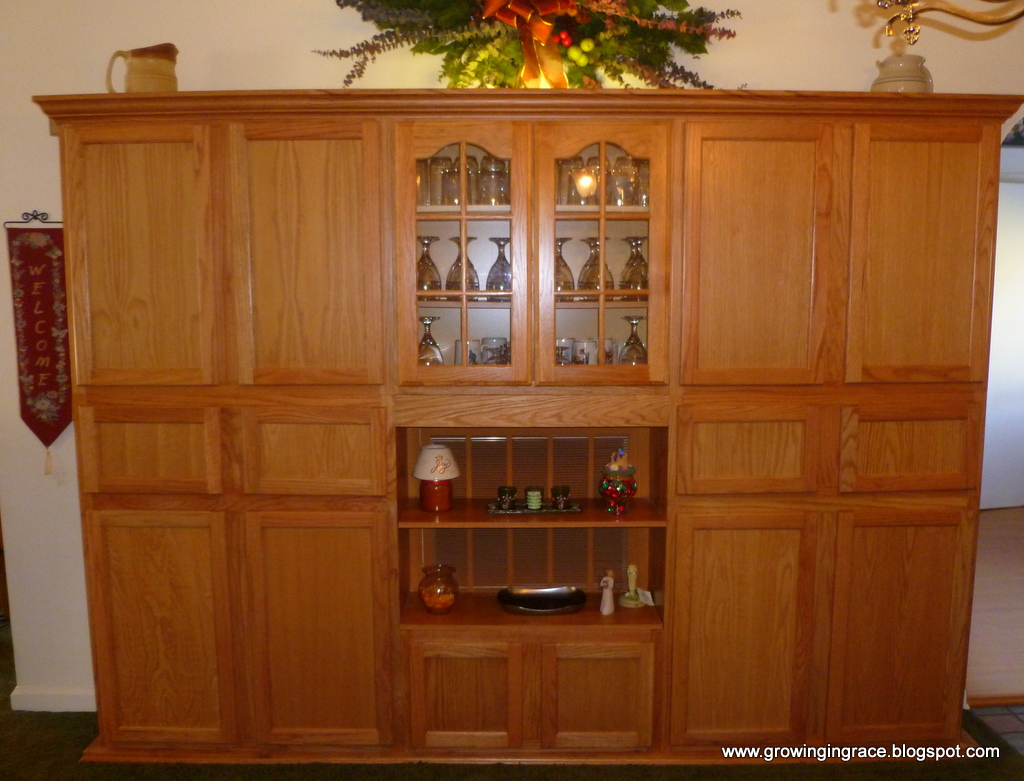
So now when you enter our home this is what you see instead of a wall with a huge air vent in the center of it.
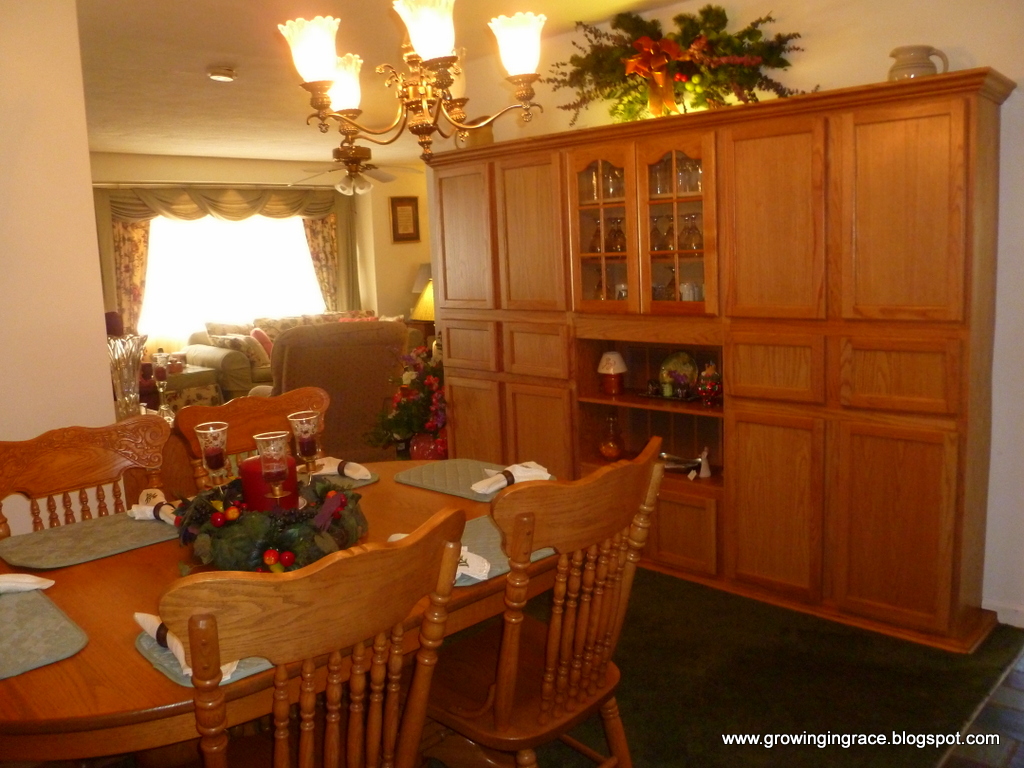
View from the living room looking into the dining room show the buffet we made, as well as the china cabinet.
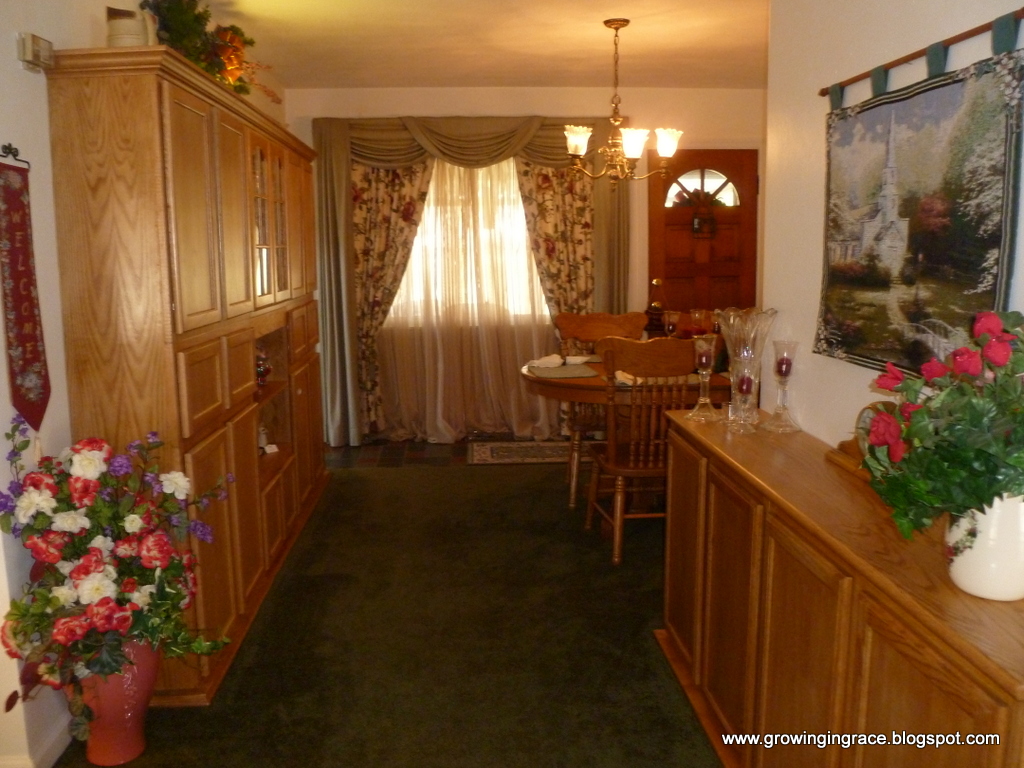
So if you have a wall that has some unsightly thing on it that can’t be removed. Why not think of how you could make that wall look better. Perhaps what we did would work for you.
Blessings,

Parties I Link Up To:
Adorned from Above – Wednesday
Southern Lovely – Wednesday
Mandatory Mooch – Thursday
Think Tank – Thursday
Between naps on the Porch,penny-pinching-party;I’m an Organizing Junkie;The Dedicated House; Beauty and Bedlam;Ginger Snap CraftsIt”s So Cheri
InLinkz.com

It looks great!
Jenny
http://www.simcoestreet.blogspot.com
Thank you so much for your encouraging comment. I so appreciate it. Blessings, Jo-Ann
Great Job! It looks great!
http://tc-twistedfairytale.blogspot.ca/2013/02/tackle-it-tuesday_12.html
Thank you so much for your encouraging comment. I so appreciate it. Blessings, Jo-Ann
Beautiful job! Looks fantastic!!
Thank you Stephanie for your encouraging comment. I am so glad you like it. It certainly improved our wall and has been a help to have this much storage for dishes. Thank you so much for your visit. Come again. Blessings, Jo-Ann
Stunning work! I've been asking my husband to build something similar in our kitchen, not to disguise an air vent but just to add more storage. I'm emailing the link to your article to him at work so he sees this and maybe gets a move on!
I'd love if you'd come join my How To Tuesday link party, too.
http://housewifehowtos.com/link-party-2/how-to-tuesday-8-link-part/
Thank you so much for your comment. I so appreciate it. Hope your husband will build you one similar to this. I am so thankful for mine. It helps so much. I always need more storage. Blessings, Jo-Ann
Wow! I am so impressed! Thanks for linking this up at Monday Funday!
Thank you Katie for your encouraging comment. Blessings, Jo-Ann
I found you from Sugar Bee Crafts! I'm your newest follower via GFC. I host Fluster Creative Muster Party on Wednesdays and I would love it if you would come by and party with us. Hope to see you there!
Hugs, Smiles, and Blessings,
Robin
Fluster Buster
Thank you for your comment and for your invitation to visit your party on Wednesdays. See you there. Jo-Ann
That is amazing! No way could I do that but all I can say is Wow-that's the way to disguise an air vent!
Beautiful blog. So glad to see you are right out there with your love for the Lord. God is so AWESOME!
We are joining your lovely blog and hope you will join ours.
Warm wishes,
Linda and Jeannie at The French Hens Nest
Thank you so much for you most encouraging comment. You have blessed me today. I so appreciate you becoming a follower. I am so thankful for God in my life and all He has done in my life. Someday I would like to share that with my blogger friends. He is truly Amazing. Blessings to you. Jo-Ann
Wow! That is gorgeous, Jo-Ann!
Thank you so much Roeshel. Thank you for viewing my post and leaving such an encouraging comment. Blessings, Jo-Ann
I just found your blog today and am so glad I did! I love the name Grace – if I were younger and still able to have children, I would choose Grace as a girl's name. And, my husband and I live by the grace of God! God is good! I absolutely love how you turned an eye-sore into something beautiful! HUGS… and stitches