Scripture to Live By:
Acts 16:30-31
“..and after he brought them out, he said, “Sirs, what must I do to be saved?”
They said, “Believe in the Lord Jesus, and you will be saved, you and your household.”
John 3:16 “For God so loved the world, that He gave His only begotten Son, that whoever believes in Him shall not perish, but have eternal life.
What does it mean to believe in the Lord Jesus Christ?
Romans 10:9, which reads “that if you confess with your mouth Jesus as Lord, and believe in your heart that God raised Him from the dead, you will be saved; for with the heart a person believes, resulting in righteousness, and with the mouth he confesses, resulting in salvation.
What does the word Lord mean? According to Wikipedia it means a person or deity who has authority, control, or power over others; a master, chief, or ruler. So if you confess with your mouth Jesus as Lord. (Lord over our lives, He is in charge and we are not.) If we believe God raised Him from the dead. We believe God accepted His death on the cross for our sin. He becomes our Savior.
Romans 5:8 “But God demonstrates His own love toward us, in that while we were yet sinners, Christ died for us.”
Righteousness
means to be right with God, salvation means to be delivered or rescued from
Satan, and sin, and death.
Ephesians 2:8,9 “For by grace are you saved through faith and that not of yourselves, it is the gift of God, not of works, lest any man should boast.”
John 1:12 “But as many as received Him, to them He gave the right to become children of God, even to those who believe in His name,”
What a Savior!
If you would like to know more go here.
Craft Post:
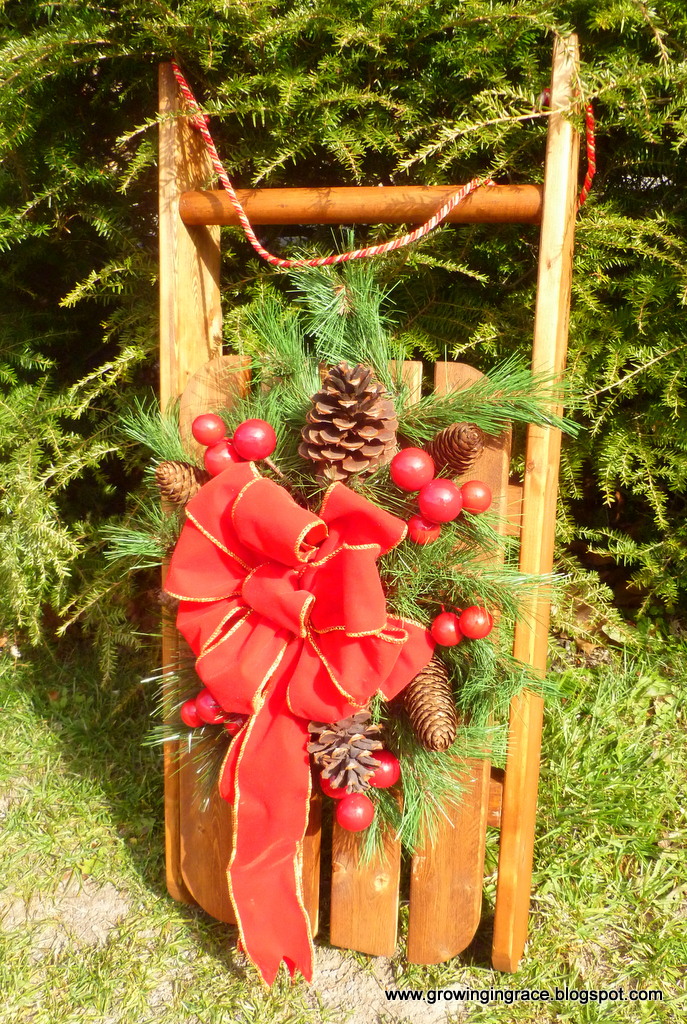 This sled is quite easy to make if you have a band saw or a miter saw, and a belt sander.
What you will need:
2 – 2 x 2 inch board at least 24 inch long to get 2 twelve inch boards.
1 – 1 x 3 inch white pine board 7 ft long
1 – 1 x 4 inch white pine board 6 ft long
1 – dowel rod 1 inch to 1 1/4 inch in diameter, 12 inches long
Stain to stain your sled. (I used Old English Minwax)
1 – roll of velvet red ribbon to make a bow. Go here to learn how to make a bow.
Rope – Craft Trim
Pine Cones and balls
Greenery
Glue gun with glue sticks.
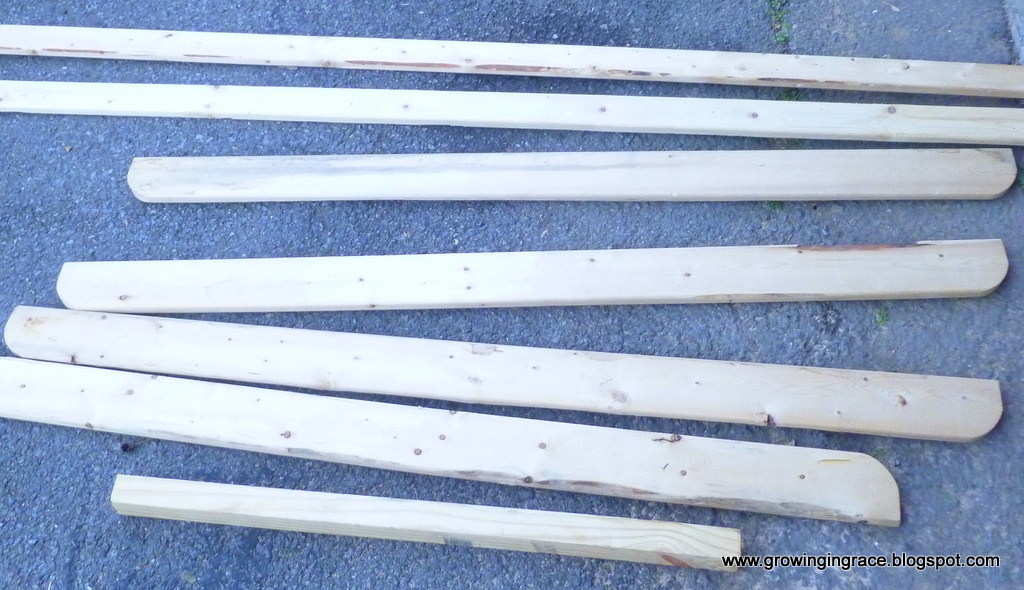
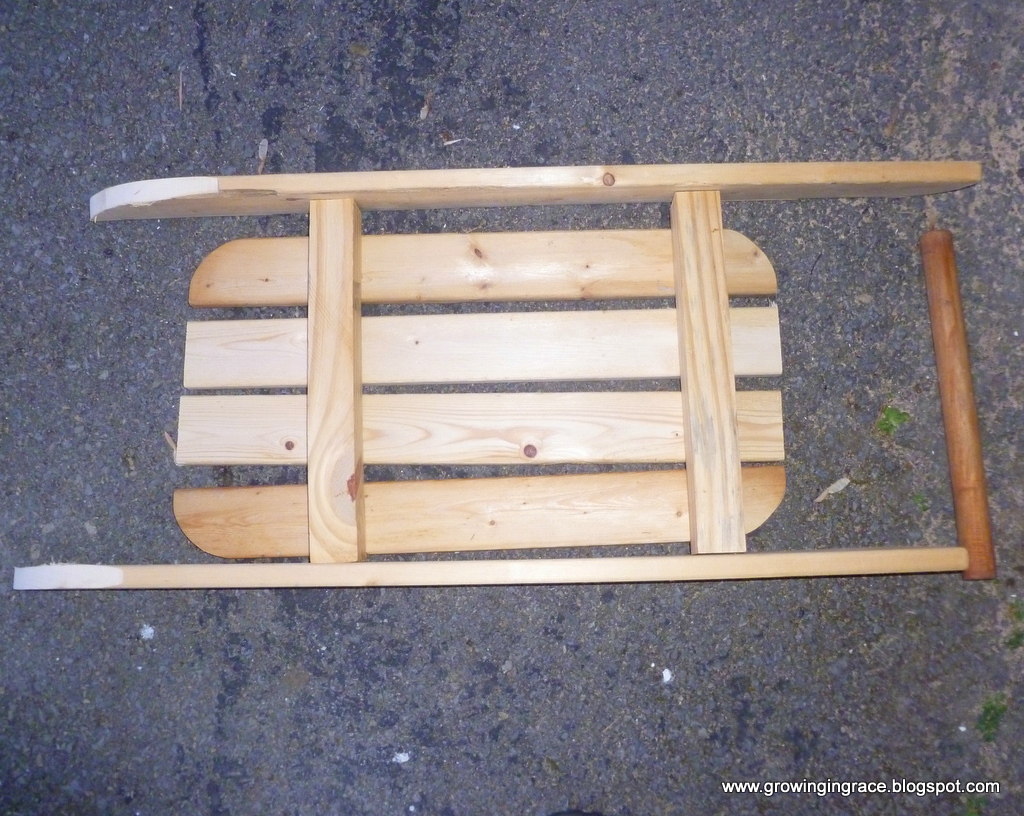
(We made this sled from scrap lumber we had on hand, as shown above. )
Cut four boards 21 inches long boards from the 1 x 3 inch white pine board that is 7 feet long. (There will be no waste on this board. You need all 84 inches of this board to make four boards.)
These boards will be the bed of your sled.
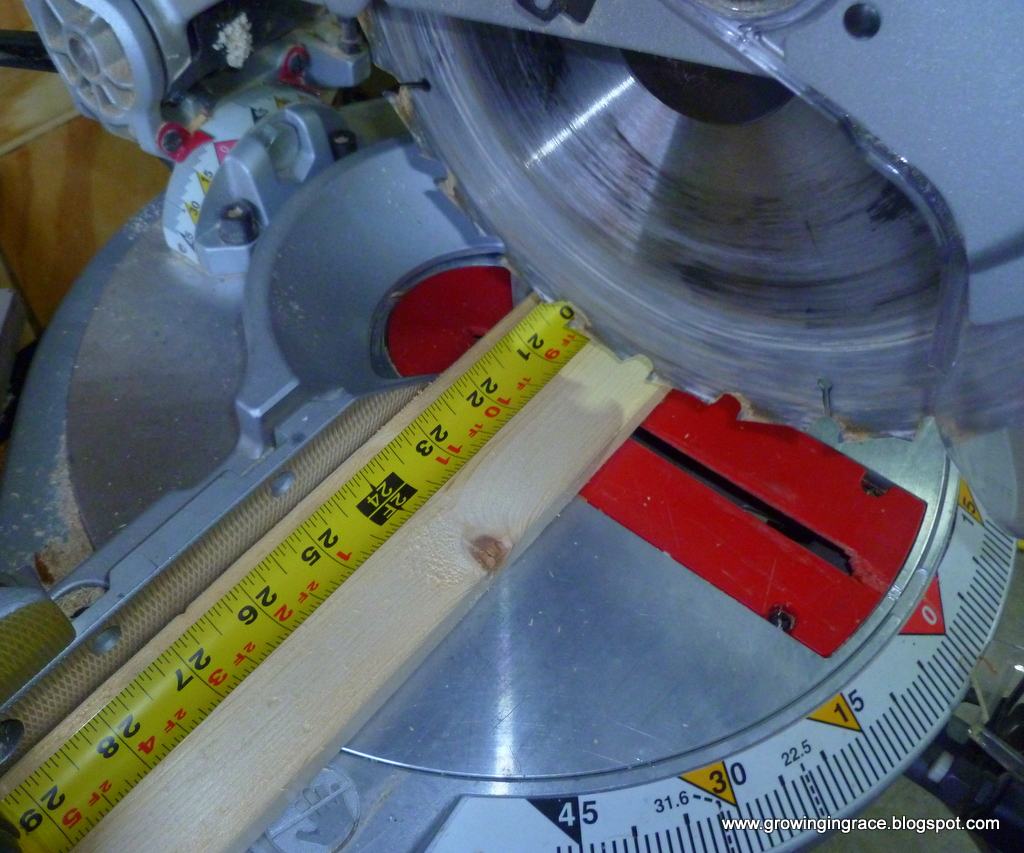
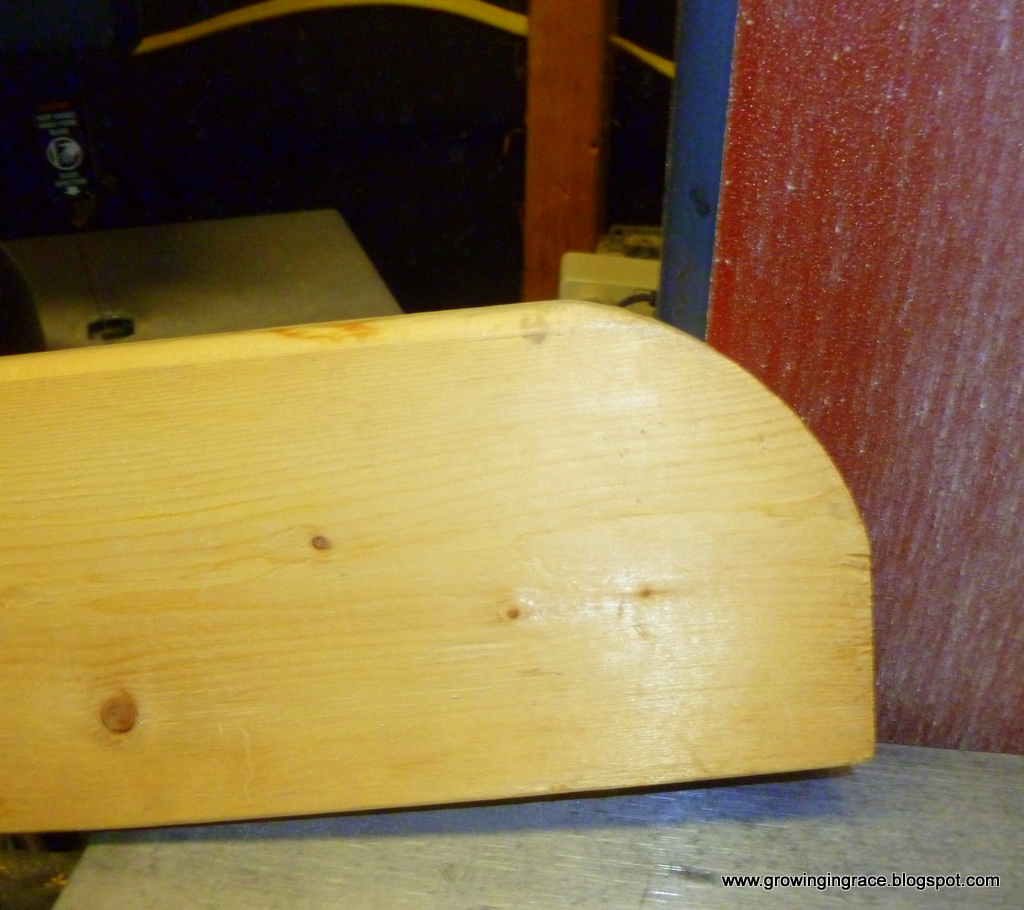
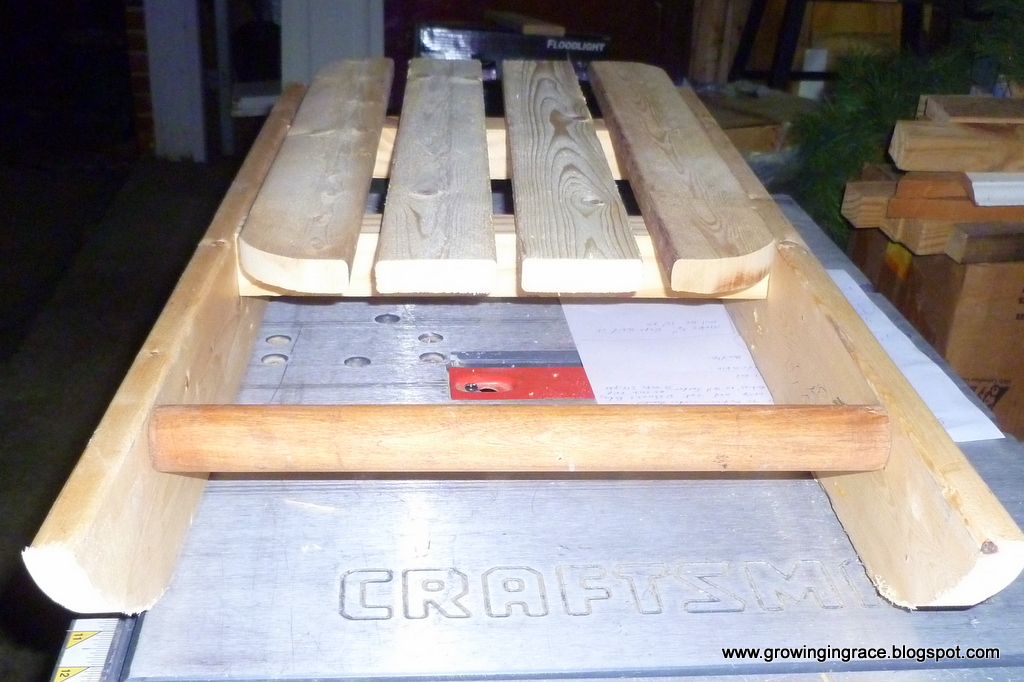
Two of the boards you are going to put a 2 inch radius on each end as seen below. Mark with a pencil.
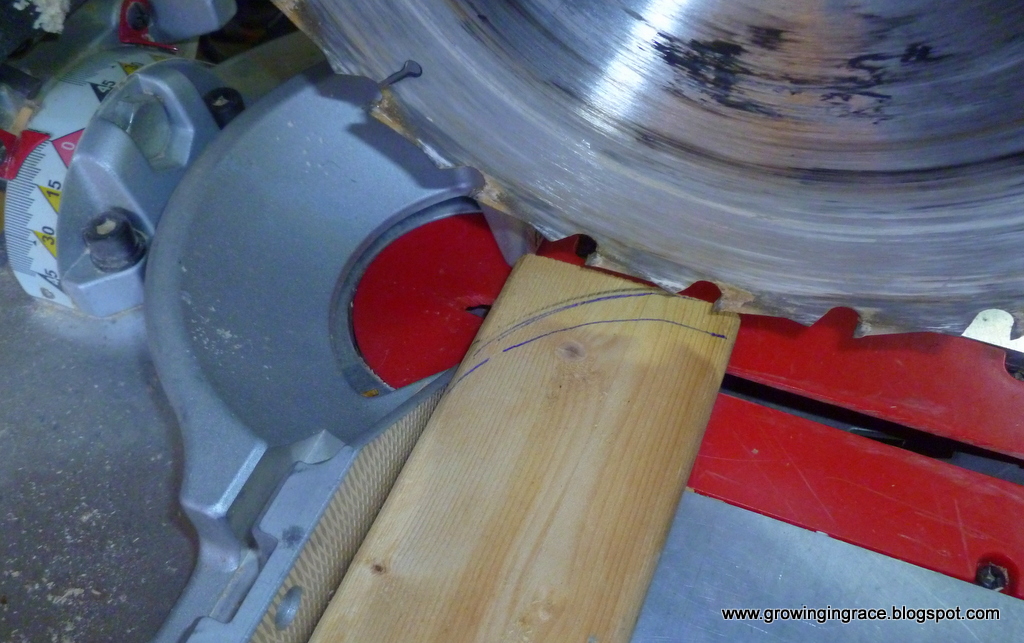
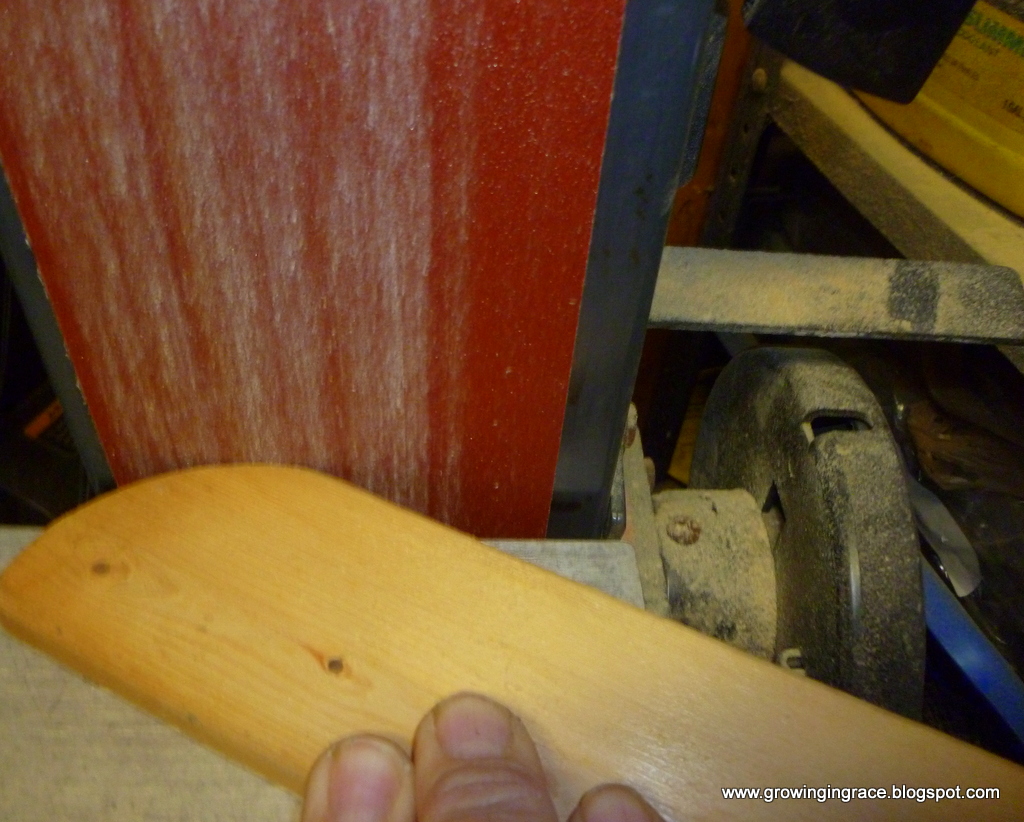
Sand the ends on a belt sander to make the radius cut smooth.
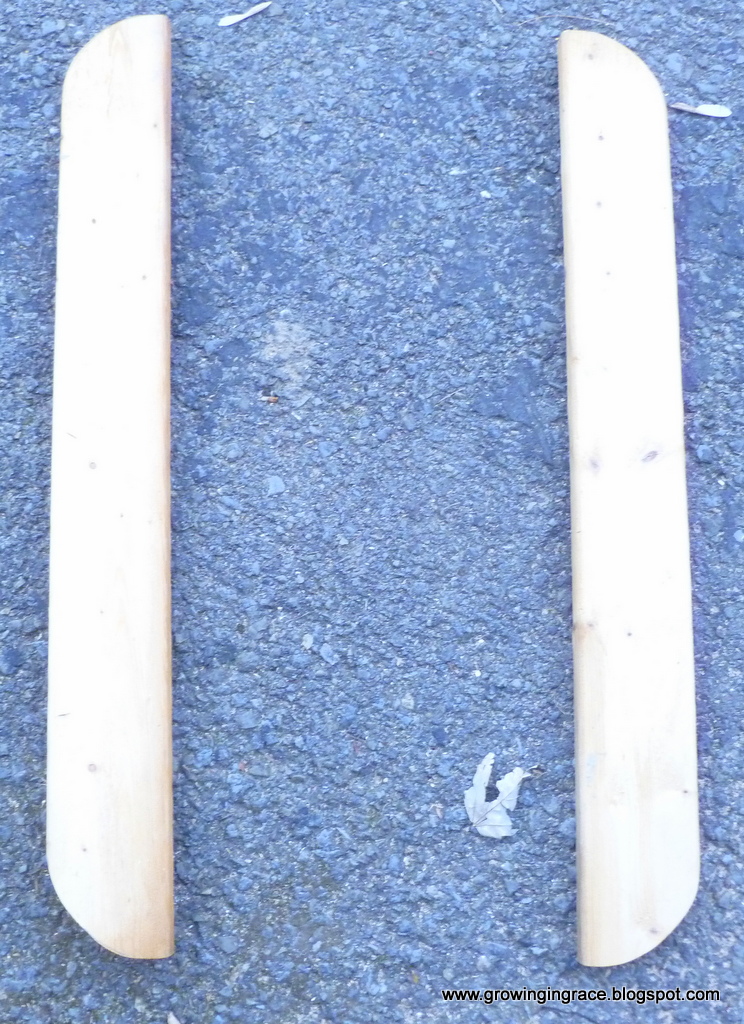
Now you have the two side boards to the bed of your sled.
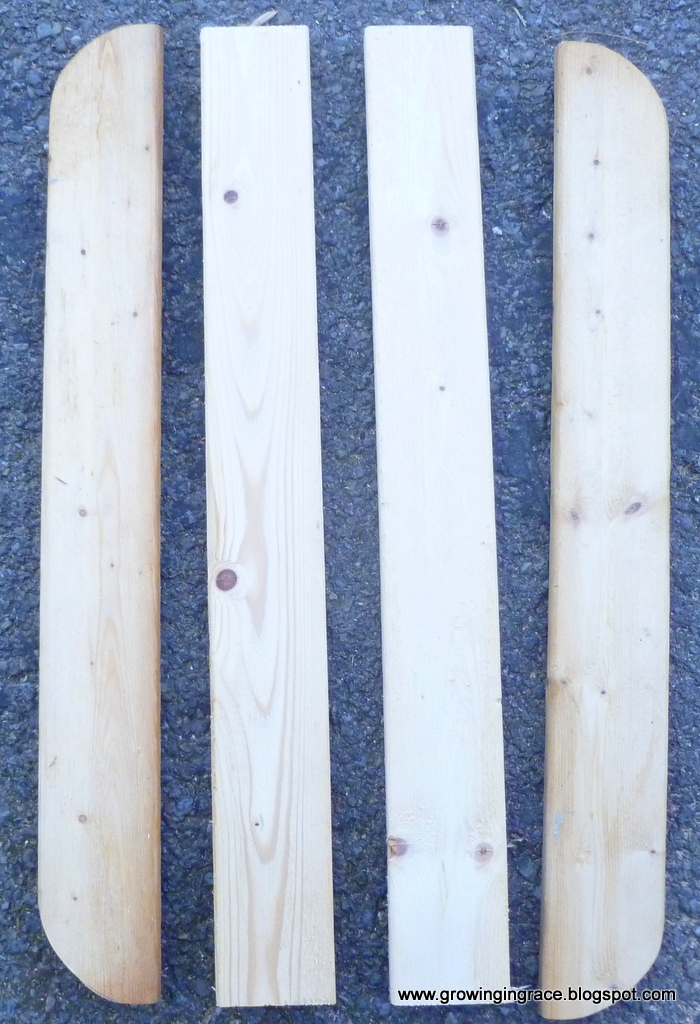
The other two boards will be the center boards of your sled.
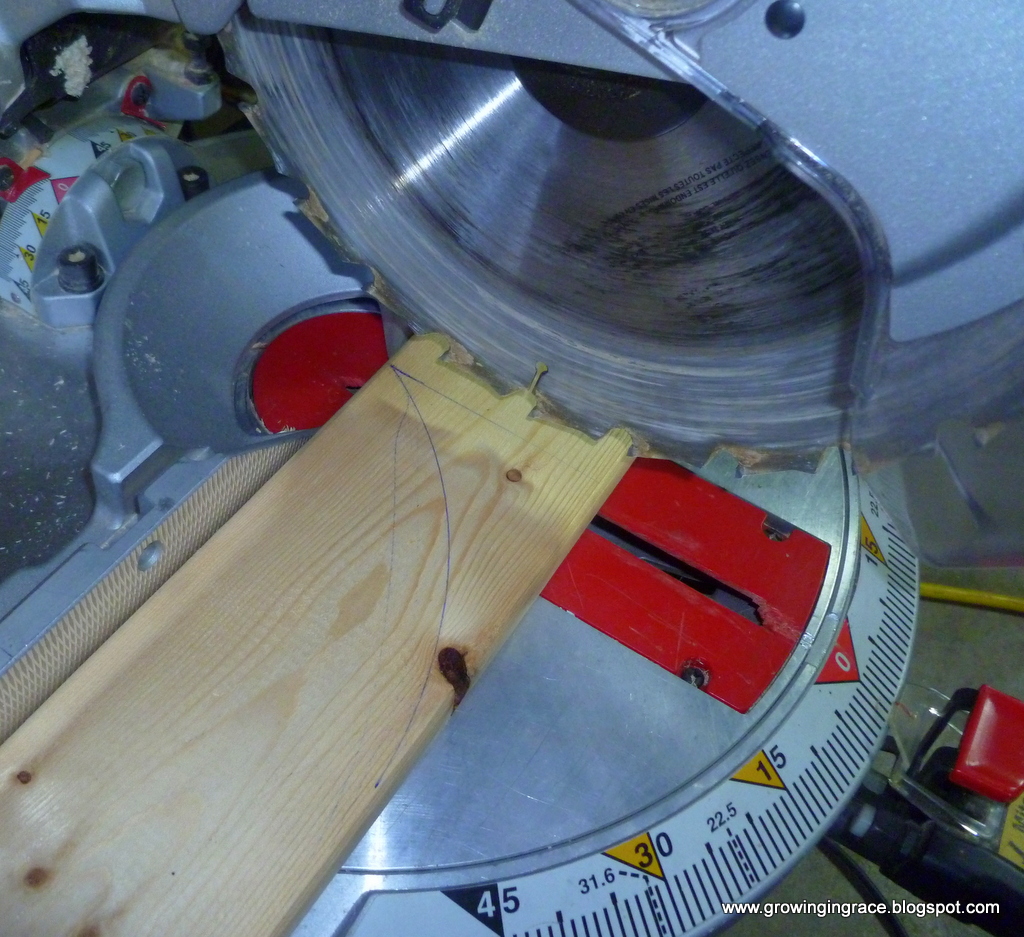
Cut two boards 31 inches long, from the 1 x 4 inch white pine board.
Then put a 5 inch radius on one end of each board, draw it on with a pencil.
(This will be the front edge of your runners of your sled.)
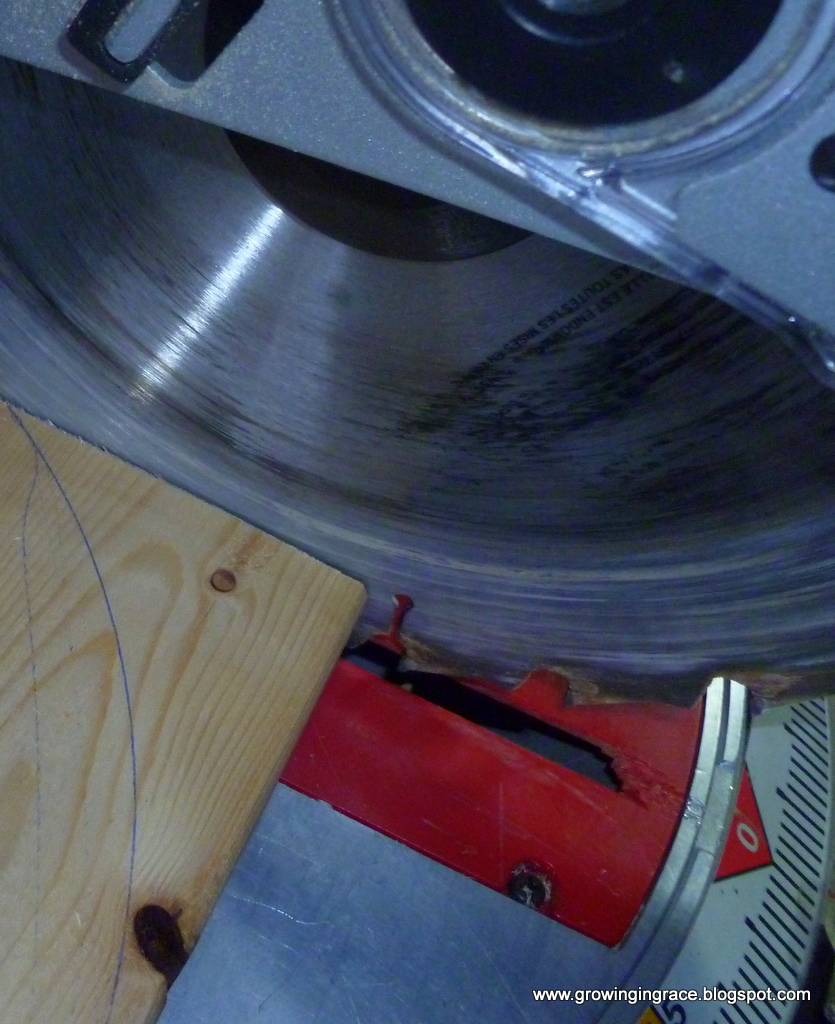
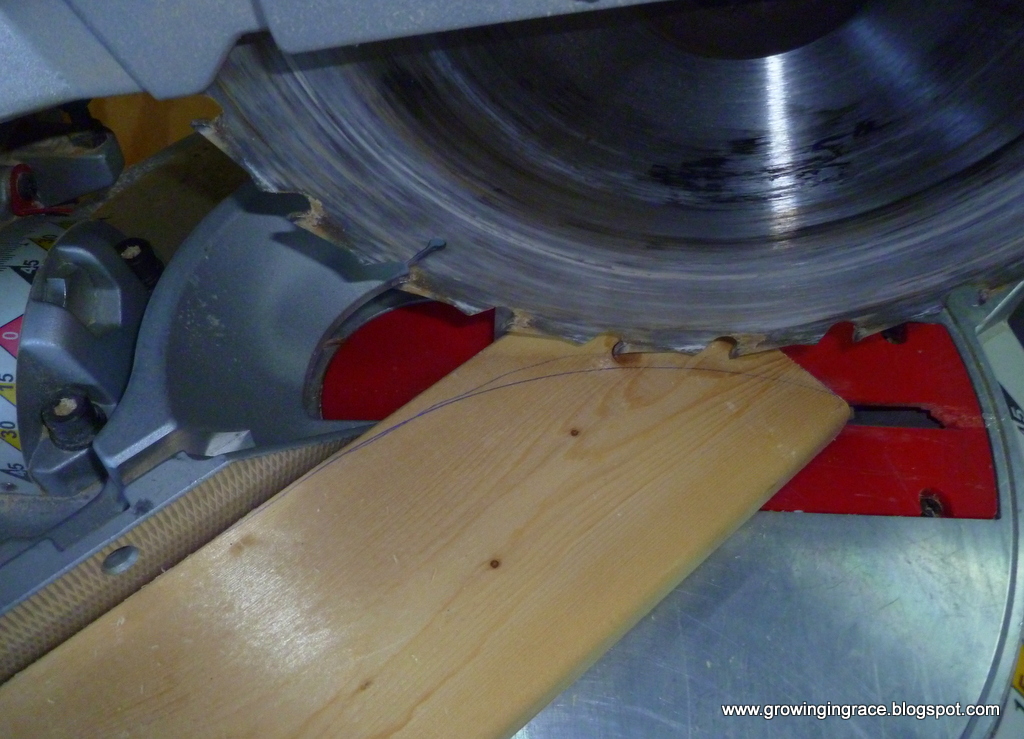
Make your basic cut with the miter saw or band saw. This will not give you the complete radius you need so you will need to finish the radius cut with the belt sander.
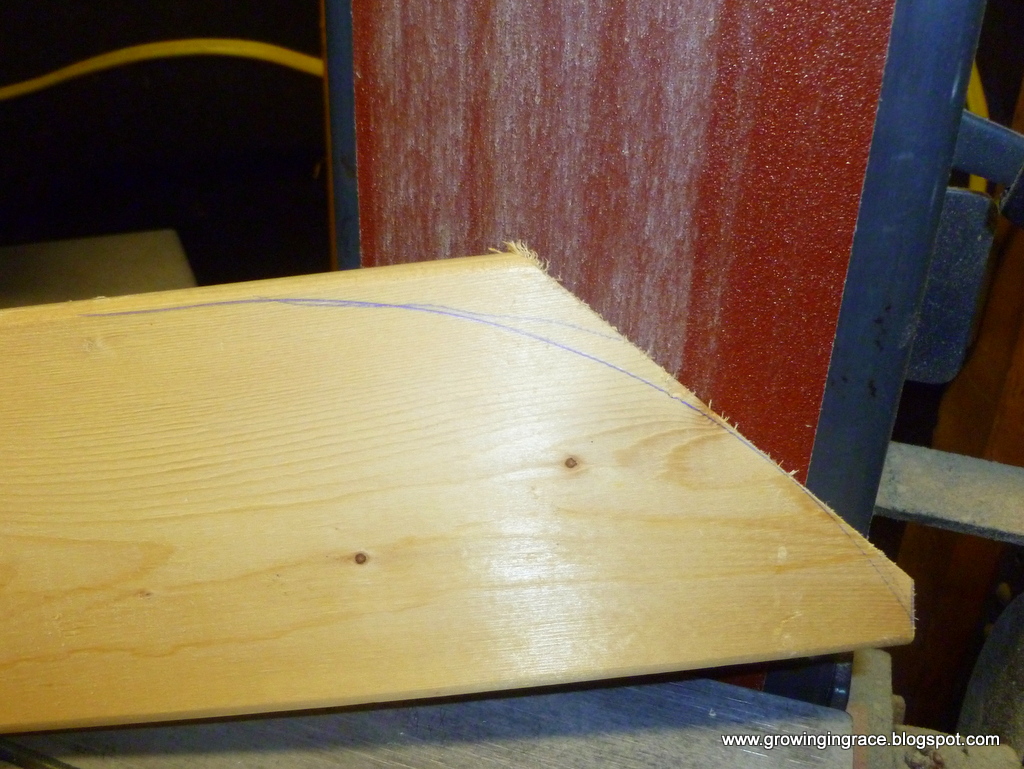
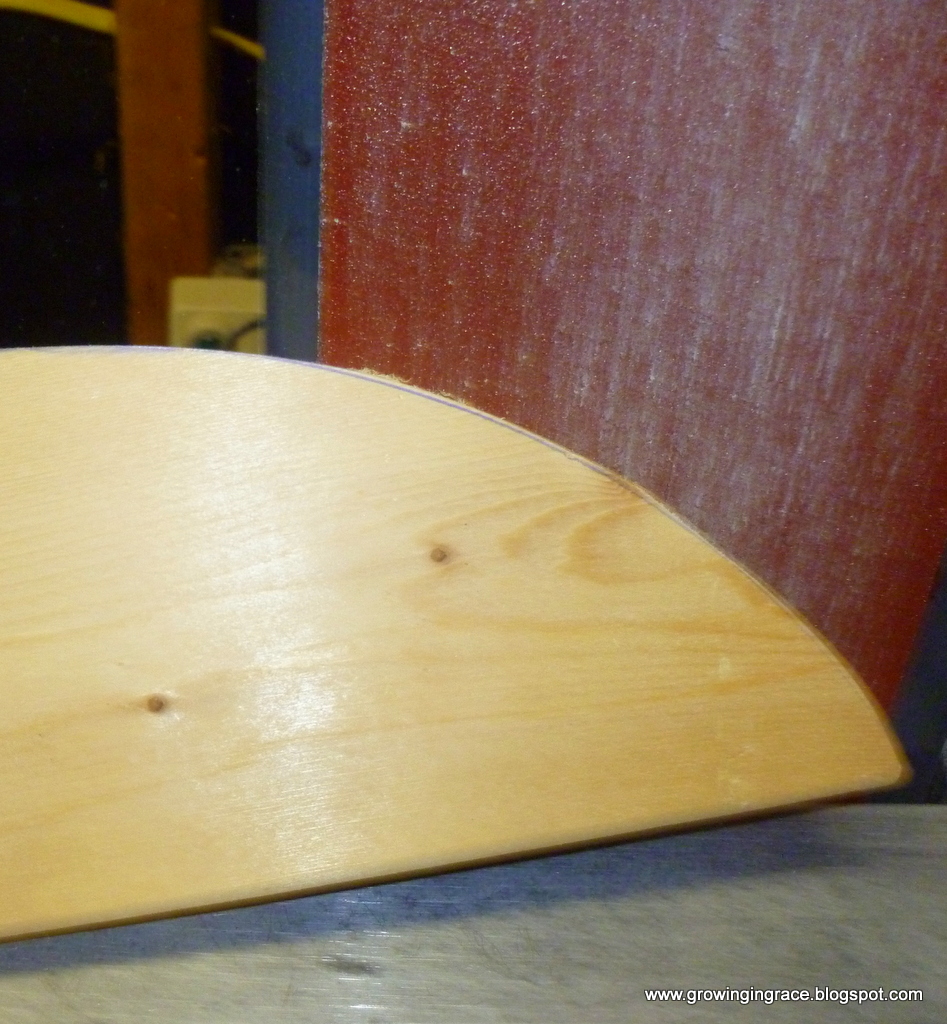
On the back edge of your runners put a 3 inch radius. But make sure this cut is going on the opposite edge of the board. See picture below.

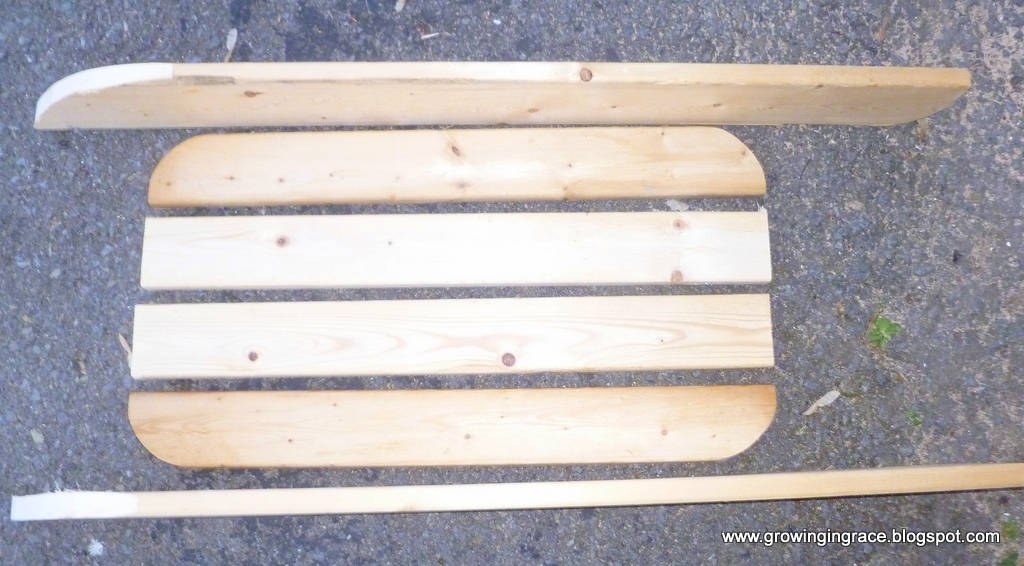
Now you have your two runners and your four boards for your sled bed.
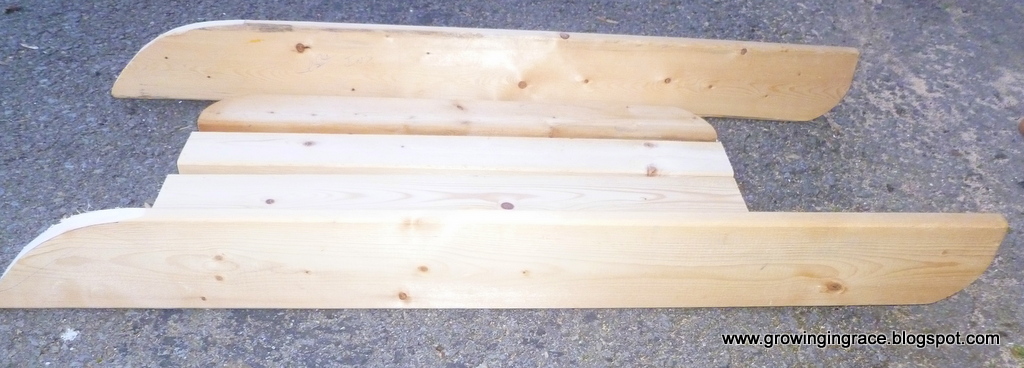
Next cut 2 – 2 x 2 boards, twelve inches long.
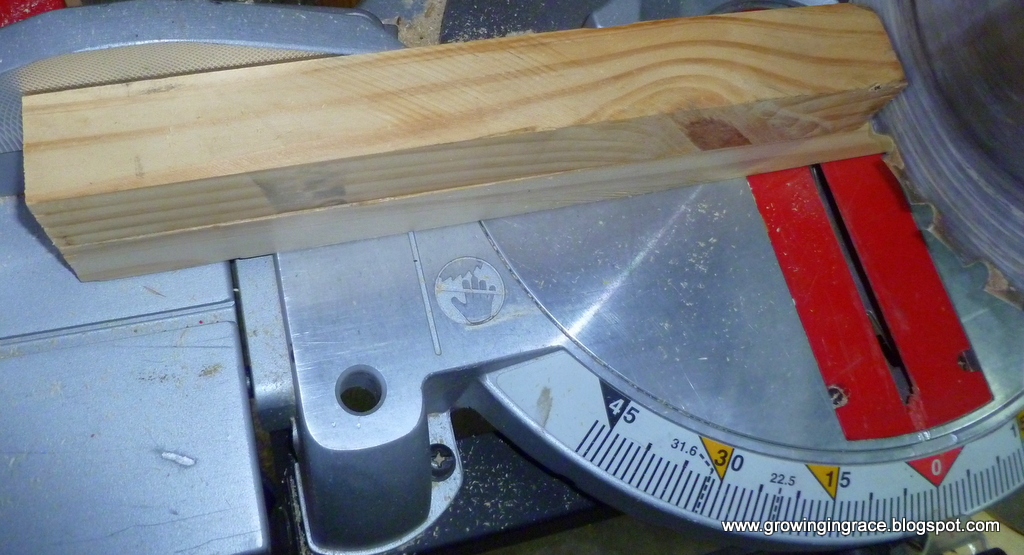
These are the boards that will attach your sled together.
Next cut your dowel rod 12 inches long.
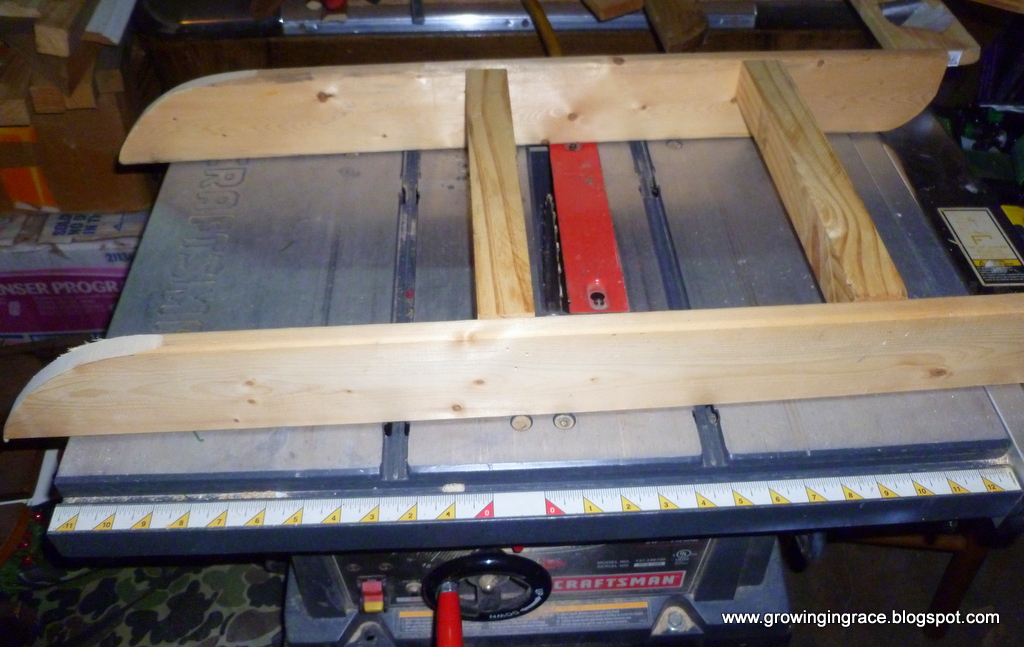
Now you are ready to assemble your sled.
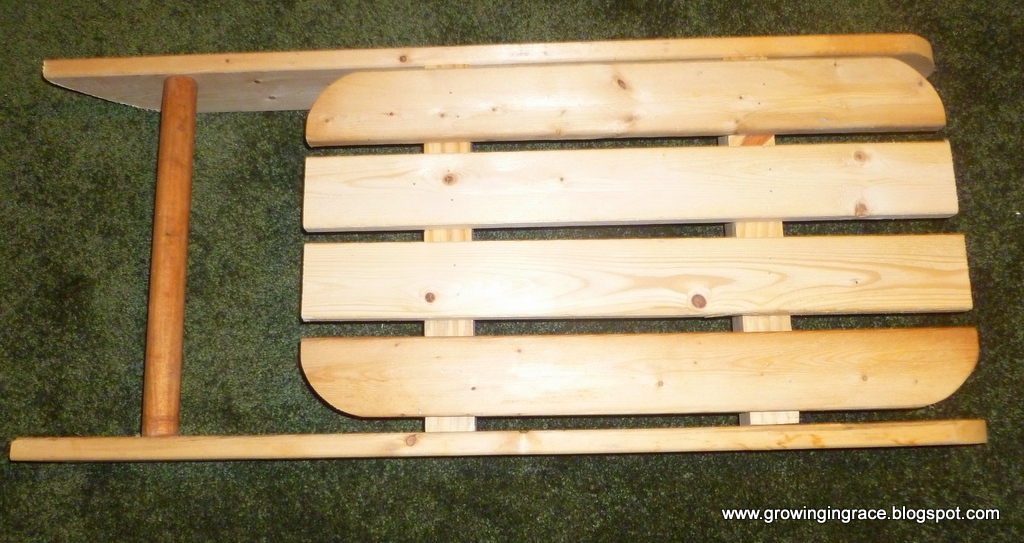
The first 2 x 2 board place 13 inches from the end of the 5 inch radius edge. Place the second 2 x 2 board 9 inches from the first 2 x 2 board. Nail or screw the boards in place.
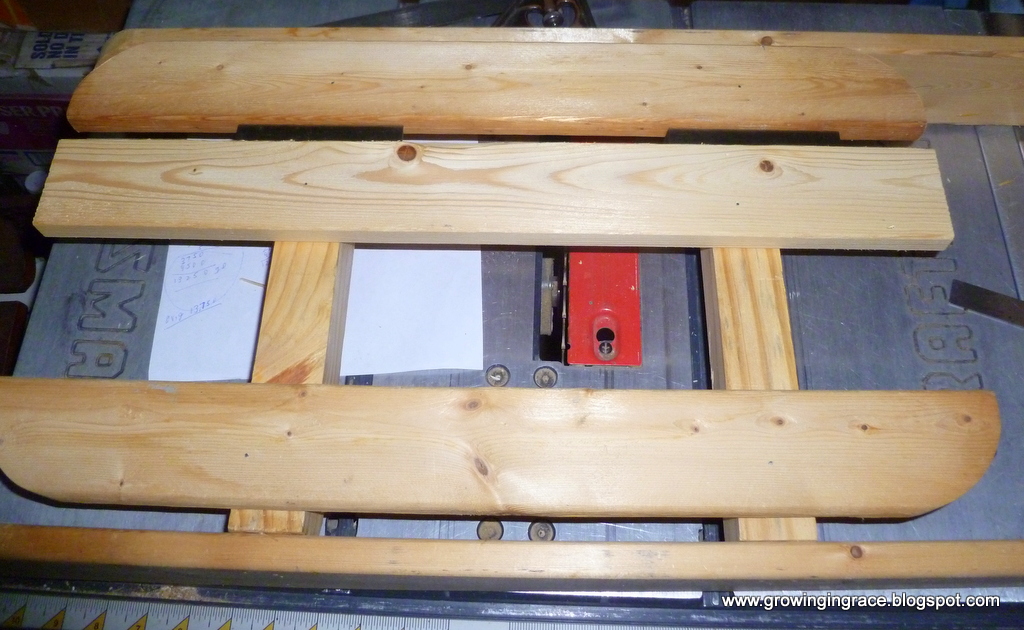
Next beginning with the outside bed boards place them 1/2 inch in from the inside edge of runner and 9 inches from the end, then nail or screw in place, as shown above. Then add your inside boards placing them approximately 1/2 inch apart. Nail or screw in place.
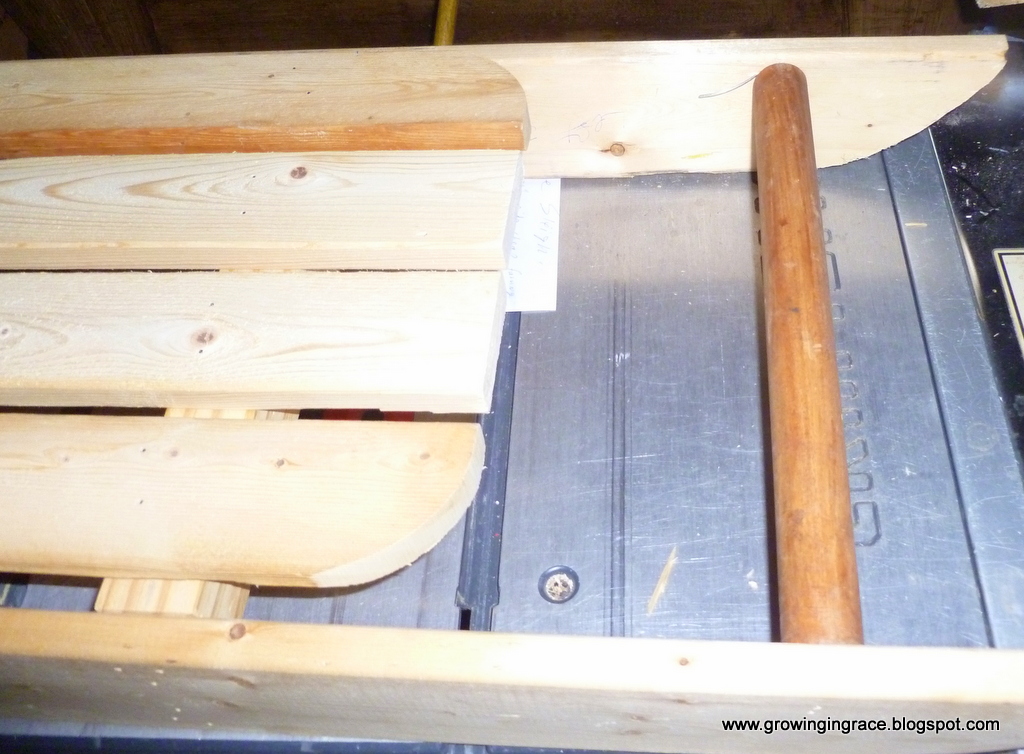
Add your dowel rod, placing it 4 1/2 inches from the end and 3/8 inch from the top.
Smooth all edges with #200 sand paper.
Drill a hole on each runner board 2 inches from end and 1 inch from top to put
your roping through on each side.
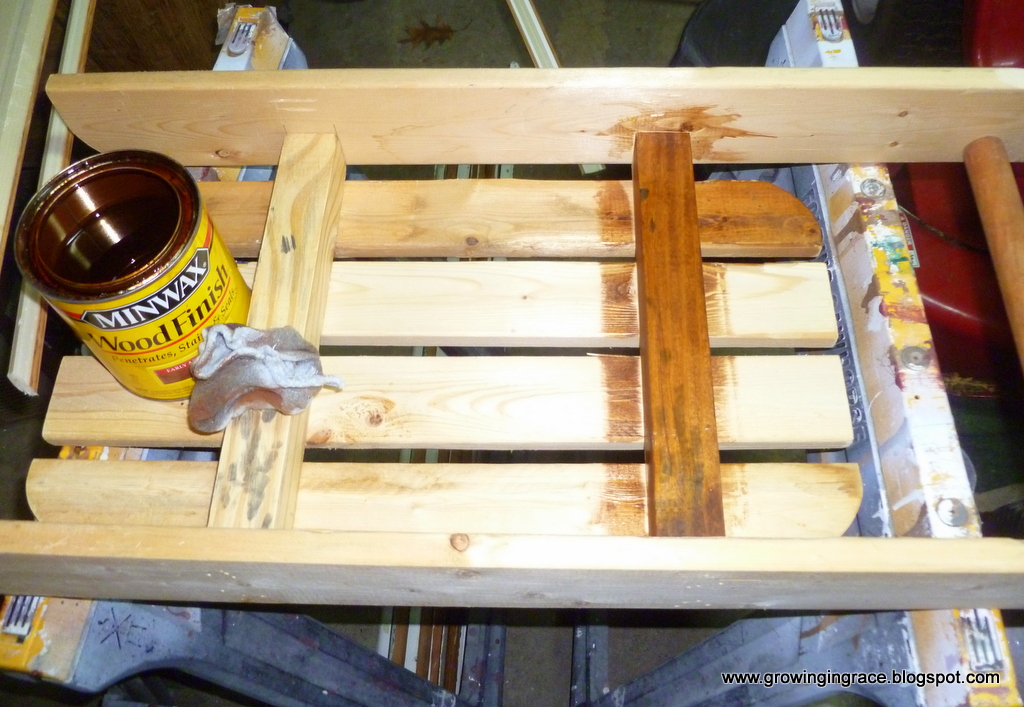
Now you are ready to stain your sled. Use a rag to apply your stain. Let dry completely.
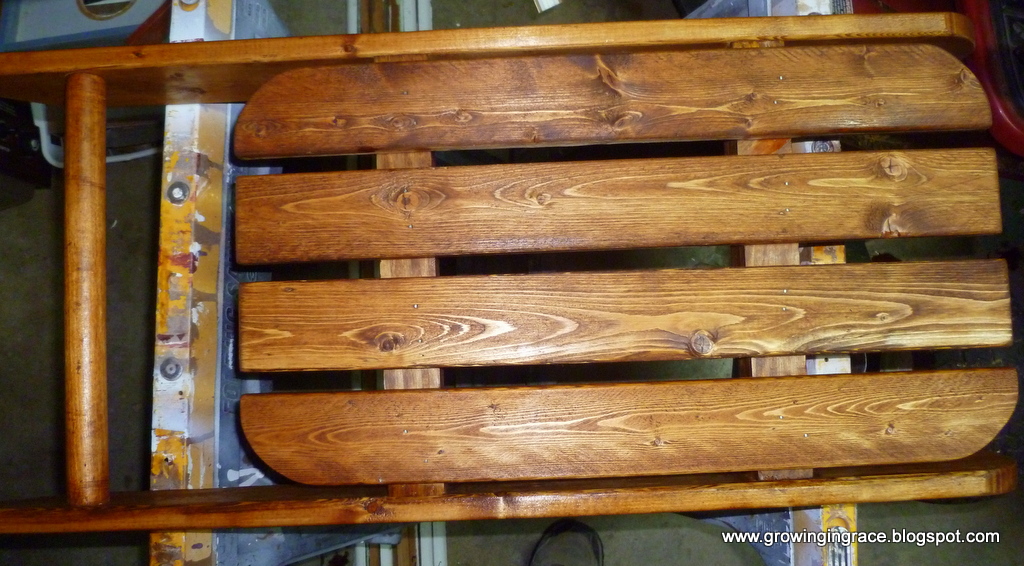
Next you are ready to put your final touches on.
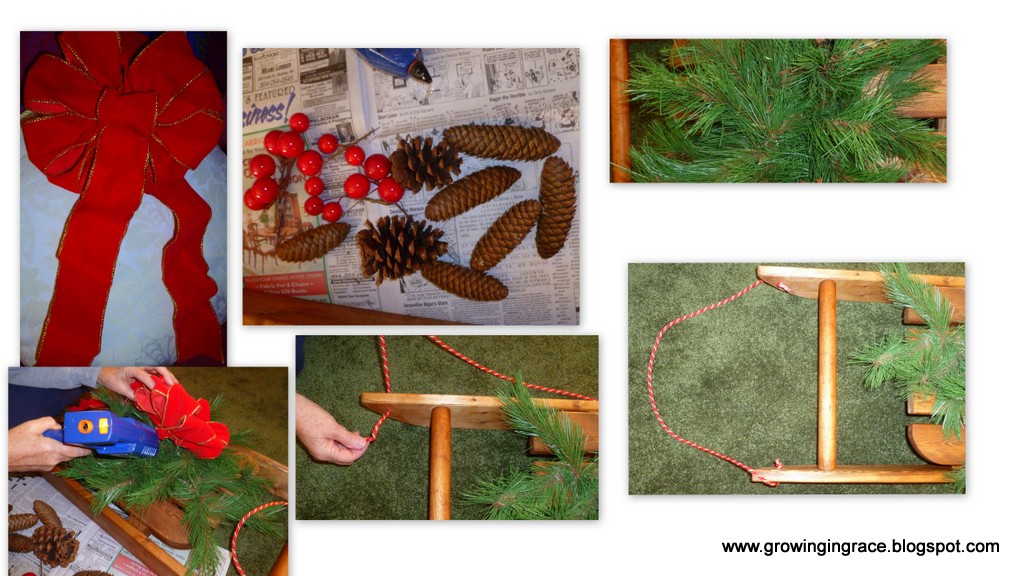
The pictures below show the process of putting the final touches on your sled.
1. Measure out 36 inches of roping for top of sled. (put scotch tape on each end so it will not unravel and that the edge of the the rope will go through the holes easier.)
2. Make your bow. (For instructions on making your own bow go here.)
3. Assemble the glue gun, pine cones and balls to go on sled along with the greenery.
4. Place greenery on sled as shown in picture. (Staple greenery to sled.)
5. Place bow in the center of the greenery. (Hot glue it in place.)
6. Glue pine cones and balls on greenery as seen in pictures.
7. Put roping through the hole as seen in the picture below, tying a knot on edge after you get it through the hole.

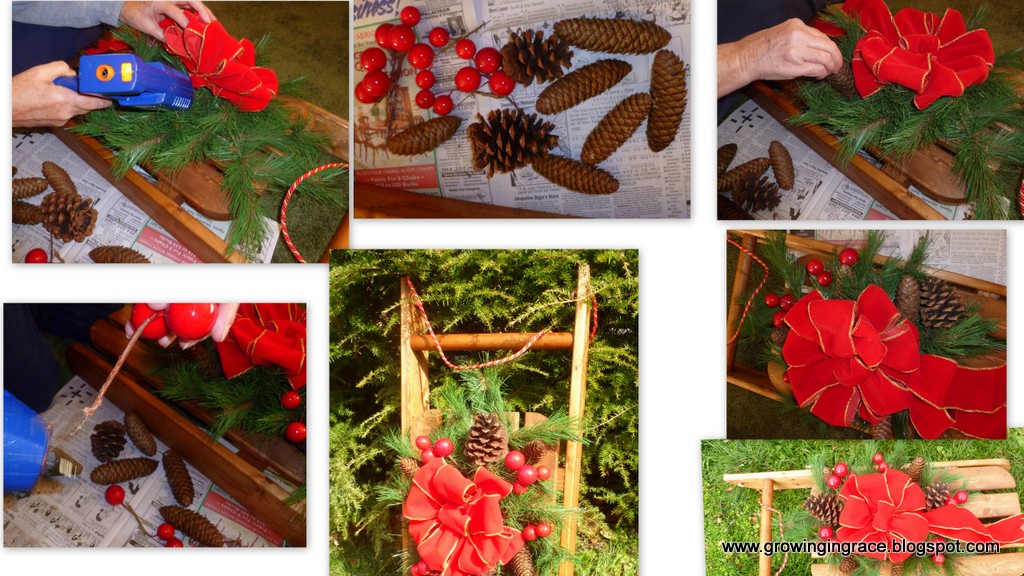
You have completed the Christmas Decorative Sled.
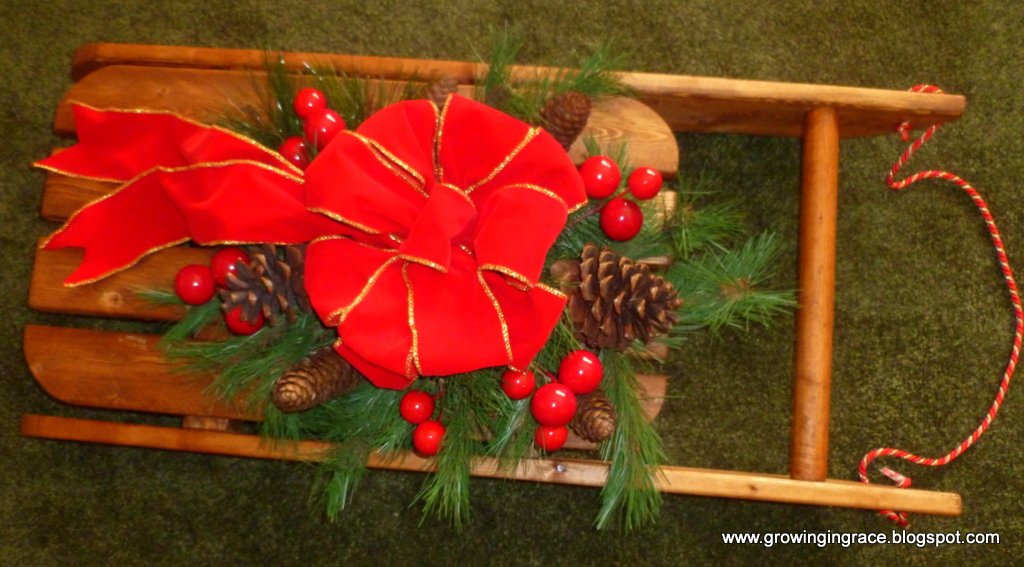
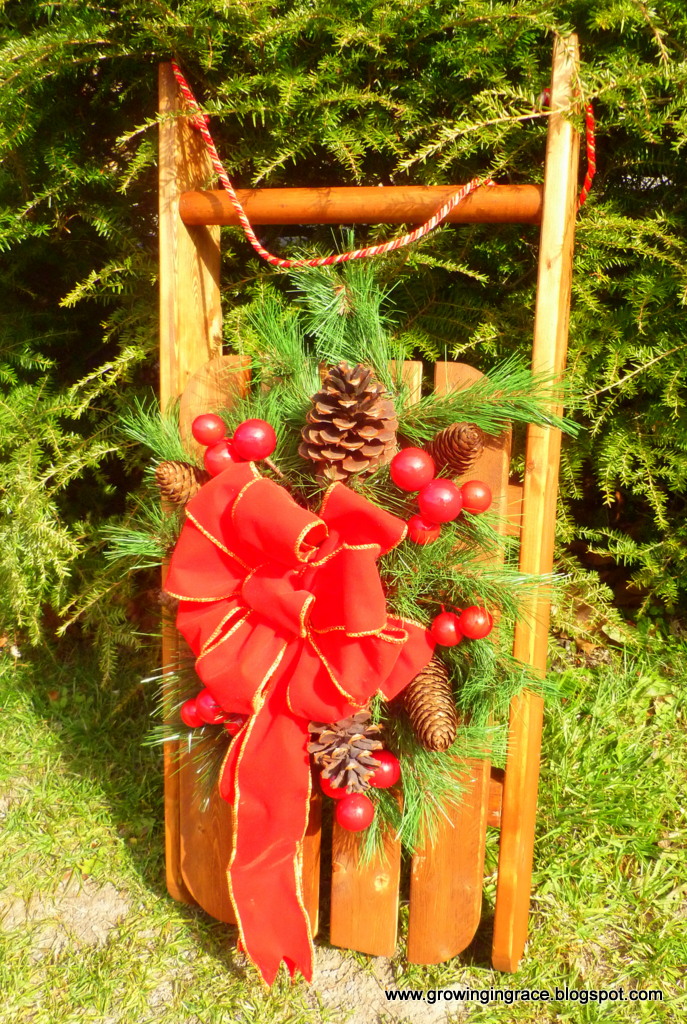
We have made several of these sleds and have given them as gifts to our children and other family members, as well as friends. I think they are a special gift to share with others. A gift that can be displayed all winter long. So if you are looking for a special gift that you can make yourself, why not make this decorative sled. I am sure the receiver of the gift will really like it.
Blessings,

Parties I Link Up To:
w-t-fab – Sunday
Between naps on the Porch,penny-pinching-party;I’m an Organizing Junkie;The Dedicated House; Beauty and Bedlam;Ginger Snap CraftsIt”s So Cheri
InLinkz.com
OMGosh! That is so cute! Thank you for sharing. Would love it if you would share this at my Make it Pretty Monday party at The Dedicated House. http://thededicatedhouse.blogspot.com/2012/11/make-it-pretty-monday-week-25.html Hope to see you at the bash! Toodles, Kathryn @TheDedicatedHouse
Thank you so much Kathryn for your comment and for your invitation to the party at The Dedicated House.I so appreciate. Blessings to you, Jo-Ann
This is beautiful! Would love if you'd join our Countdown to Christmas link party! Hope to see you there! Have a great week! 🙂
http://dixie-n-dottie.blogspot.com/2012_11_27_archive.html
Thank you so much, Dixie n Dottie for viewing my post and for the encouraging comment you left. Thank you also for your invitation to the Countdown to Christmas link party. Blessings to you, Jo-Ann
Just lovely. I am jealous.
Thank you BarbaraLee, for your visiting my blog and for leaving such an encouraging comment. Blessings, Jo-Ann
I'm jealous too! Just added another to my honey do list!
I am glad you like it. Our honey's to do list seems to always be growing. Thank you for visiting my blog and for leaving a comment. Blessings, Jo-Ann
BEAUTIFUL!!! Love that you made the sled from scratch!
Thank you Laura, So glad you like it. We really like it as well. Thank you for viewing it and for leaving a comment. Blessings, Jo-Ann
Wow! How fabulous is this!
Kindest regards,
Jennifer
Thank you so much. Blessings, Jo-Ann
I forgot to get mine out…Looks good. Where do you have yours?
I have it by the door as you come into the house. Thank you for your comment. Blessings, dear one,Jo-ann