Scripture to Live By:
Therefore laying aside all malice, all deceit, hypocrisy, envy, and all evil speaking, as newborn babes, desire the pure milk of the word, that you may grow thereby, If indeed you have tasted that the Lord is gracious.
1 Peter 2:1-3
Sewing Post:
I have this dress that I have not worn for a long time because it was to small and it needed six new buttons sewn on it. Now that I have lost 15-16 pounds, I decided it was time to purchase some buttons and sew them on. I like doing things fast so I got out my sewing machine and decided to sew the buttons on using the machine. Here is how you do it:
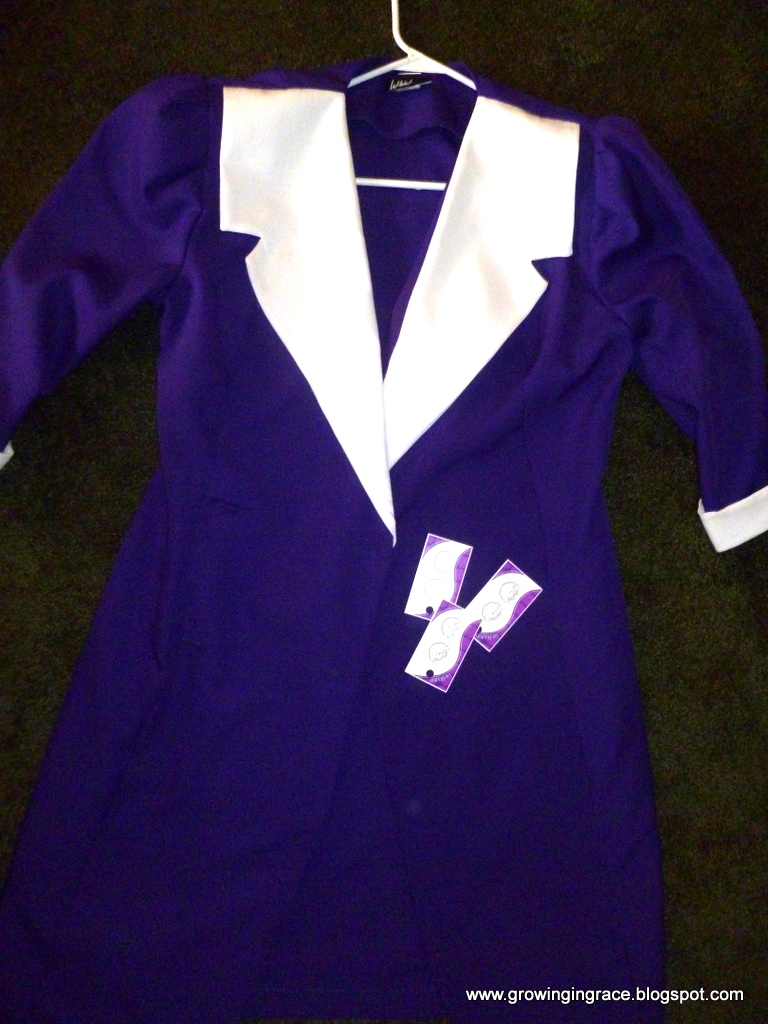
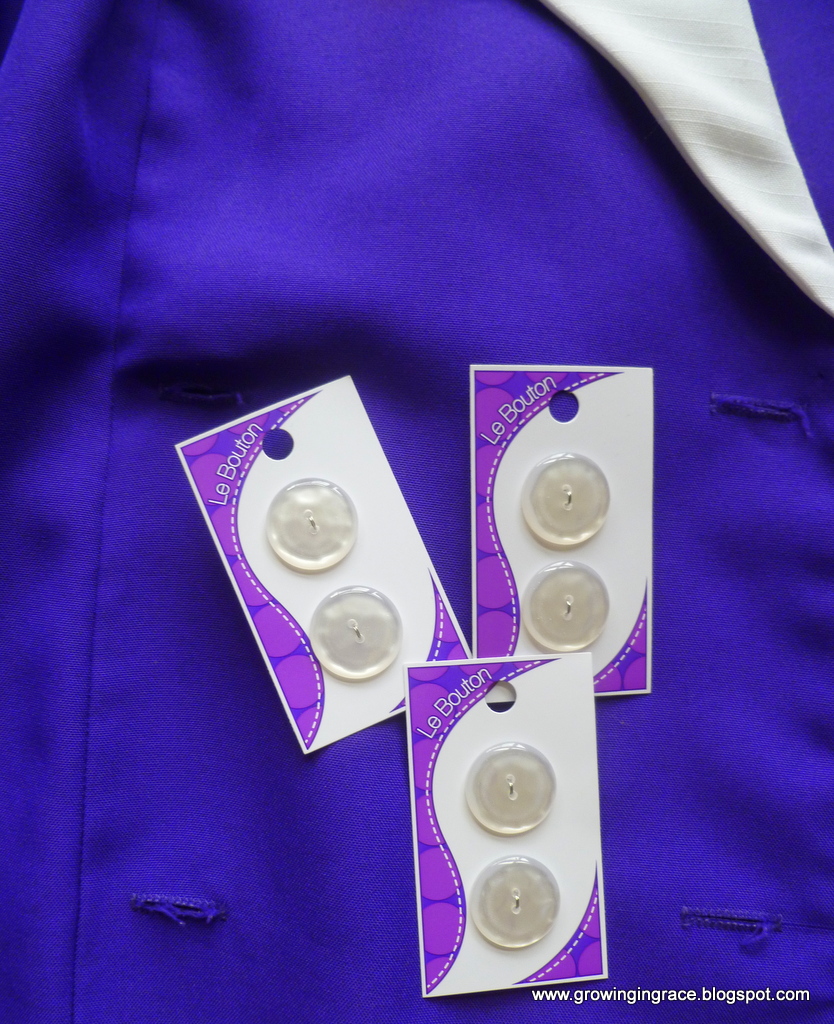
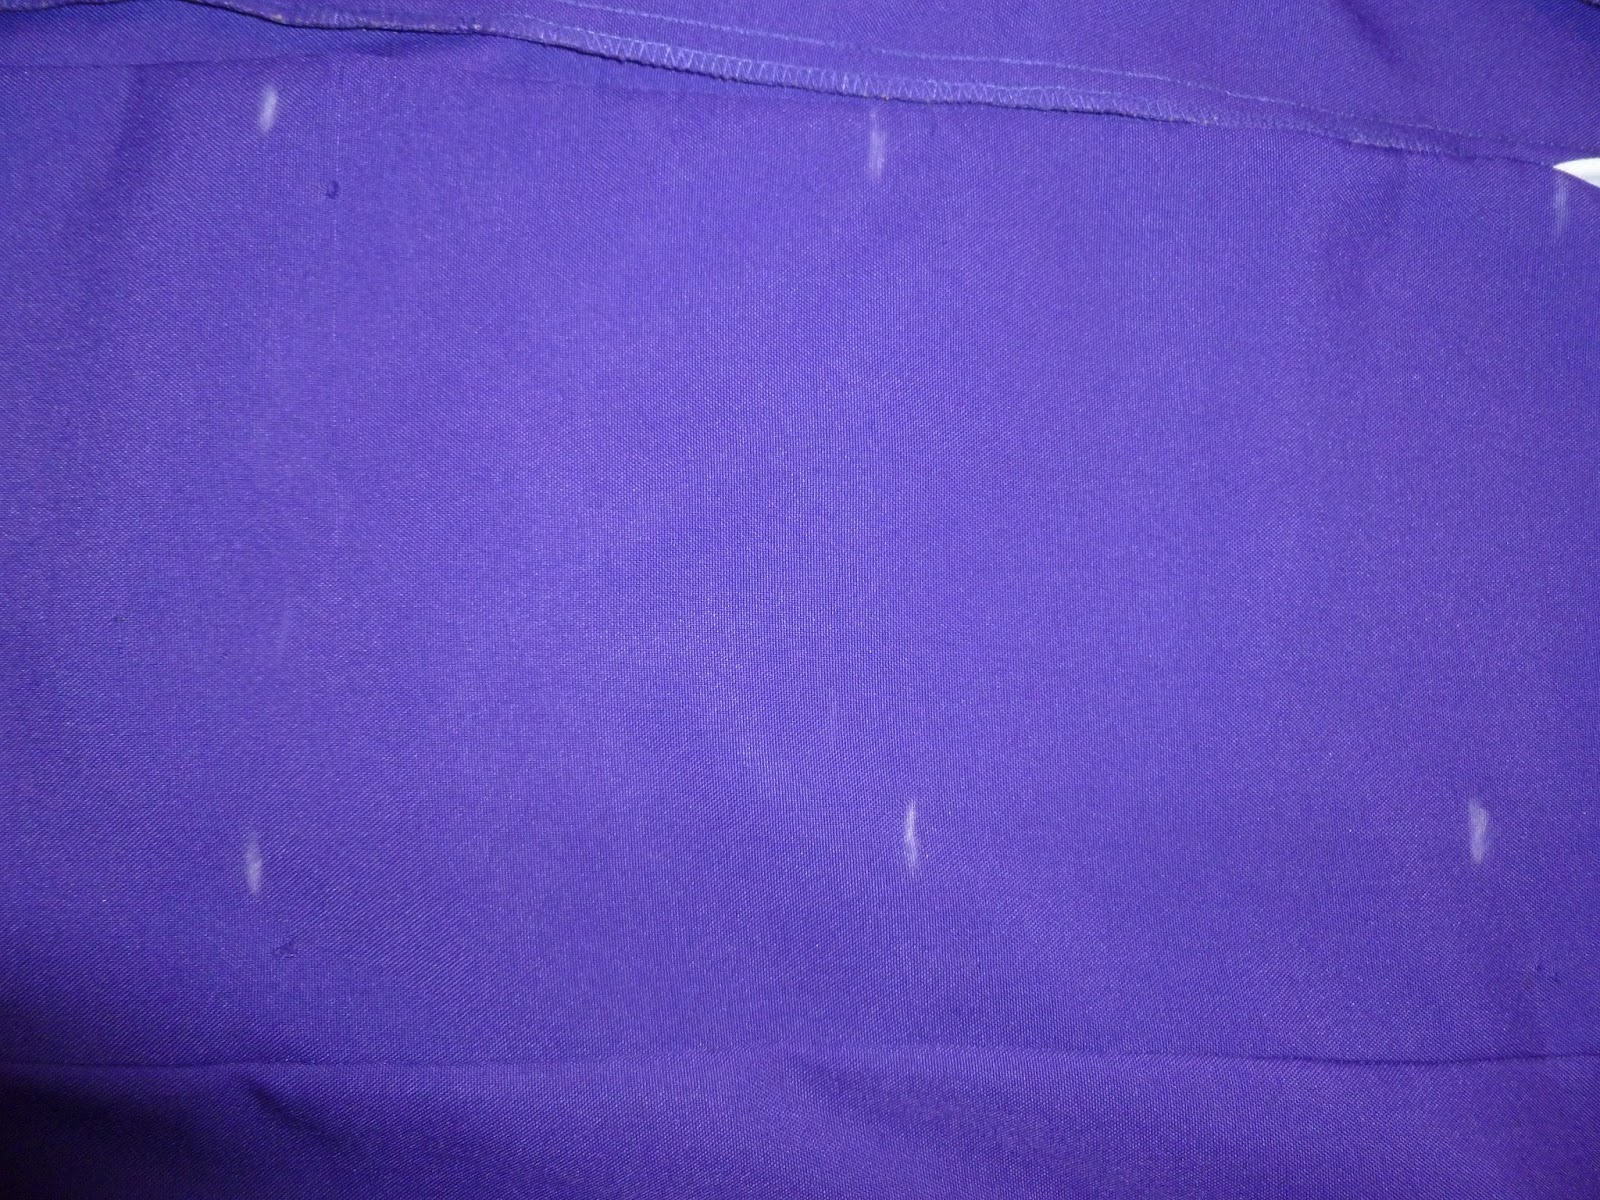
First, markwith a marking pencil (white) where the buttons are suppose to go by laying the dress on a flat surface, the way the dress would look if you were wearing it, and stick the marking pencil through the button and mark the material underneath. This is where you will sew your button so it matches perfectly with the button hole.
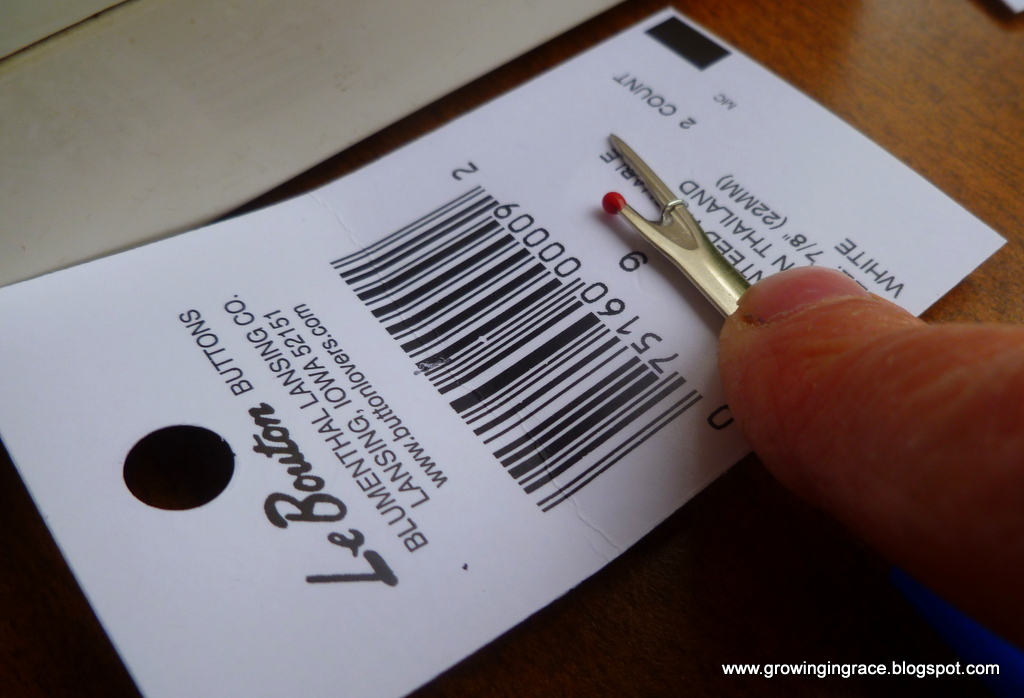
Next, I removed the buttons from the paper they were attached to. I used stitch ripper so I could open up the wiring that held them on the paper.
Now I was ready to sew the buttons on the dress.
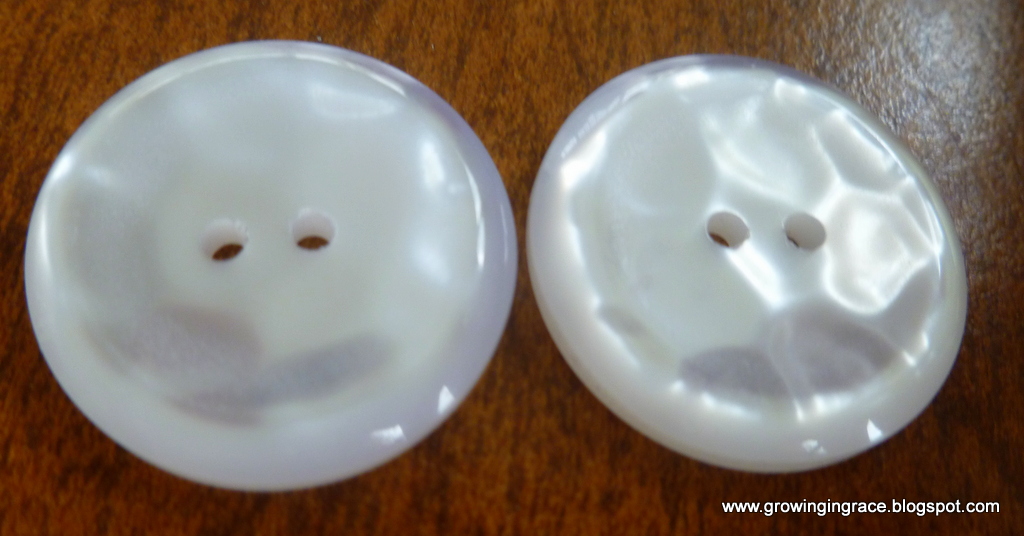
If you have a machine that has a button hole maker on it, set it to the 1/3 setting as seen below. This will make your needle move from side to side.

The foot I used on my machine is the button hole foot and/or zigzag foot.
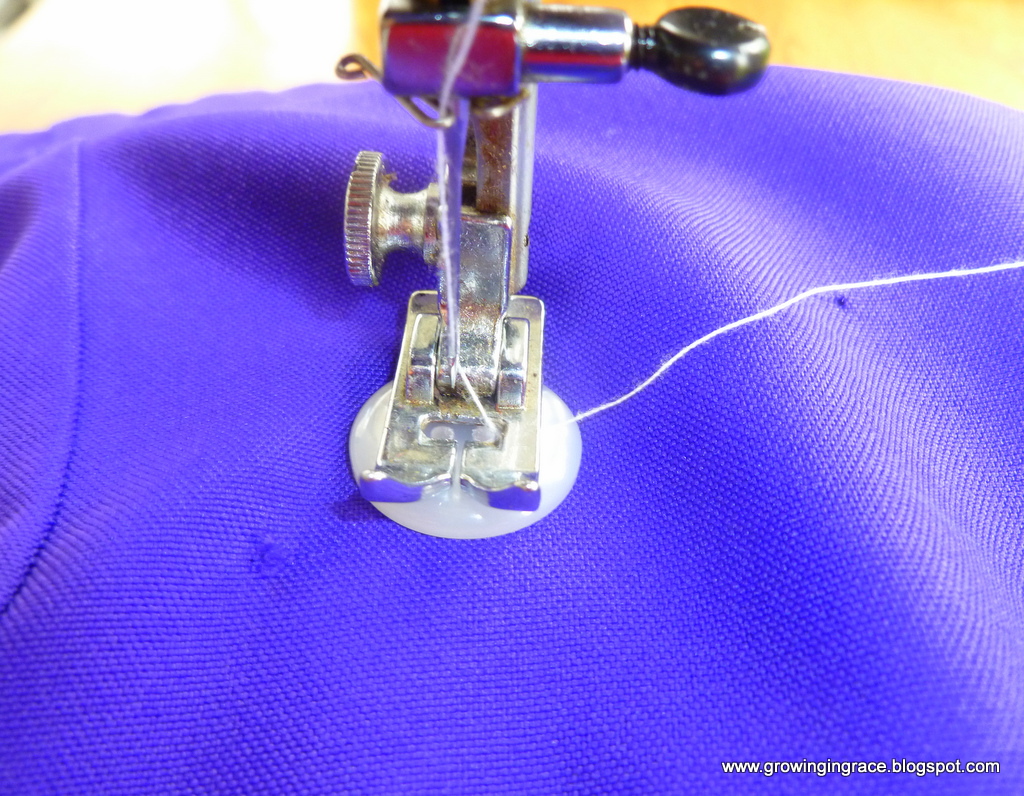
Place the mater under the foot on your machine where you have drawn the line on your material. Center the line in the middle of you foot opening. Then slide your button under the foot. Line up the holes of your button in the center of the foot opening as seen above. Slowly lower your needle into one of the holes then bring it up out of your material and lower it into the other hole. If the needle doesn’t hit the button itself as you lower it into the holes of the button, you can continue to sew your button on. If it touches the button., as you lower it, adjust your button until the needle goes in both holes with out touching the button itself. (If the needle is hitting the button, it might break the button.)
Let the needle go in and out of the holes approximate six to eight times. Then remove your material, with button on it, out from under the machine foot. You will see two threads on the top of your button.
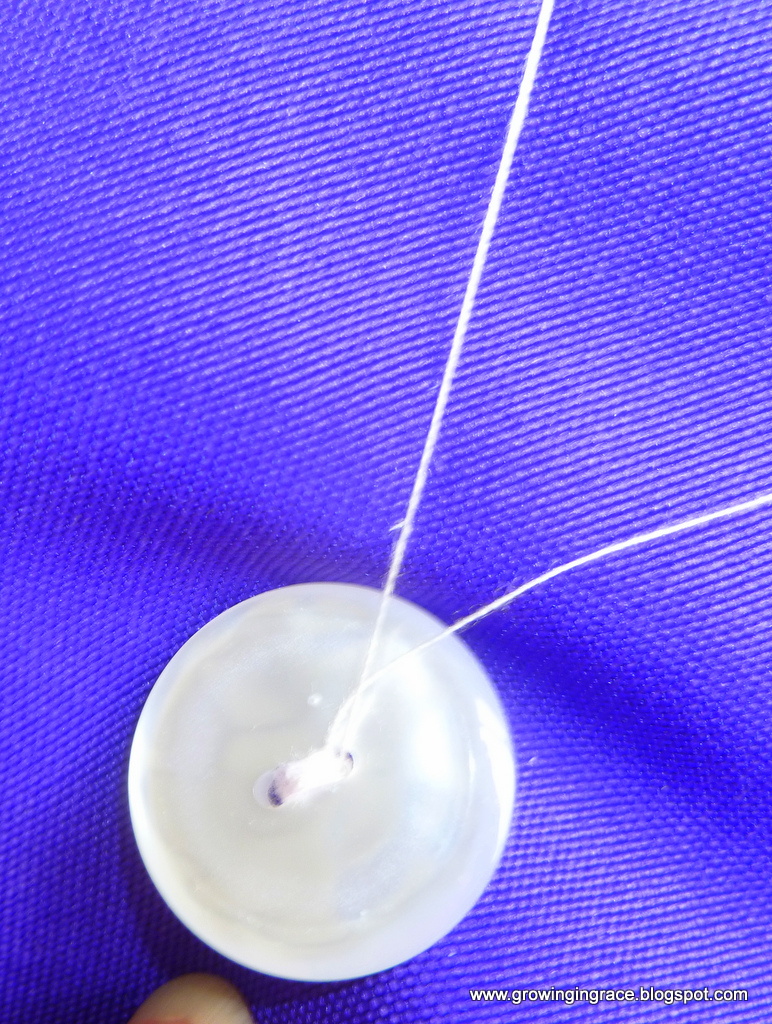
There will also be two threads on the back side of the material as well.
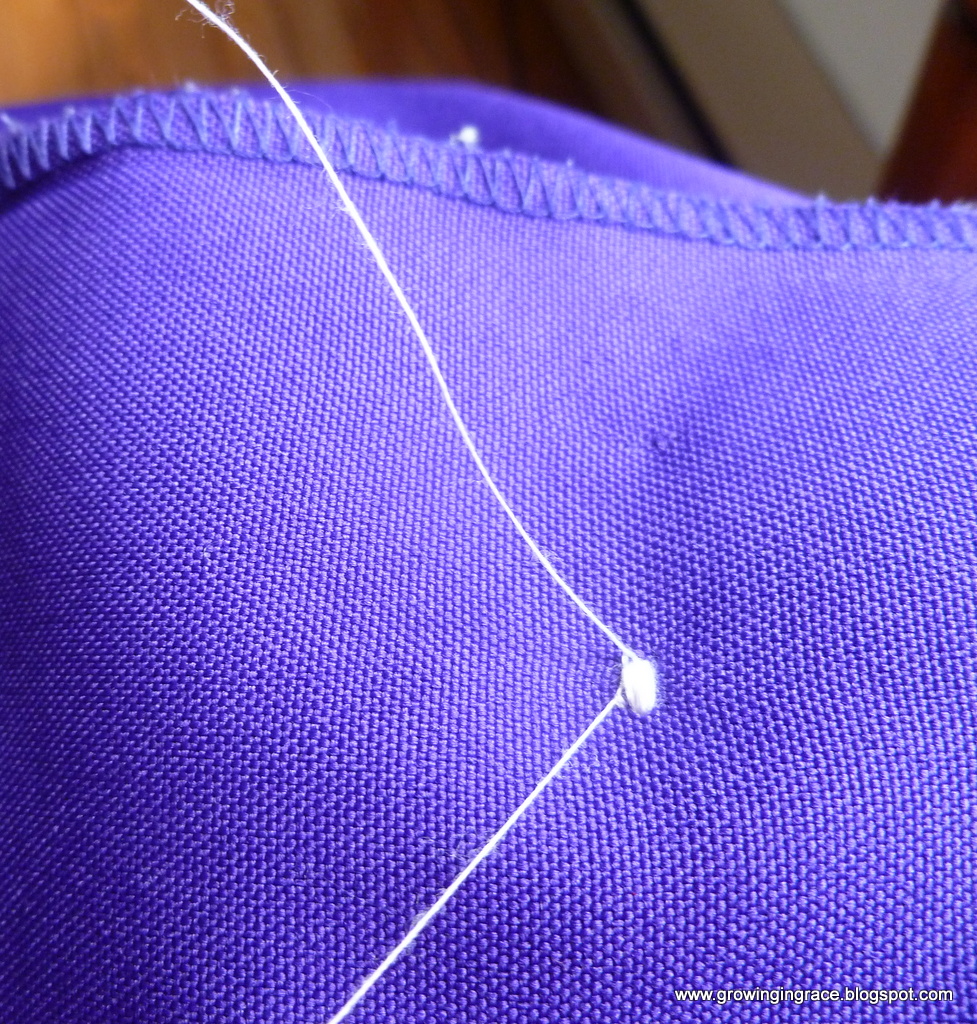
You do not want to cut the threads at this point, except the one attached to the needle. Cut the thread close to the needle, not the button. Next, you want to get the top threads to the back of your material. You do this by taking turning the material over and using the stitch ripper and catching the loop that is beside it and pulling it through the material. This will be the thread that is on the front of your garment. Pull it through using your stitch ripper as pictured below.
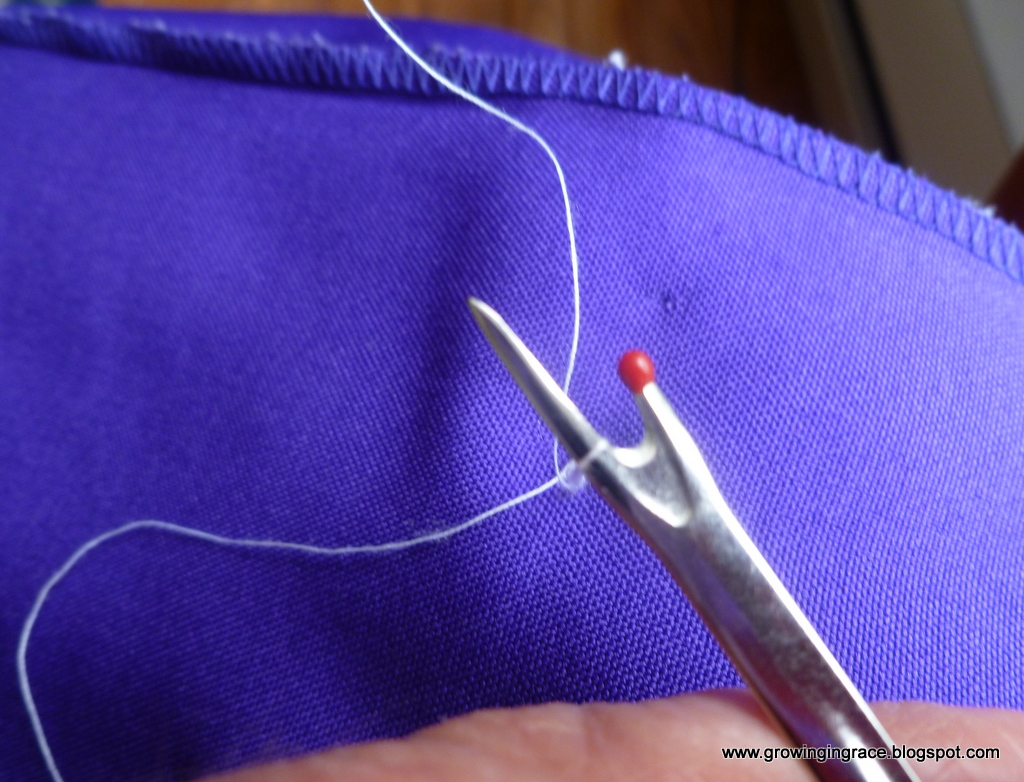
Do the same thing with the other thread. You now should have all four threads to the back of your fabric. Shown below.
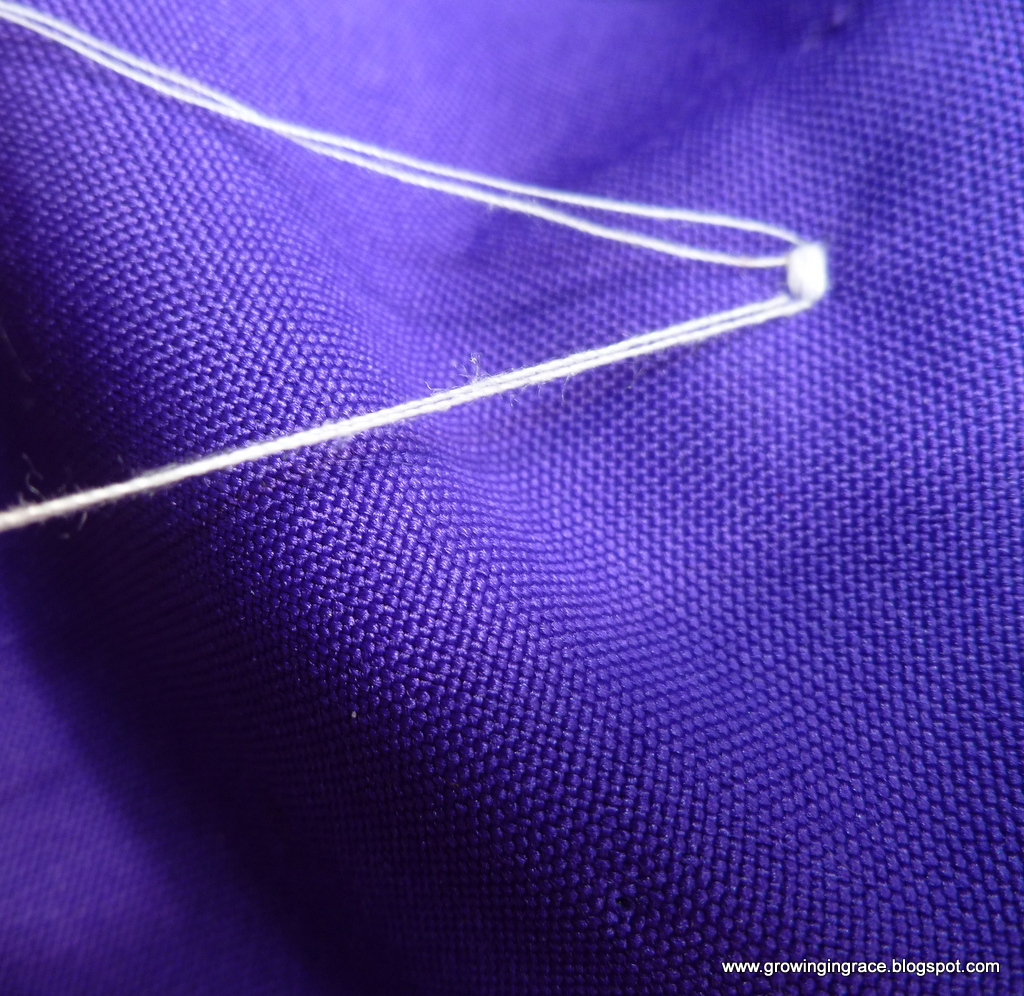
Next tie one set of threads to the other set of threads, tying them in a knot.
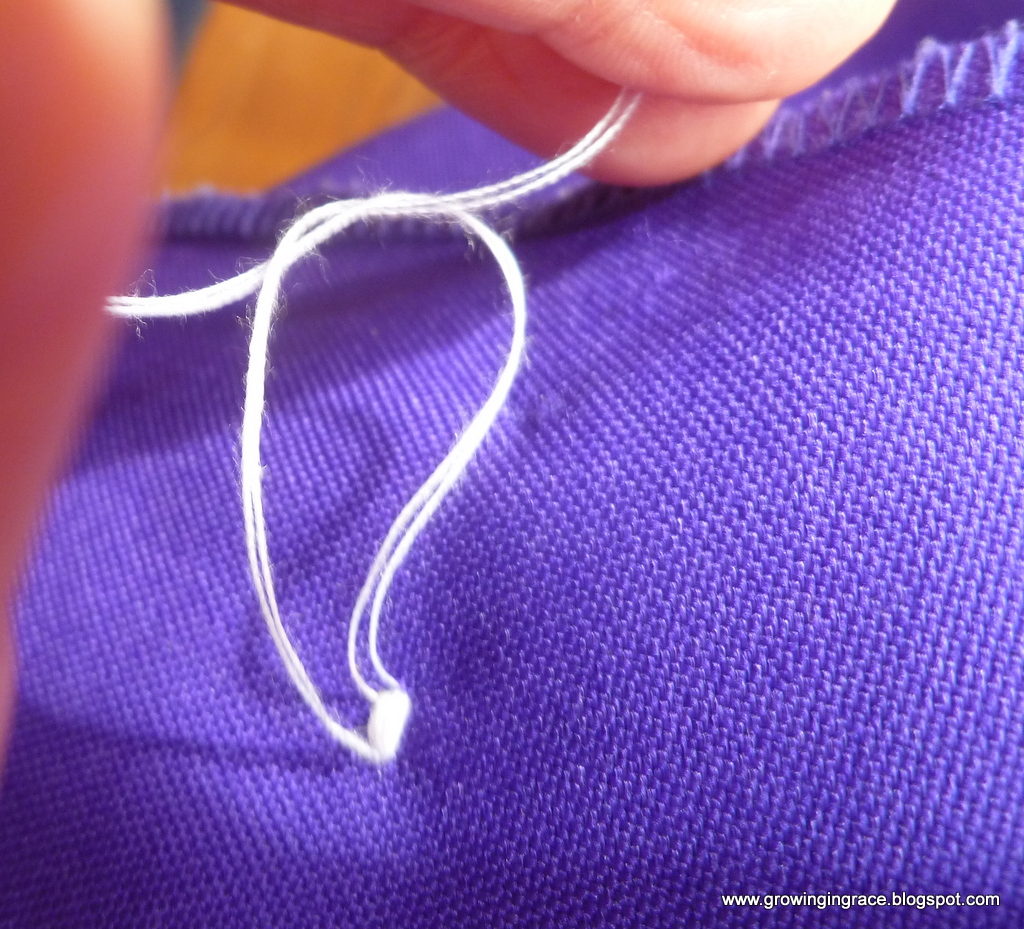
Now you can clip your threads. Your button is secure.
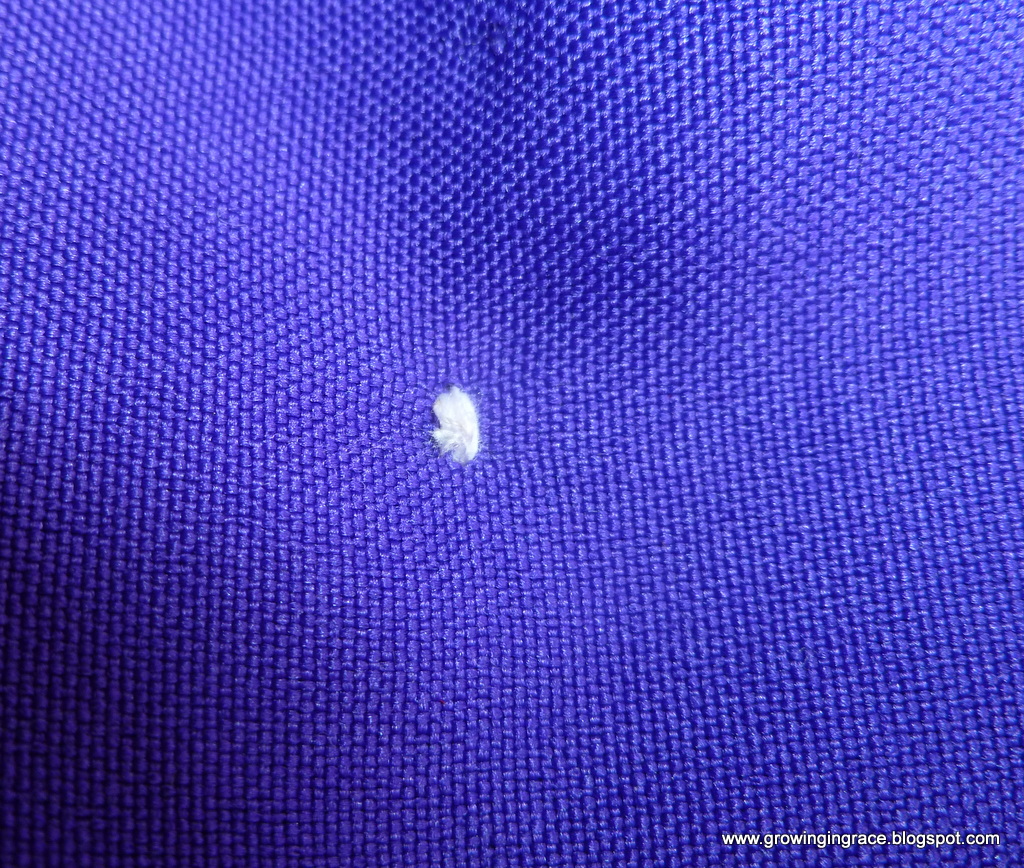
Sew the rest of your buttons on.
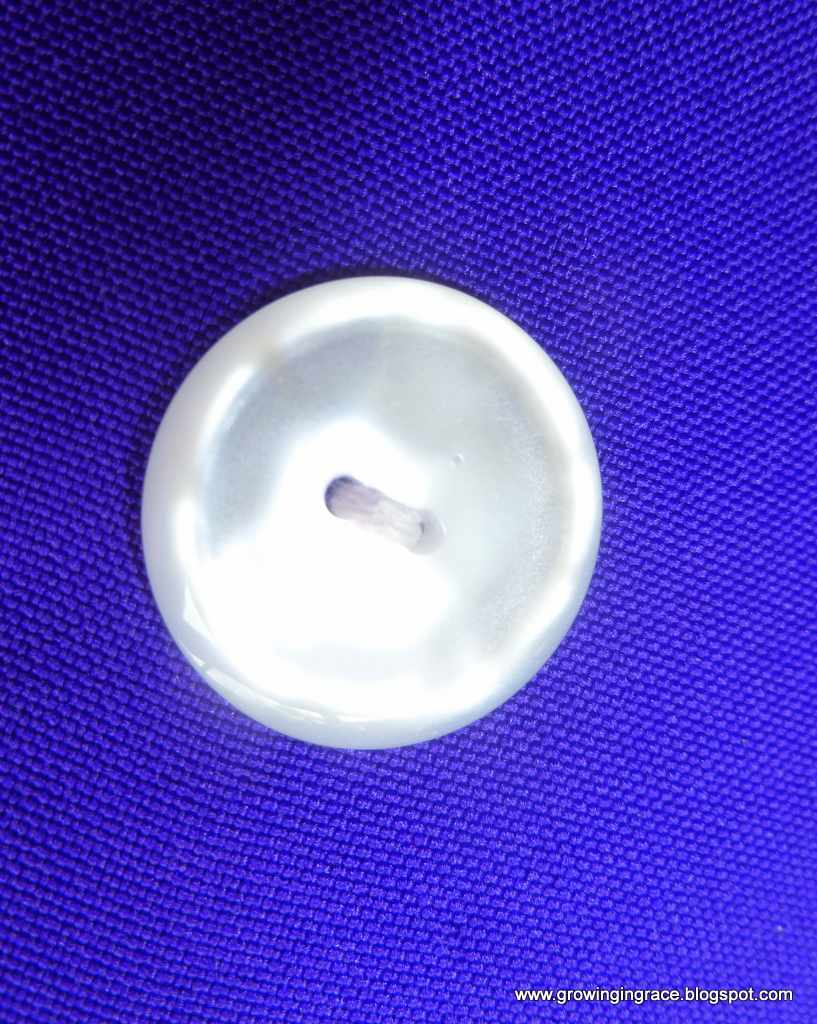
This is so much easier than sewing buttons on by hand and I think they are sturdier.
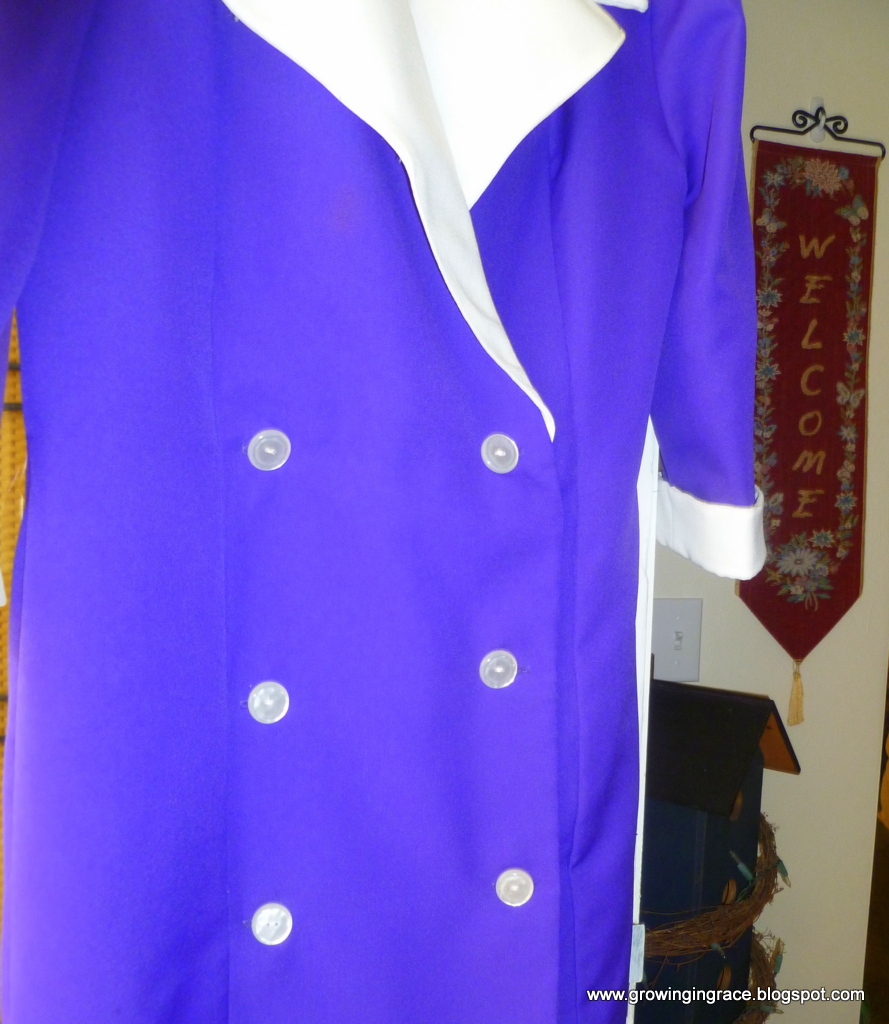
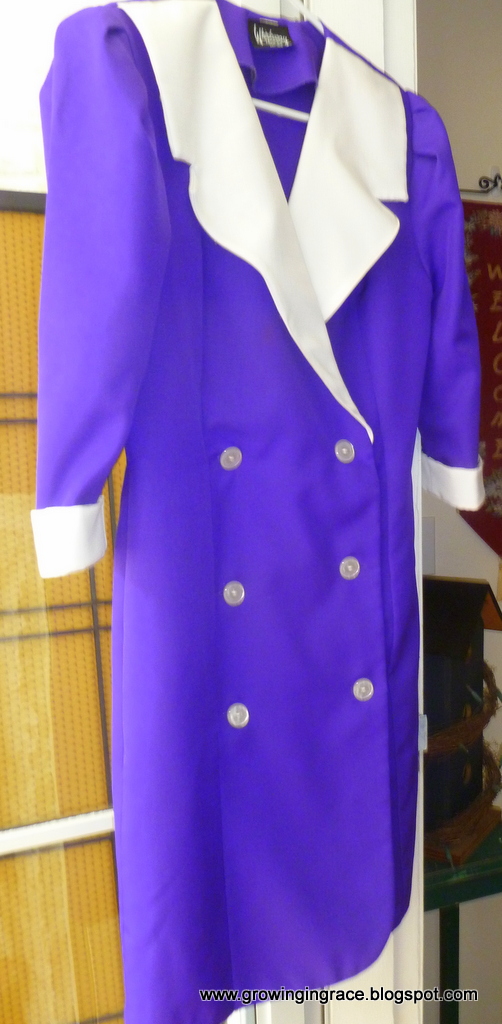
So if you need to be sew buttons on a garment, why not try sewing them on with your sewing machine, instead of by hand. They really do look nicer.
Blessings,

Parties I Link Up To:
Monday:
Skip to my Lou , Craft O Maniac, Keeping it Simple, Creating Really Awesome Free Things, Make Ahead Meals for Busy Moms Between Naps on the Porch, The Girl Creative, Mad in Crafts, I’m An Organizing Junkie, Sew Can Do, I Should Be Mopping the Floor, Making the World Cuter, The Gunny Sack, Mrs. Happy Homemaker, Uncommon Designs, DIY Home Sweet Home, The Modest Mom
Tuesday:
Coastal Charm, A Bowl Full of Lemons , Tip Junkie , Sugar Bee Crafts , Not Just a Housewife ,Today’s Creative Blog , Balancing Beauty and Bedlam , 5 Minutes for Mom , Funky Polkadot Giraffe , Hope Studios , Time Warp Wife , Chef in Training Home Stories A to Z, My Uncommon Slice of Suburbia, Vintage Wanna Bee, The Blackberry Vine, Carolyn’s Homework, The Kurtz Corner, Growing Home, Cornerstone Confessions, Mercy Ink, Ginger Jamboree,A Diamond in the Stuff, Reasons to Skip the Housework,A Stroll Thru Life
Wednesday:
Raising Homemakers , Crystal & Co. , We AreThat Family , Women Living Well, The Trendy Treehouse , Handy Man, Crafty Woman Someday Crafts , This Chick Cooks , Seven Thirty Three, Sugar & Dots A Creative Princess , Creations by Kara, Gingersnap Crafts , Uncommonly Yours, My Girlish Whims, DIY Crafty Projects, Southern Lovely, Adorned from Above Fabric Bows and More, Twin Dragonfly Designs, The Thrifty Home, Semi Homemade Mom
Thursday:
Shabby Creek Cottage, Delightful Order House of Hepworths, The Frugal Girls , Miz Helen’s Country Cottage , The Thirty Sixth Avenue, Thrifty 101, Diary of a Stay at Home Mom, Beyond the Picket Fence, A Glimpse Inside, Mandatory Mooch, Think Tank, The Real Thing with the Coake Family,Life we Live 4,Somewhat Simple
Friday:
The Shabby Nest , Fingerprints on the Fridge , Chic on a Shoestring, Life as Mom , Miss Mustard Seed , Tidy Mom , Whipperberry, French Country Cottage 30 Handmade Days , Finding Fabulous , Naptime Crafters Tatertots and Jello,My Romantic Home , While He was Napping , Comfy in the Kitchen, Bacon Time with the Hungry, Hungry Hippo, The Country Cook, Six Sister’s Stuff, Kitchen Fun With My Three Sons, Ann Kroeker Writer,, Simply Sweet Home, Craft Junkie Too, Simply Designing, Happy Hour Projects, A Little Knick Knack, Young and Crafty, Five Days Five Ways, At Home With Bobi
Saturday:
Funky Junk Interiors, Young and Crafty , Be Different, Act Normal , A Vision to Remember, Sweet as Sugar Cookies, Positively Splendid, It’s Overflowing, The Artsy Girl Connection, Craft Envy, Too Much Time On My Hands, Something Swanky Sassy Little Lady,
Or So She Says, Tutus and Tea Parties, Your Home Based Mom
Sunday:
Under the Table and Dreaming , DIY Showoff , Nifty Thrifty Things, Homemaker on a Dime , Sumo’s Sweet Stuff